For instance, when trying to draw a pipe with a diameter of 50mm, you might notice that this size option is not available under the pipe diameter tab. There are typically two reasons why this occurs.
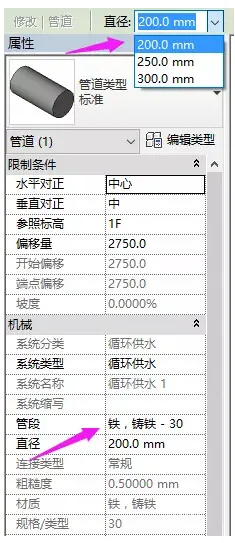
1. The iron, cast iron-30 category already includes pipe sections of 50mm, but the system piping configuration only allows selection from the pipeline sections currently defined. To resolve this, click Edit Type to check whether 50mm is included. If it is, adjust the settings accordingly; if not, create a new pipe size.
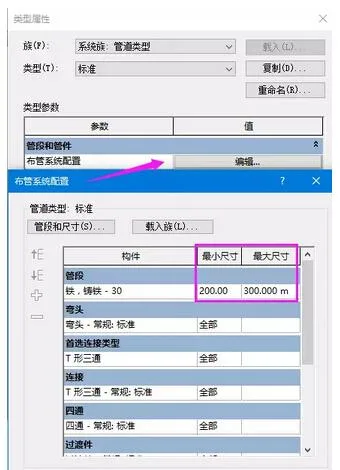
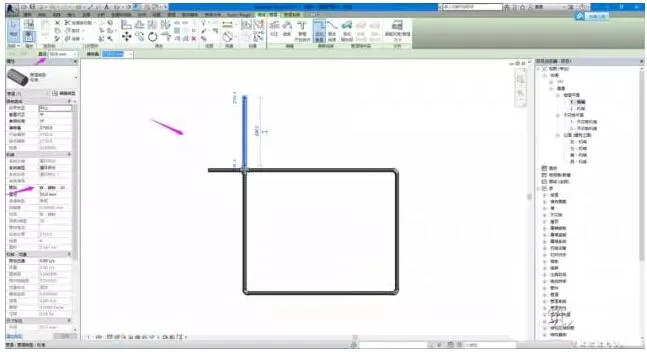
2. New method: Click on the Pipe Section and Size button shown in the image above to open the mechanical settings tab side by side. Adjust the pipe section and size as needed, making sure to set the pipe section to iron, cast iron-30. Finally, click New Size as demonstrated in the following screenshot:
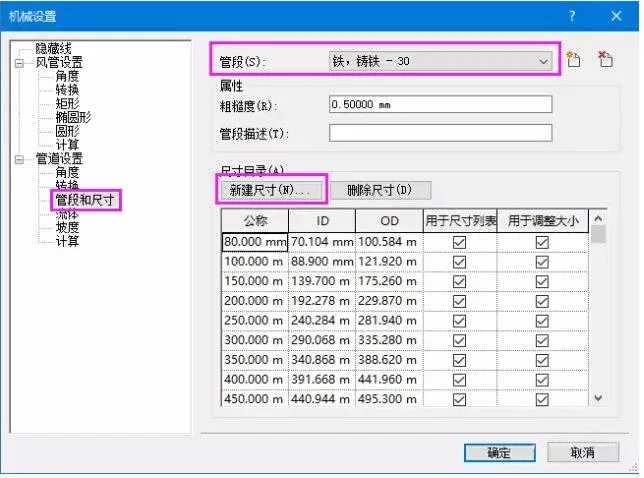
Create a new pipe size here:
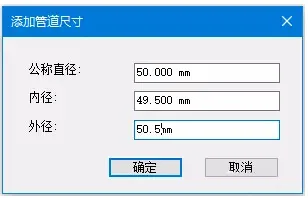
Once completed, if you attempt to draw again, you will find that the iron and cast iron-30 pipe sections now include the 50mm size, allowing you to draw it without issues.


Must log in before commenting!
Sign Up