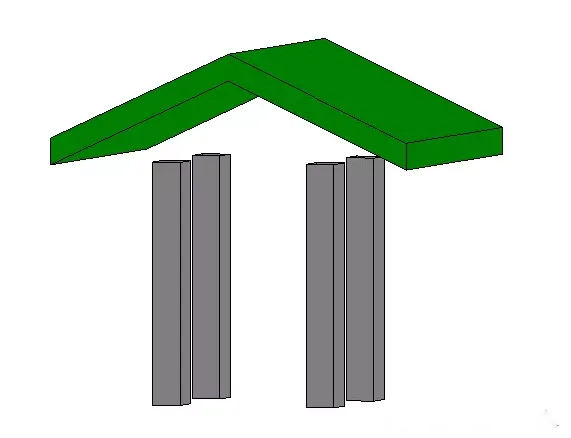
After drawing the columns and roof, the situation appears as shown below:
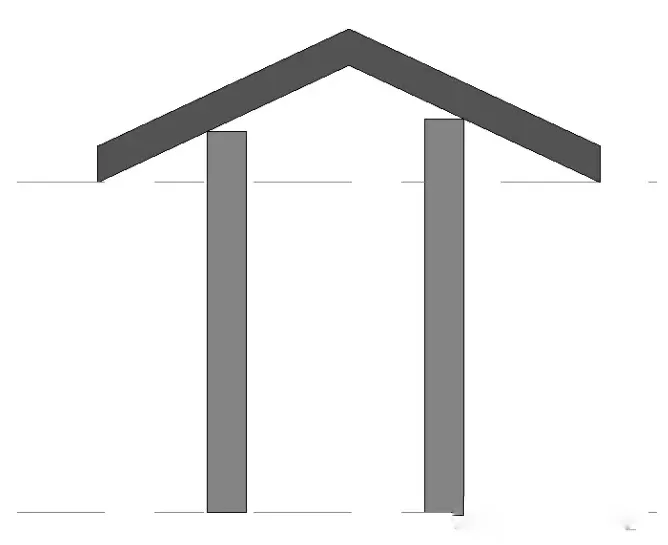
At this stage, users typically select the column and apply the Attach Top/Bottom command. However, after doing so, the following result is often seen:
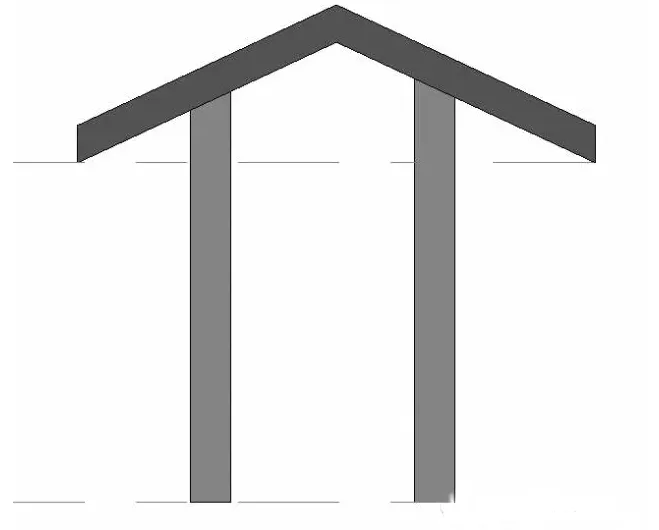
It is clear that the columns are not properly attached to the roof. The correct way to attach them should look like this:
Method One:
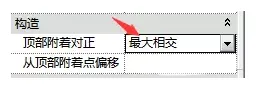
When selecting a column and the Attach Top/Bottom command appears, click on the command and change the alignment option to Maximum Intersection. Then, click on the roof to complete the proper attachment between the column and roof.
![]()
Method Two:
Alternatively, you can attach the column to the roof without initially changing any settings. After selecting the column, click it again and choose the Maximum Intersection option from the properties bar.
Then, click Apply to finalize the attachment of the column to the roof.
When cutting the target, it is important to understand the differences between the alignment options: Minimum Intersection, Intersection Column Centerline, and Maximum Intersection.
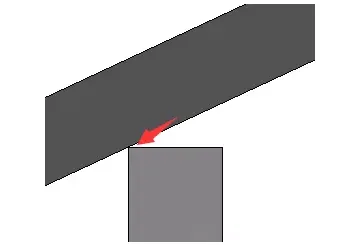
Attachment Alignment: Minimum Intersection
This means the end of the column closest to the roof intersects with the roof surface.
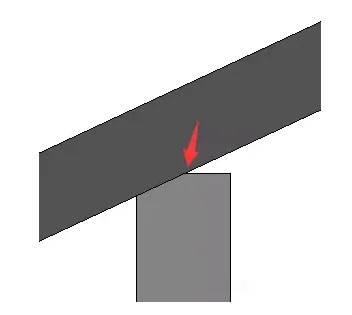
Attachment Alignment: Intersection Column Centerline
Here, the intersection occurs from the end of the column nearest the roof to the column’s centerline.
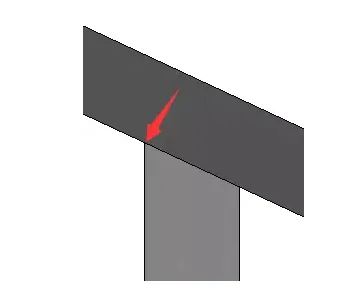
Attachment Style: Cut Target — Alignment: Maximum Intersection
This setting ensures that the entire length of the column, from the end closest to the roof to the farthest end, intersects fully with the roof.


Must log in before commenting!
Sign Up