In certain work scenarios, we often need to apply special decorative material treatments to specific areas of walls or other surfaces without drilling holes or patching small sections. The following functions are used to accomplish this:
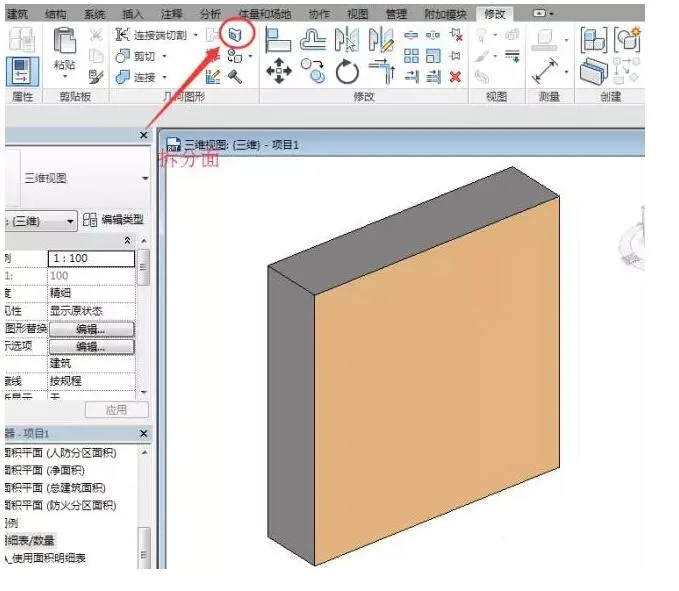
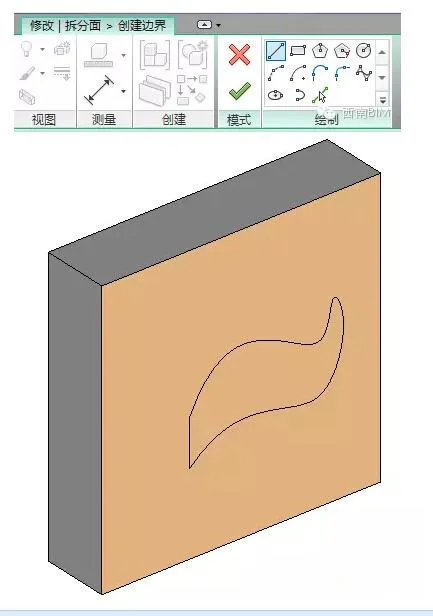
First, start the “Split Face” command. Select the wall surface you want to split, then draw the boundary of the split region. This boundary must be a closed area, and you can also use the existing boundary of the parent surface.
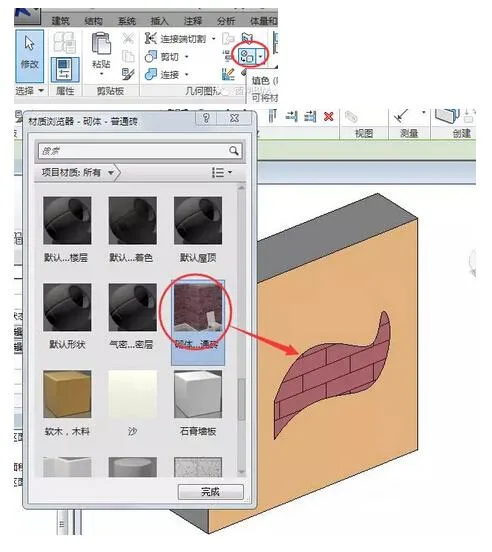
Next, select the “Coloring” tool. Choose the desired material from the Material Browser, then click on the split surface where you want to apply the color.
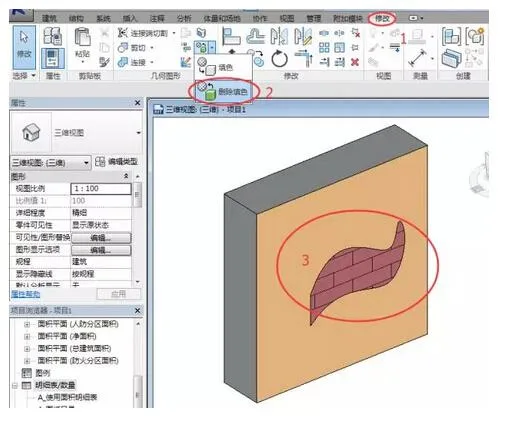
To remove materials from a surface, use the “Delete Coloring” tool. The steps to do this are straightforward:
You can also completely delete the split surface to restore the original, unmodified state.
After applying coloring to a “Split Face”, you can create a “Material Extraction” schedule. When preparing detailed lists, use the “Material Extraction” fields under “Material: For Drawing” to count the materials added through coloring tools.
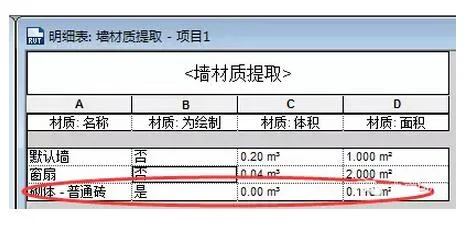
Note: The material quantities extracted here only reflect the area of the split region. If volume measurements are needed, you will need to calculate them manually. Additionally, the colored area on the split surface is not subtracted from the total area of the parent surface, so be cautious to avoid double counting in your measurements.


Must log in before commenting!
Sign Up