Preface:
This feature is best suited for Revit versions 2015, 2016, and 2017.
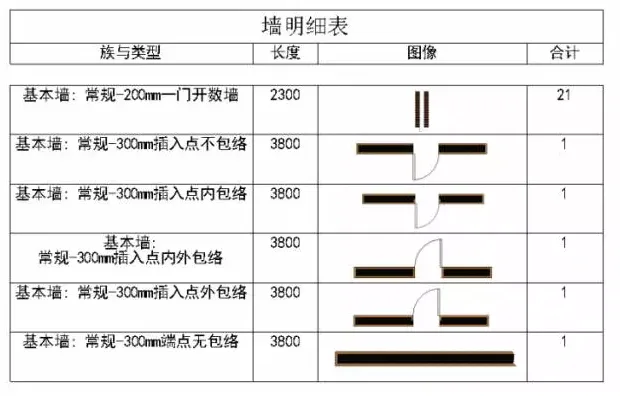
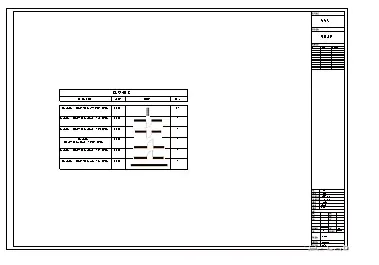
The goal is to achieve a result similar to the example shown below:
To accomplish this, follow these four main steps:
Step 1: Use Revit 2015, 2016, or 2017 to create the components.
Step 2: Generate a detailed parts list that includes images.
Step 3: Create drawings and place the detailed tables accordingly.
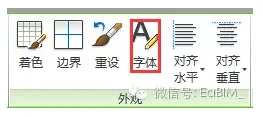
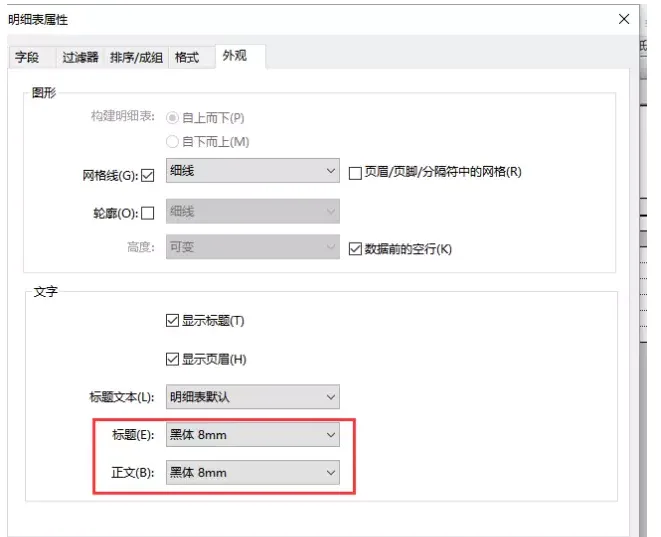
Step 4: Customize the text and title fonts of the detailed table to meet your display preferences.
Below is a detailed explanation of each step, along with image references:
1. Using any version of Revit 2015, 2016, or 2017, create the required components.
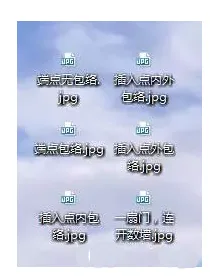
2. Save the shape and style of each component as an image on your desktop. (Simply saving the image is sufficient; no specific folder is required.)
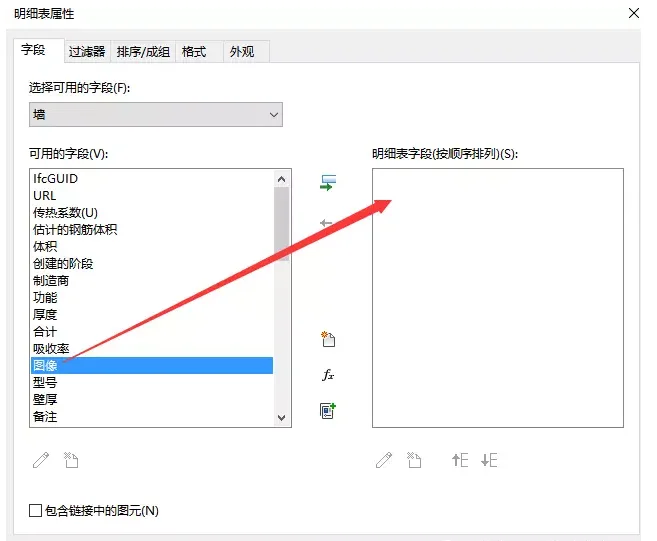
3. Create a new detailed parts list, adding fields for images and any other necessary data.
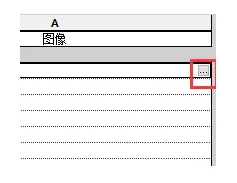
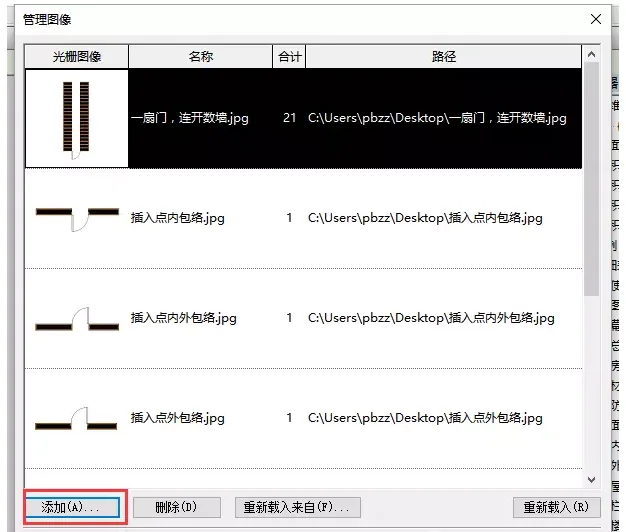
4. Insert the saved images into the detailed parts list by locating the saved image files.
5. Generate the detailed parts list and place it onto your drawing. At this point, the images will be displayed within the list.
6. Finally, adjust the fonts for the text and titles within the detailed table to achieve the desired appearance.
Understanding the relationship between images and graphic elements:
Image: Represents instance properties of elements within the model.
Type Image: Corresponds to the type properties of elements in a model or family.
Shape Image: Refers to the type properties of reinforcement shape type families.


Must log in before commenting!
Sign Up