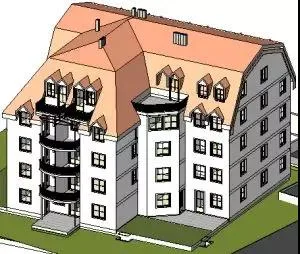
Yesterday, we explored the fundamentals of walls in architectural modeling. Today, let’s delve into the basics of roof design.
Revit offers various methods for creating roofs.
Roof creation options include:
- From architectural traces
- As a stretched roof
- Diagonal windows with glass
- From volume instances
Note that roofs cannot be cut through windows or doors.
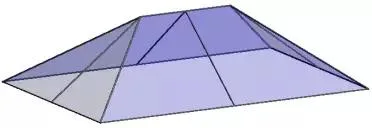
Trace Roof:
- Create a 2D closed-loop sketch outlining the roof perimeter.
- Generated by selecting walls or drawing lines in a plan view.
- The roof is created at the top of the visual icon where the sketch is drawn.
- Height is controlled using the reference height offset attribute.
- Openings are defined by additional closed loops within the perimeter.
- Slopes are applied by setting slope parameters on specific lines within the sketch.

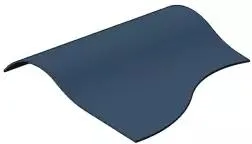
Stretched Roof:
- Created using an open-loop sketch that defines the roof outline.
- Profiles are drawn with lines and arcs in elevation views.
- Height is controlled by the position of the sketch within the elevation view.
- Depth is calculated automatically by Revit based on the sketch size, unless a specific start and end point are defined.
When drawing the outline of a stretched roof, using reference planes can be highly beneficial. For example, you can create three parallel vertical reference planes and then add a horizontal reference plane that intersects all three vertical planes.
Using the Stretch Roof tool allows you to create roofs with simple slopes. For more complex slopes, consider using volume-based methods. After creating a stretched roof, you can modify the roof body or edit its work plane.
Glass Slanted Windows:
Glass slanted windows can be created using either the trace or stretched roof methods. These windows feature one or more slope-defining lines and can be connected seamlessly to curtain walls and basic wall types.
After reading this article, do you have a general understanding of roof design? We will provide more detailed guides in the future, so stay tuned!


Must log in before commenting!
Sign Up