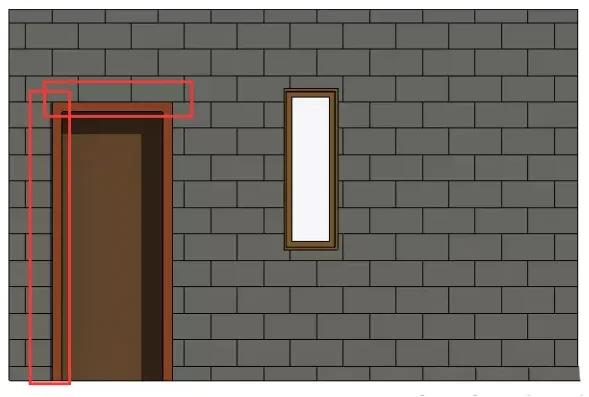
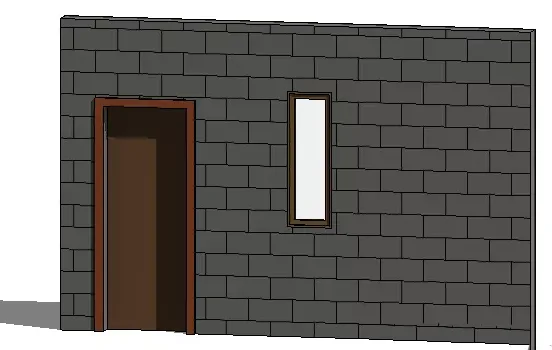
Before using the alignment command, you may sometimes encounter the following issue:
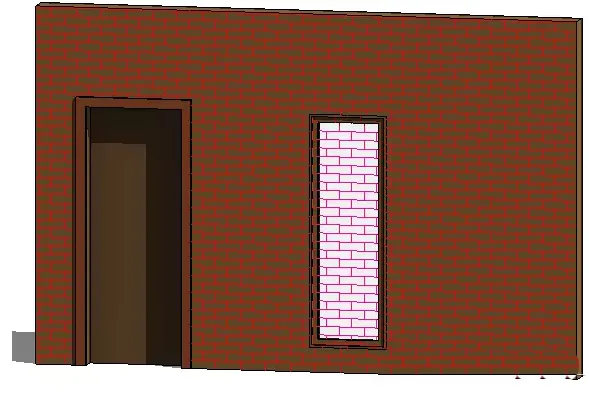
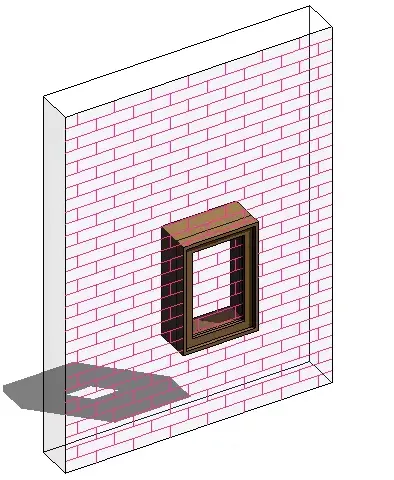
Specifically, the model fill pattern lines may directly overlap with the window construction, as shown below:
In such cases, achieving the desired effect—where the door construction aligns perfectly with the model fill pattern lines—can be quite challenging, as illustrated below:
Here is a straightforward solution to this problem:
Consider the following scenario:
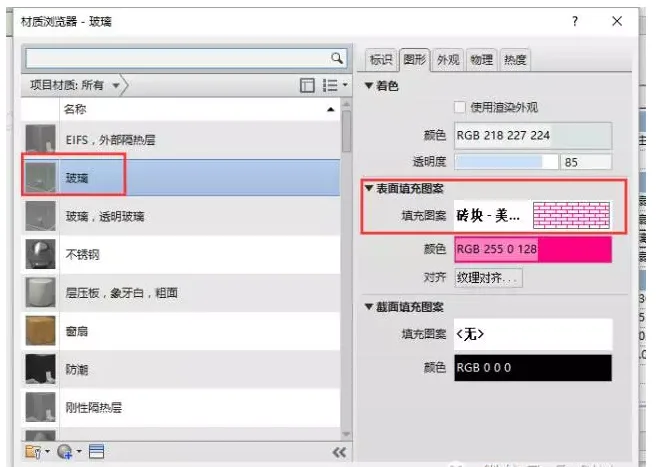
It was discovered that surface fill patterns were also applied to the glass window material. At first glance, the overlapping lines appear quite symmetrical.
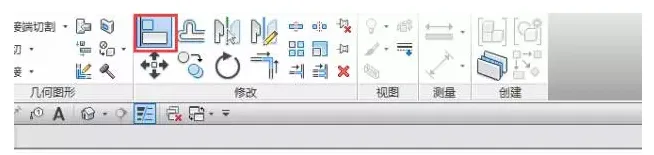
Steps to align door construction with model fill pattern lines:
When aligning bricks or tiles (represented by model fill pattern lines) with elements like walls or window edges, follow these steps:
1. Select the Align command.
2. Click on the line of the element you want to align with the model fill pattern line.
3. Move your cursor over the element that contains the model fill pattern.
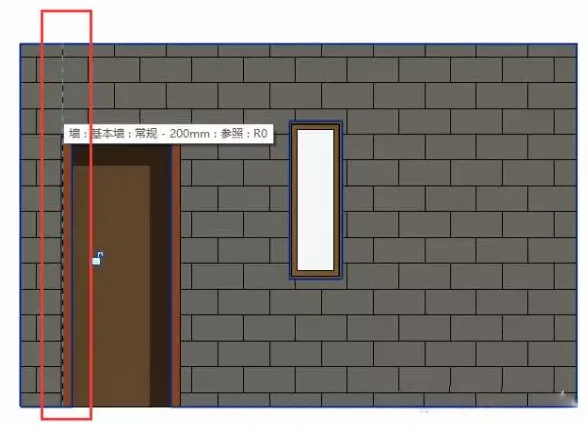
4. Click to select the shape handle as the alignment reference.
Note: Check the status bar to confirm that the shape handle is highlighted. If the desired fill pattern line isn’t highlighted, move the cursor closer to the line and press the Tab key until it is selected.
The final result will align the surface filling pattern with the door, as shown below:
![]()
Dimension annotation for model fill pattern lines:
You can directly use dimension annotations to measure the distance between model fill pattern lines and other reference points.
When adding dimensions, first place the cursor over a model fill pattern line. The cursor will snap to the fill pattern line as a reference point. Then, move the cursor to another fill pattern line and press the Tab key to select it as the second reference point.


Must log in before commenting!
Sign Up