BIM Q&A | How to Create Center Marking Points for Circles in AutoCAD 2018
Center Marking Methods:
1. Using Auxiliary Lines to Mark the Center
Step 1: Launch your CAD editing software on your computer. Open an existing drawing file or quickly create a new blank drawing by pressing Ctrl + N.
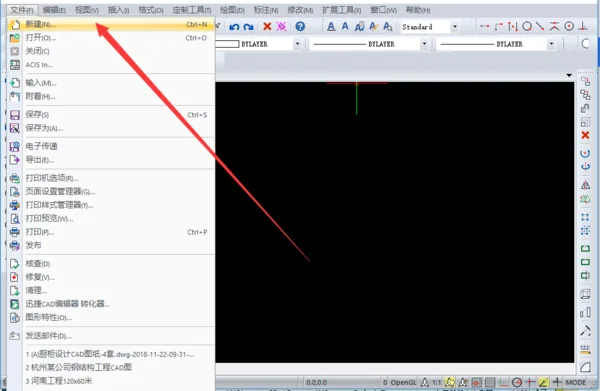
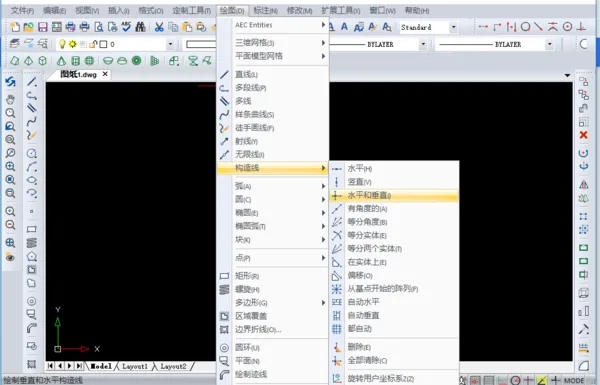
Step 2: After opening your blank drawing, navigate to the top menu and select Draw → Construction Line → Horizontal and Vertical. Then click on the desired location to draw intersecting vertical and horizontal auxiliary lines, which mark the center point of your circle or arc.
2. Using Points to Mark the Center
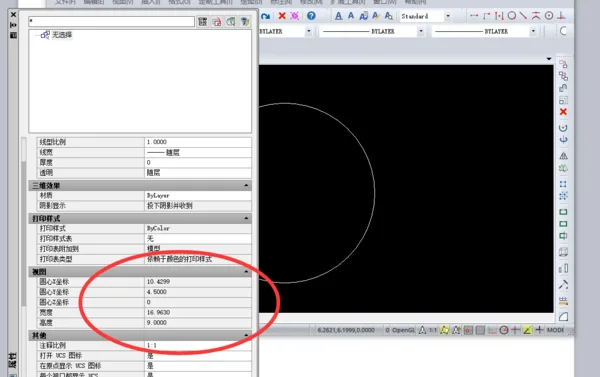
Step 1: Enter the circle command by typing c in the command box at the bottom. Draw your circle, then press Ctrl + 1 to open the Properties panel. In this panel, you can view the exact coordinates of the circle’s center.
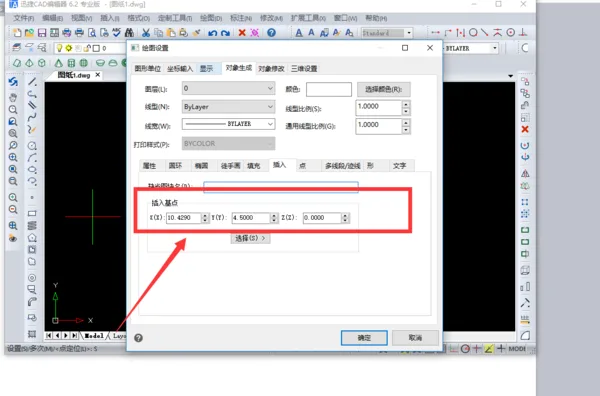
Step 2: Next, go to the Draw menu located under the Properties tab. Select Points and then Point Settings. In the pop-up window, click Insert and input the previously obtained coordinates. This will place a center point on your drawing.
Tip: It’s best to set the center point’s color to something highly visible, as the default color might be difficult to see with the naked eye.


Must log in before commenting!
Sign Up