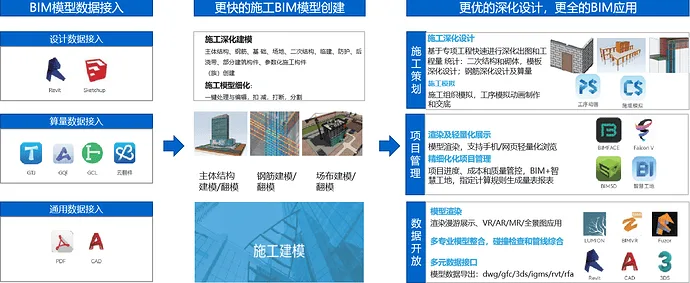
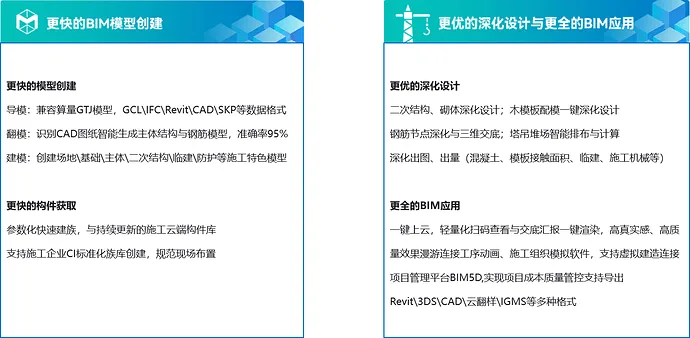
Based on Guanglian Da’s proprietary intellectual property graphics and parametric modeling technology, BIM Engineer/Technical Engineer now have access to a brand-new software focused on the entire construction process: BIM modeling and specialized application. This software offers the following features to help you learn quickly and create a construction BIM model in just 2 hours:
Quick Modeling
– One-click import of Guanglian Da computational GTJ models, supporting formats such as GCL, IFC, Revit, CAD, and SKP.
– High accuracy in mold flipping and faster model detailing.
– Compliant with local standards, featuring simple interactions and high efficiency.
– One-click processing to rapidly deepen construction BIM models.
Easy to Learn and Use
– Start BIM modeling after just 2 hours of learning.
– Lightweight BIM application with visualization capabilities to maximize BIM value.
– Export in multiple formats, including BIM5D, Revit, 3DS, CAD, and BIMFACE.
– Enables more localized applications and value realization.
You can use BIMMAKE to:
Quickly Obtain Models
- Model Import: One-click import of computational GTJ models, compatible with GCL, IFC, Revit, CAD, SKP, and more.
- Flip Mold: Intelligent recognition of CAD drawings to quickly flip columns, walls, beams, and slabs with 95% accuracy.
- Modeling: Easily create construction components such as site, foundation, main structure, secondary structure, temporary construction, and protection elements.
Flexible Creation of Components
- Lightweight parametric rapid family building with a continuously updated cloud component library.
- Supports creation of standardized CI family libraries for construction companies and standardizes onsite layouts.
Enhanced BIM Applications in Construction
- Quickly arrange secondary structures, lay masonry, and generate drawings and quantities.
- Fine-tune node steel bars and 3D visualization of lightweight steel bars.
- Set wooden mold configuration parameters with one-click mold matching, plus output drawings and quantities.
Quantity Surveying
- Calculate component engineering quantities by project, floor, or workflow section.
- One-click statistics for concrete engineering quantities, template contact areas, doors and windows, and temporary construction/mechanical information.
Construction Quantity Calculation
- Supports summary of construction plan quantities at project, construction section, and component levels.
- Customize physical quantity rules to meet the deduction requirements of construction scenarios.
- Multi-dimensional legality checks assist in design, providing precise output.
Multi-Data Interface
- Supports one-click cloud migration of models for lightweight browsing and application on mobile and web platforms.
- Export models to the BIM5D project management platform for schedule simulation, cost, and quality control.
- Connects with Guanglian Da’s FalconV rendering engine for realistic, high-quality model rendering.
- Supports exporting to Revit, 3DS, CAD, BIMFACE, BIM5D, and other formats.
BIMMAKE Construction Modeling – Software Installation
This installation follows an offline + online mode. The offline package installs without a network connection, while optional components require downloading online.
1. Installation Process
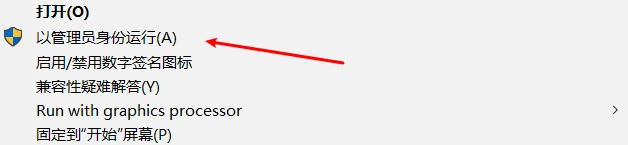
Step 1: Run the installer as an administrator to launch the setup interface. Select installation items and the installation path.
Right-click the BIMMAKE installer and choose Run as administrator.
Antivirus warnings during installation are normal. Simply click ‘Allow’ to continue.
After entering the installation interface, you can select the installation items and path:
- Installation items: BIM modeling, local family library, template design, construction calculation. All are selected by default.
- Installation path: User-defined paths are supported but cannot be changed after installation. It is recommended to install on the default C drive path.
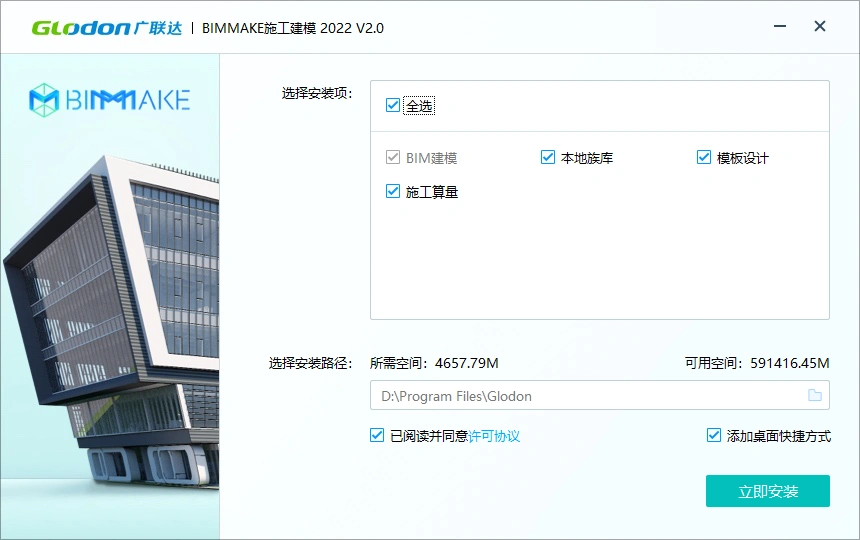
You can install components as needed, but a complete installation is recommended to avoid repeated work later. Please close Revit, GTJ, and other software before installing the plugin.
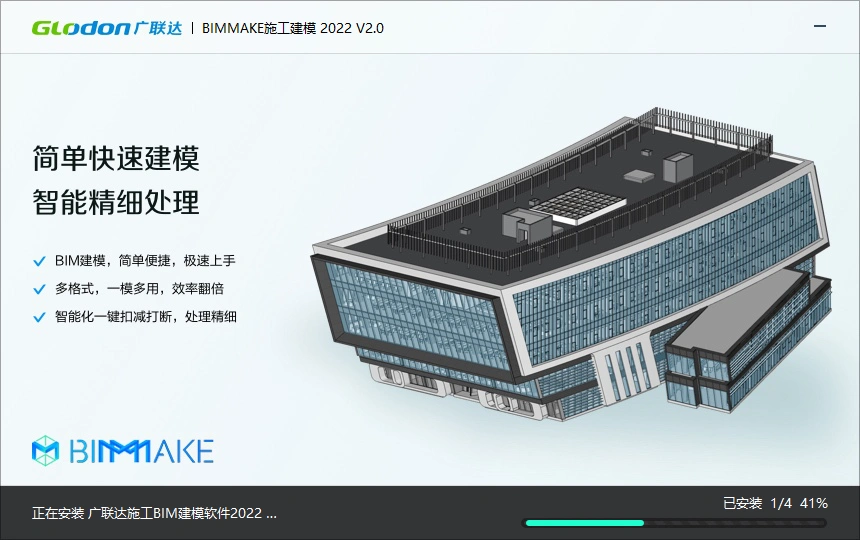
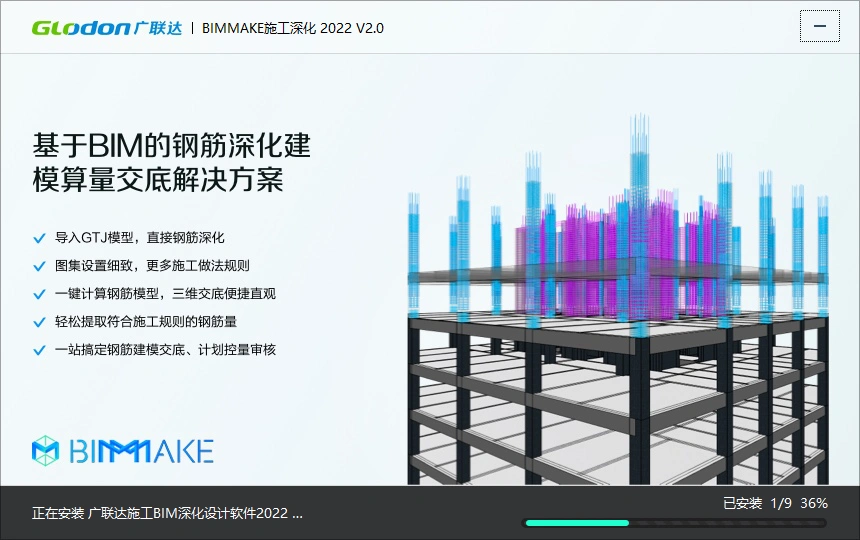
Step 2: Click “Install Now” to begin installation. A slideshow will display during the process.
Step 3: Once installation completes, an optional components interface will appear. Select and click “Install Components” as needed, or click “Start Now” to launch the software immediately.
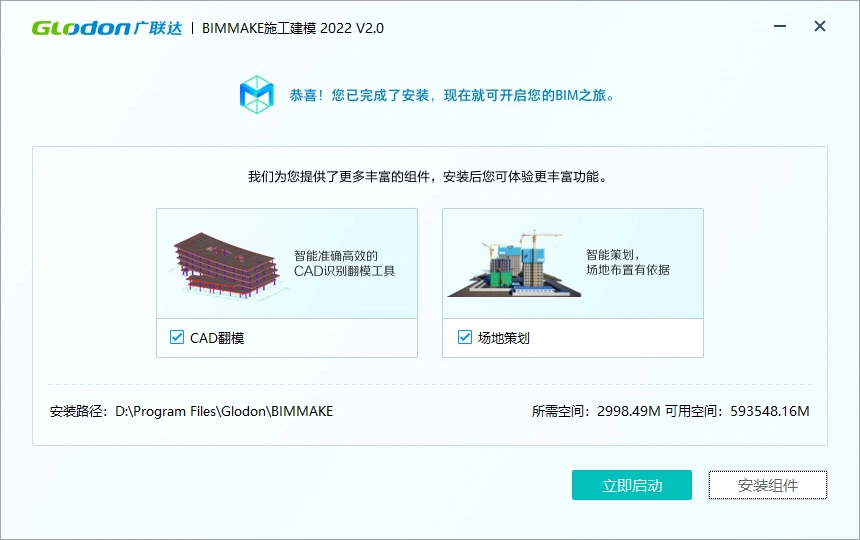
Optional components require an internet connection to download and install successfully.
2. Starting the Software
After installation, double-click the BIMMAKE desktop icon to launch the software.
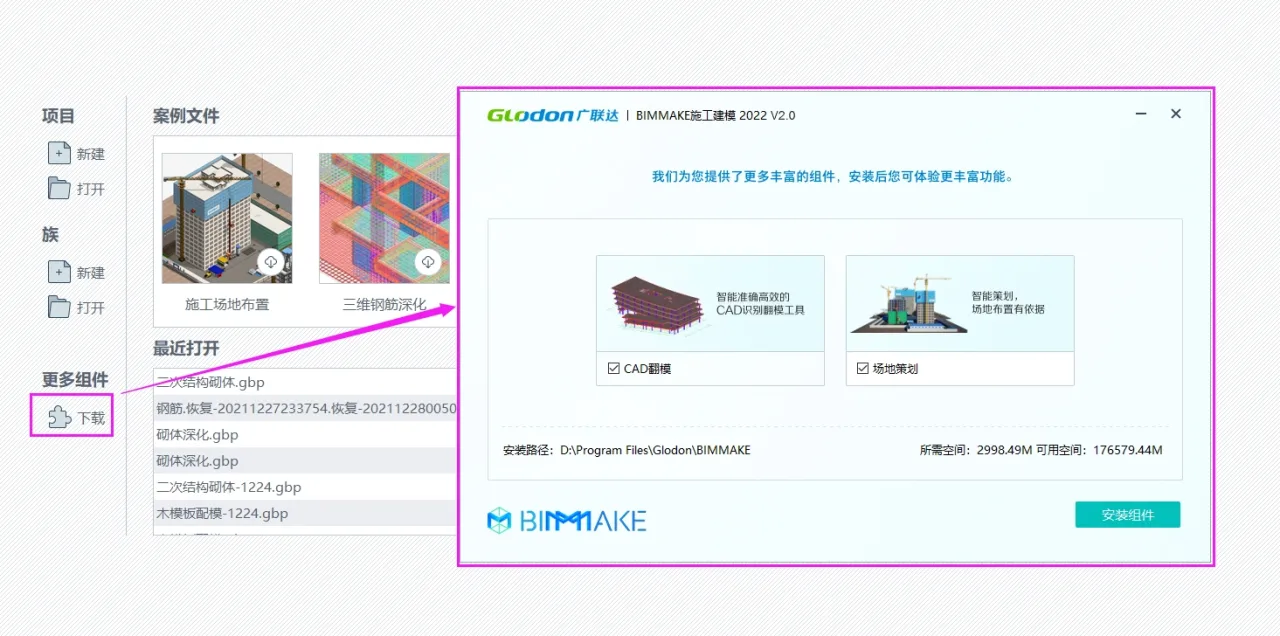
In the Welcome Interface > More Components > Download section, you can install additional components that were not installed previously. Installing these components will require closing the BIMMAKE main program, but the component installation interface will remain open.
2.2 BIMMAKE Construction Deepening 2022
This version uses an offline package installation mode and does not require a network connection during installation.
1. Installation Process
Step 1: Run the installer as an administrator, launch the setup interface, and select installation items and path.
Right-click the BIMMAKE installer and choose Run as administrator.
Antivirus warnings during installation are normal. Click ‘Allow’ to proceed.
In the installation interface, select items and path:
- Installation items: BIM modeling, local family library, CAD mold flipping, template design, construction calculation, site planning, steel reinforcement deepening, steel reinforcement flipping. All are selected by default.
- Installation path: User-defined paths supported but cannot be changed after installation. Recommended to install on the default C drive path.
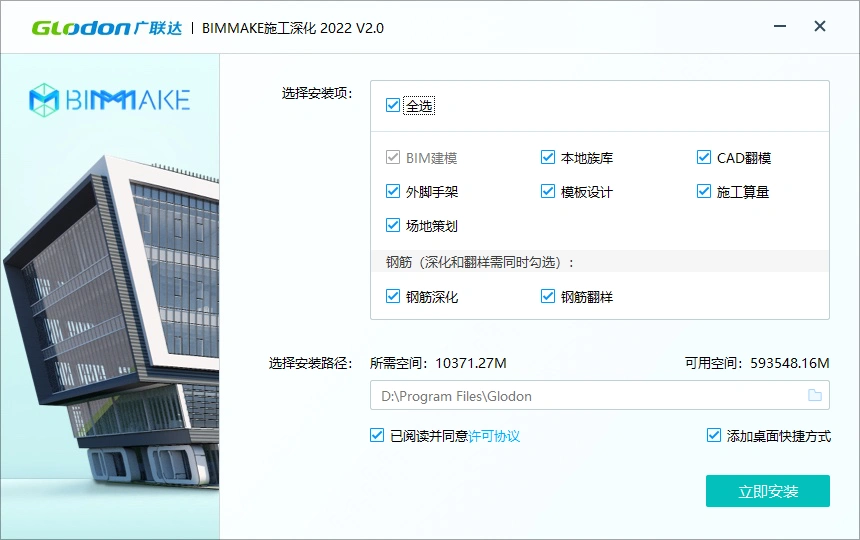
You may install as needed, but a full installation is advised to avoid repeated work. Please close Revit, GTJ, and other software before plugin installation.
Step 2: Click “Install Now” to start installation, with a slideshow displayed during the process.
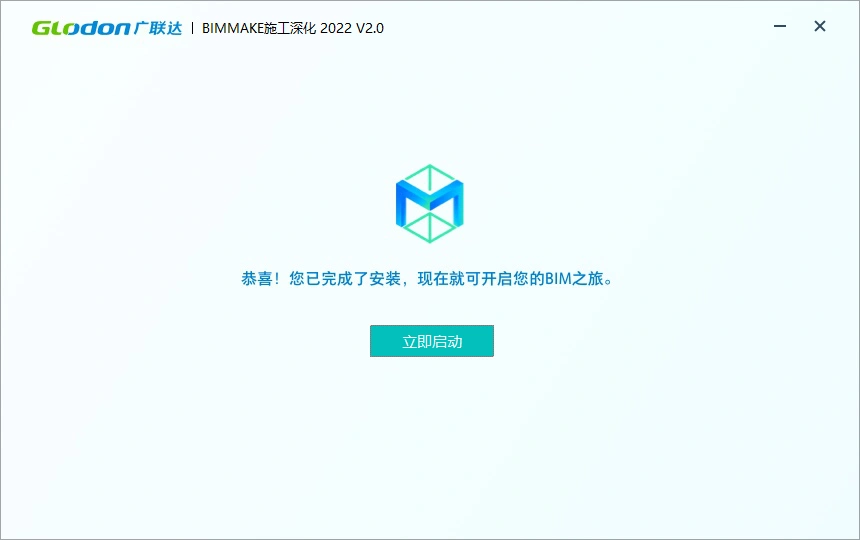
Step 3: After installation completes, click “Start Now” to launch the software.
Launch the Software
Double-click the BIMMAKE icon on your desktop to start the software.

3. Software Trial
After launching the software, a login window will appear. Use your Guanglian Cloud account to log in and try the software.
Already have a Guanglian Cloud account?
If you have registered with a phone number, log in using your phone number and password or use SMS verification.
Don’t have a Guanglian Cloud account?
Simply enter your phone number and verification code to log in, or visit the Guanglian Da User Center to register: https://account.glodon.com/login. After registration, log in to try the software.
Trial Period
- After completing your registration, enjoy a 180-day free trial.
- If you use the software more than 15 days during the trial, you will automatically receive a second 180-day free trial after the first expires (one-time automatic renewal only).
- If usage is under 15 days, the trial will not continue after expiration; a paid license will be required.
- After purchase, the same account can be used for login.
4. File Compatibility
If the Venue Planning component is not installed, opening a venue planning file will still display the model fully, but a prompt will appear suggesting installation of the component for full functionality.
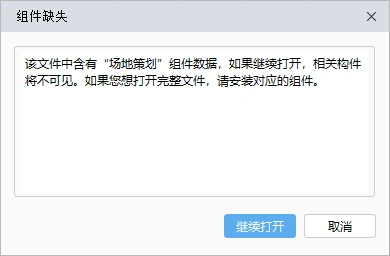
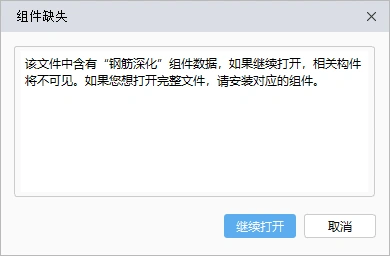
Similarly, if the Reinforcement Deepening component (to be released in BIMMAKE Construction Deepening 2022 V1.1) is not installed, reinforcement deepening files will open normally but the reinforcement models will not display. A prompt will appear advising installation of this component for full access.


How to uninstall cleanly, temporarily unused but occupying a large amount of memory space, I don’t know how to completely uninstall?
Clean up the registry again.