How to Edit Revit Surface Wall Profiles
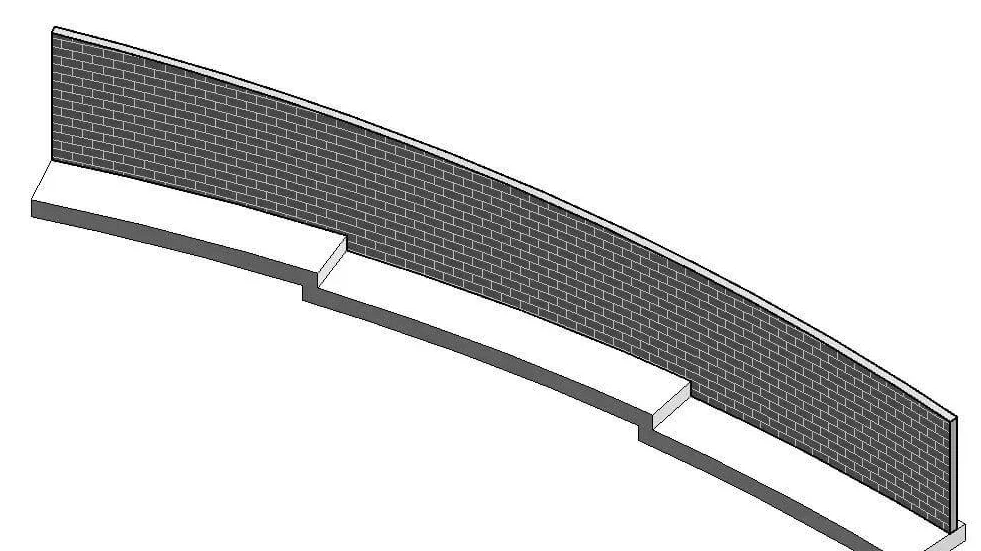
The image above shows the final result, featuring a smooth upper edge. Below it, you can see the wall before editing, which has a stepped upper edge.
The process is as follows:
- Start with a built-in metric conventional model.
- Create a hollow layout fusion.
- Pick up the edges.
- Extend the path.
- After drawing the outline, the hollow shape is formed as shown below.
- Complete the model and cut it against the wall.
- The result will look like the example shown below.
Besides the method described above, there are other approaches you can use. For instance, creating a sloping ground and reattaching the wall to the bottom.
【 Related skills search 】
How to make holes in curved walls with Revit

xuebim
Follow the latest BIM developments in the architecture industry, explore innovative building technologies, and discover cutting-edge industry insights.
← Scan with WeChat


Must log in before commenting!
Sign Up