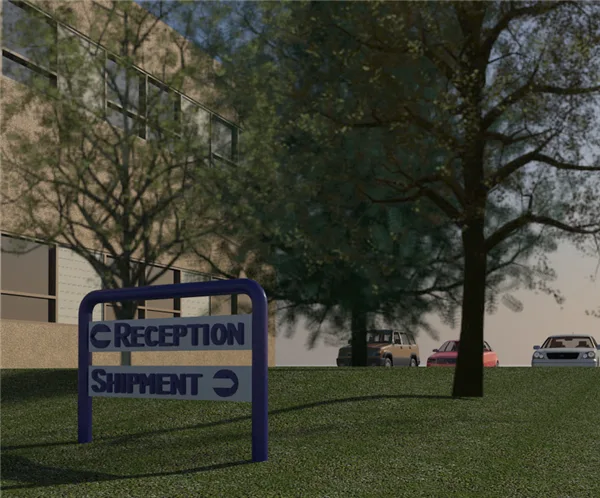
Model text is a three-dimensional graphic element created on a work plane. It is often used to represent signage, such as letters or signs on buildings and walls.
You can add model text to families that are visible in 3D views, such as wall, door, window, and furniture families. Model text can be inserted both in project views and in the family editor. However, it cannot be used in families that are only represented in two dimensions, such as annotations, detail components, or contour families.
Model text offers several customizable attributes, including font, size, and material.
The Cutting Surface Effect on Model Text
When model text intersects a view section, it will appear as a section in the plan view. If a family is displayed as a section, the model text that is part of the family will also be sliced and shown in either the plan view or the reflected ceiling plan. If a family cannot be sliced, the model text will not be displayed as a section.
For more information about which families can be displayed as sections, refer to the official documentation.
To add model text in Revit, follow these steps:
- Set the work plane where you want the text to appear.
- Click Model Text from either the Architecture tab (Model panel) or the Structure tab (Model panel).
- In the “Edit Text” dialog box, enter the desired text and click OK.
- Move the cursor into the drawing area. As you move the cursor, a preview of the model text will display.
- Position the cursor where you want the model text to be placed and click to insert it.
To edit model text in Revit:
- Model text that is saved in a family and loaded into a project cannot be edited in the project view.
- In the drawing area, select the model text you want to edit.
- Go to the “Modify | General Model” tab, select the “Text” panel, and then click “Edit Text”.
- In the “Edit Text” dialog box, change the text as needed and click OK.


Must log in before commenting!
Sign Up