How to Filter Out Unwanted Models in Revit Projects
When working on a Revit project, it’s common to have multiple models loaded simultaneously. Filtering out unwanted models quickly can help streamline your workflow. Here’s a step-by-step guide on how to do this efficiently.
-
Open your project, then navigate to the Manage tab. Under the Select panel, click on the Edit command, as shown below:

-
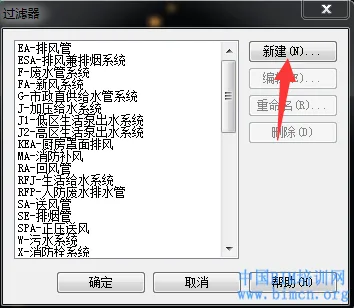
In the filter dialog that appears, click the New button to create a new filter.
-
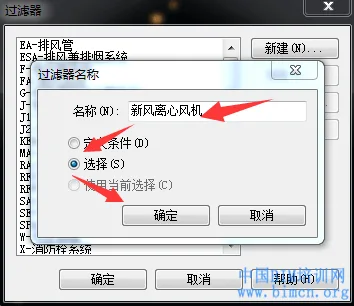
In the Filter Name dialog box, rename your filter to Fresh Air Centrifugal Fan. Make sure to check Select, then click OK.
-
With the cursor showing two plus signs, click on the Fresh Air Centrifugal Fan family. The family will be grayed out. Select all the fresh air centrifugal fan models you want to filter out (you can choose any model you wish to exclude).
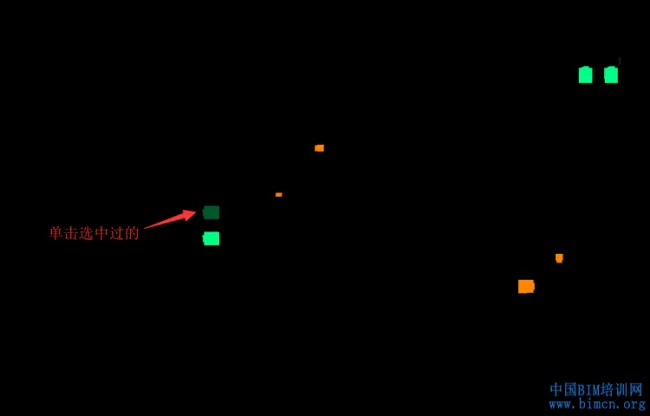
Once your selection is complete, click Finish Selection in the Edit Selection Set window.

-
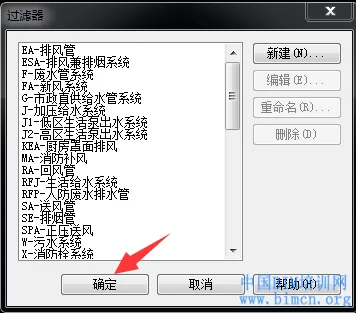
Click OK in the filter dialog box to save your filter.
-
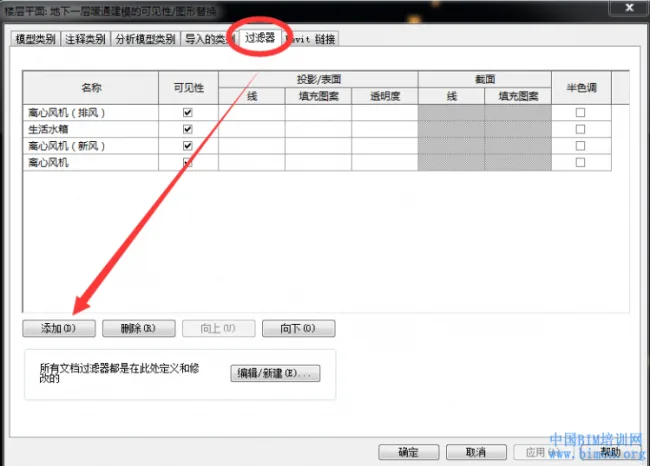
Next, open the Visibility/Graphics Overrides dialog and click Edit. Then select the Filters tab and click Add.
-
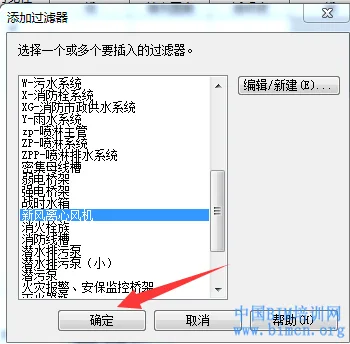
In the Add Filter dialog box, select the newly created filter Fresh Air Centrifugal Fan and click OK.
-
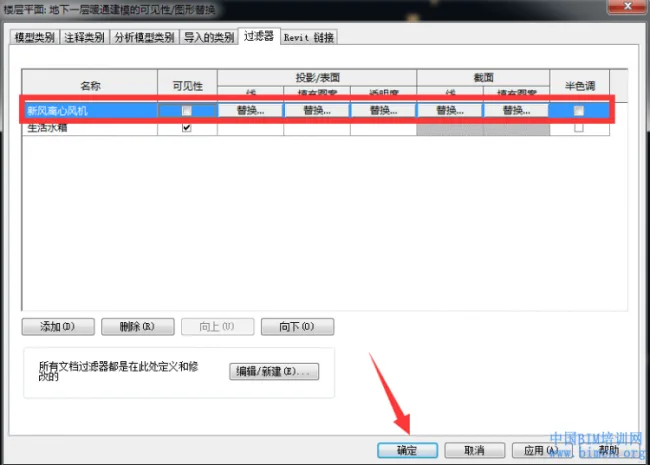
Uncheck the visibility box for Fresh Air Centrifugal Fan in the Visibility/Graphics Overrides dialog, then click OK to apply the changes.
-
Now, the fresh air centrifugal fan models are filtered out of your view. You can apply this method to filter out any models you don’t need in your project.
Benefits: Quickly filtering out unnecessary models helps improve software performance and simplifies your modeling process.
Related Skills:
- Filter settings in Revit (using mechanical templates as an example)
- How to transfer view templates and filters across projects in Revit


As shown in the picture, I didn’t see it
The image has been updated and can now be viewed.