BIM World
A Professional BIM Learning Platform


How to Create Sloping Roofs in Revit Using BIM Techniques (Type 3)

Source: Applied Consultation Society

How to draw a sloping roof in Revit using BIM techniques? How to draw sloping roofs in Revit (Type 3)

There are two main methods to draw sloping roofs like this in Revit.

How to draw a sloping roof in Revit using BIM techniques? How to draw sloping roofs in Revit (Type 3)

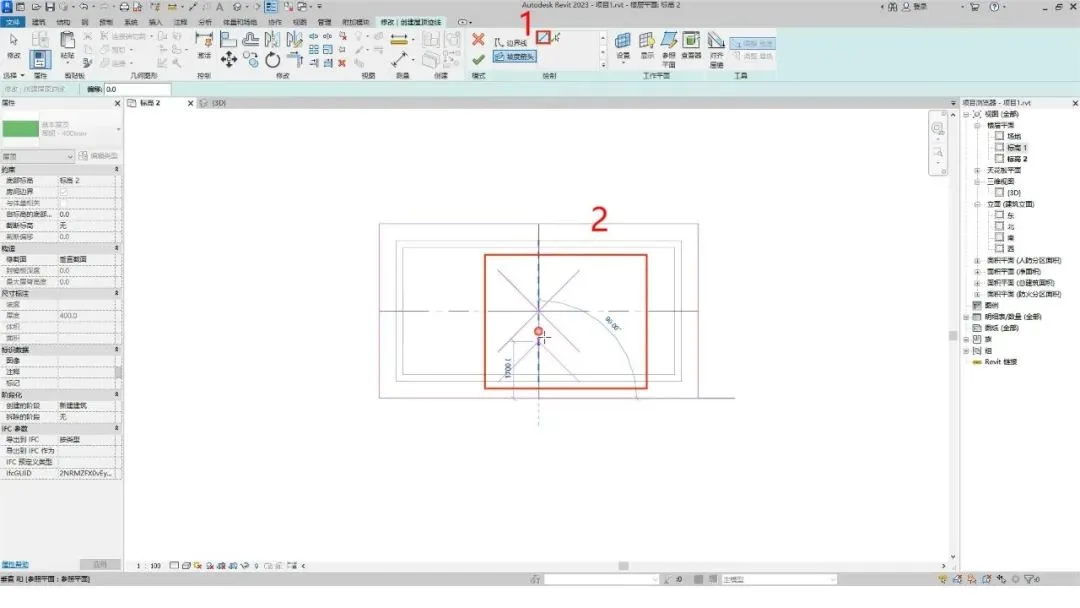
Method 1: Defining the Slope

Start by clicking the Roof button located under the Building tab.

How to draw a sloping roof in Revit using BIM techniques? How to draw sloping roofs in Revit (Type 3)

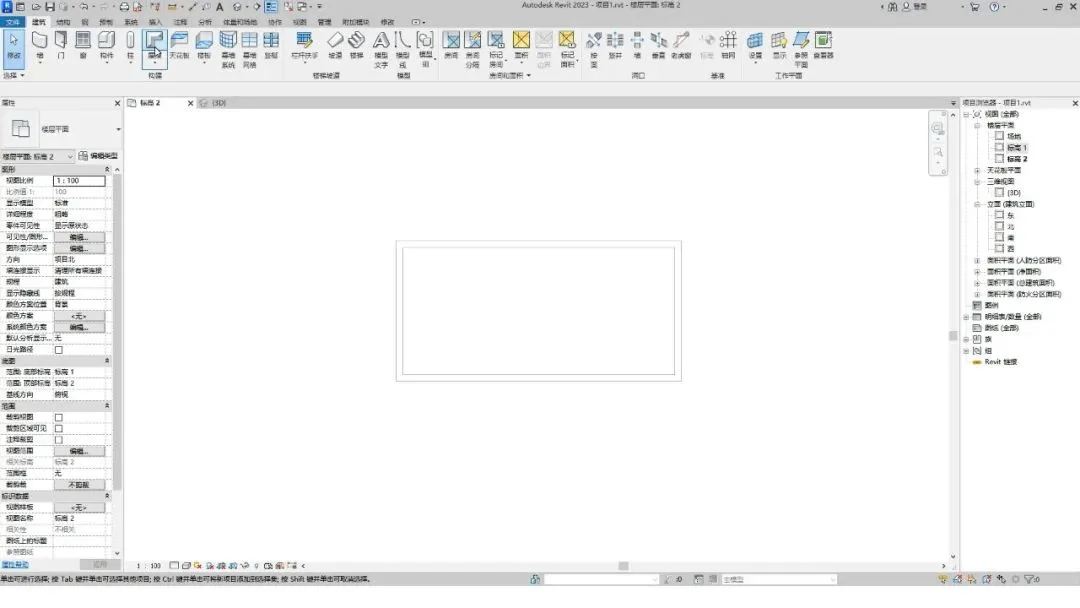
Select the Rectangle tool to draw the roof outline.

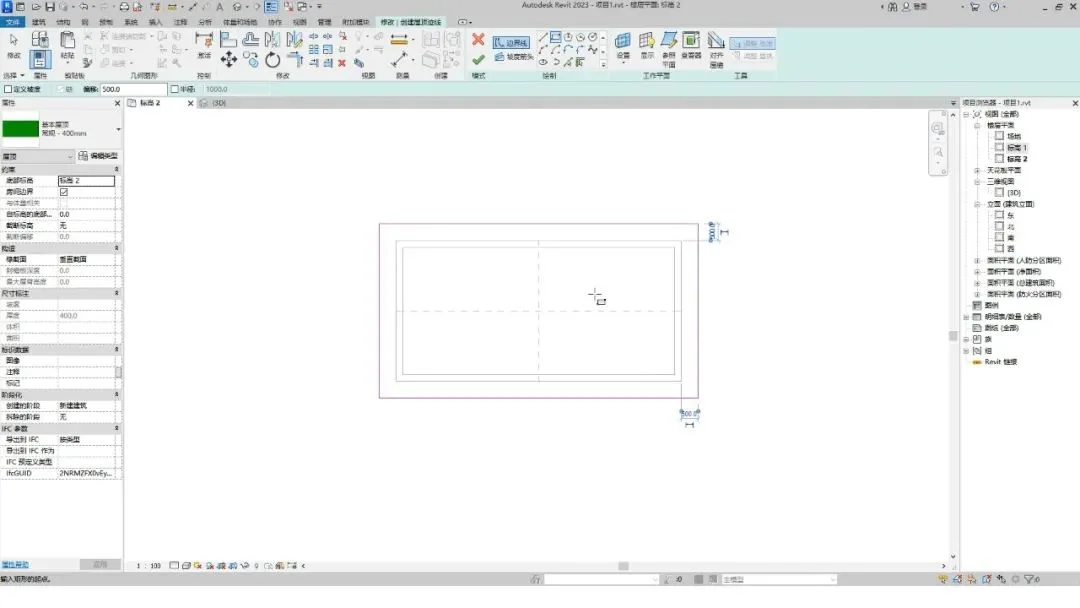
Set the offset value to 500 before drawing.

Next, draw the roof boundary.

How to draw a sloping roof in Revit using BIM techniques? How to draw sloping roofs in Revit (Type 3)

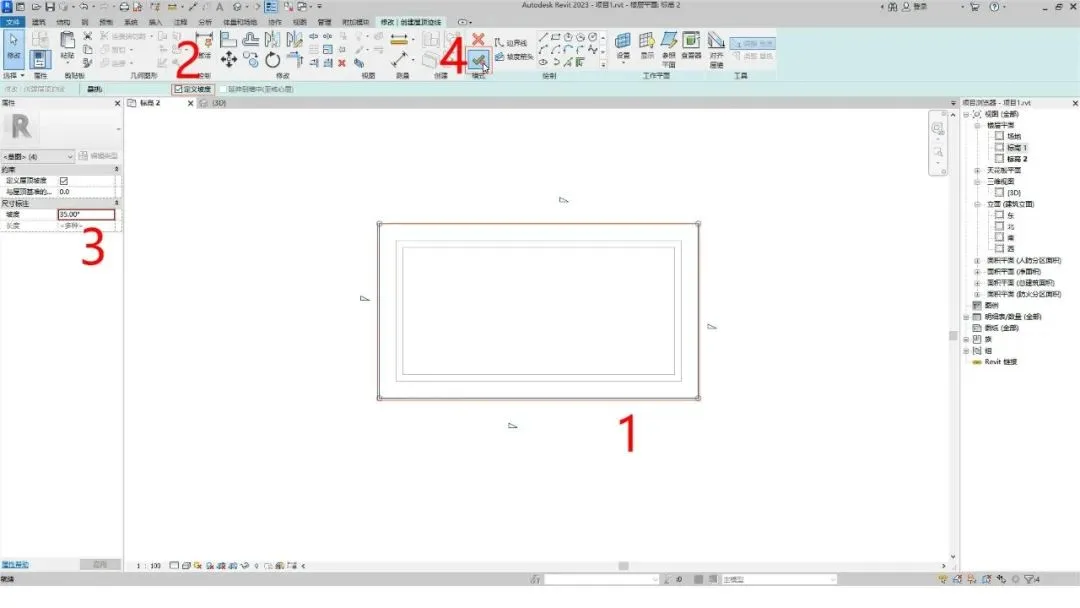
Select all edges of the roof outline.

Then, apply slope definitions to these edges.

Change the slope value to 35 degrees.

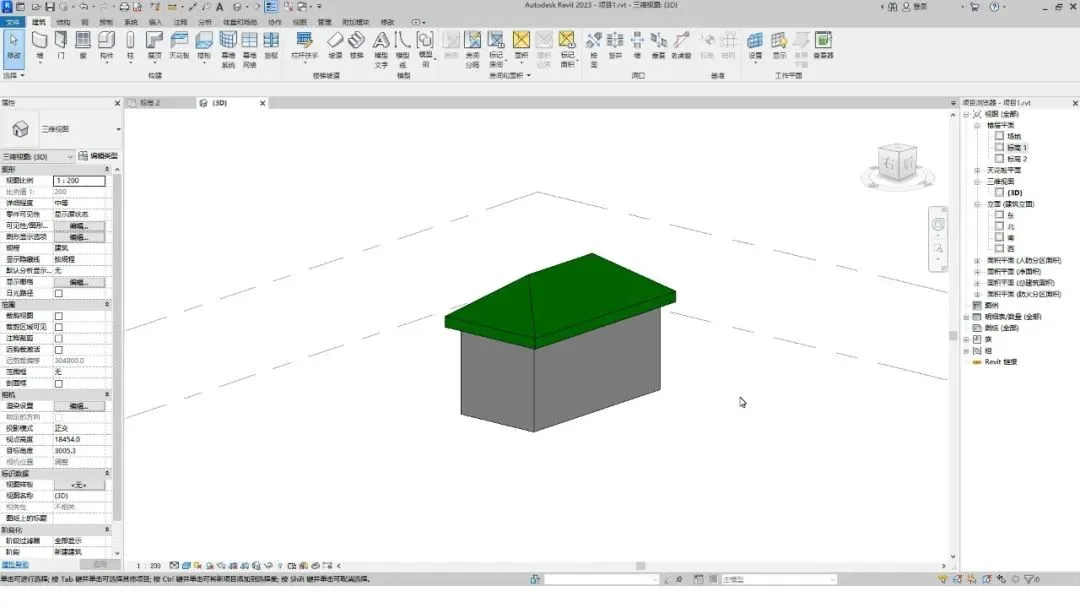
Finally, click the Finish button to complete the roof sketch.

How to draw a sloping roof in Revit using BIM techniques? How to draw sloping roofs in Revit (Type 3)

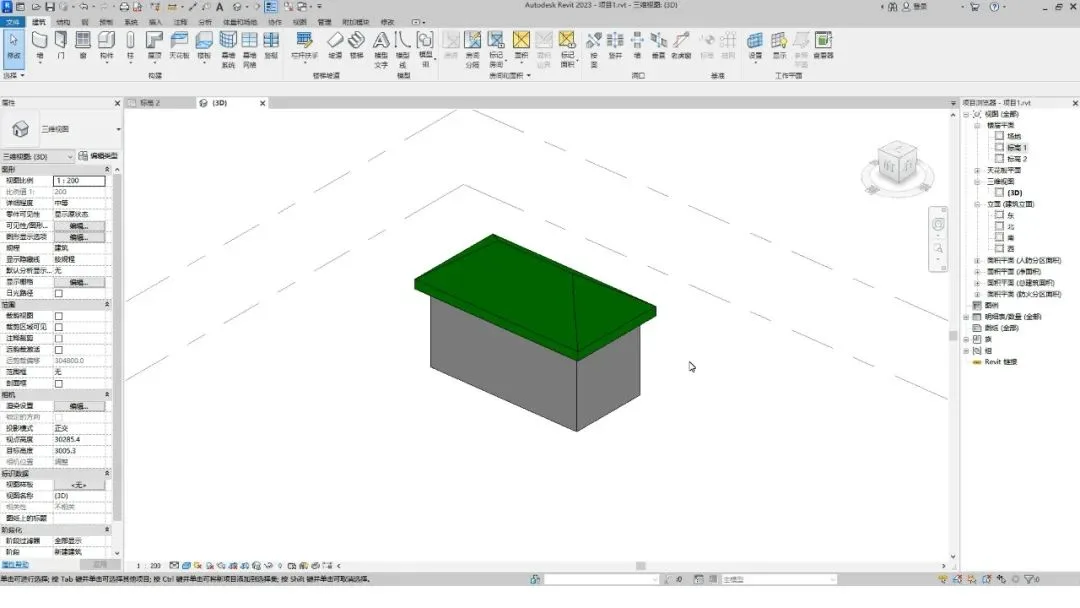
Once done, switch to a 3D view to review the sloping roof.

How to draw a sloping roof in Revit using BIM techniques? How to draw sloping roofs in Revit (Type 3)

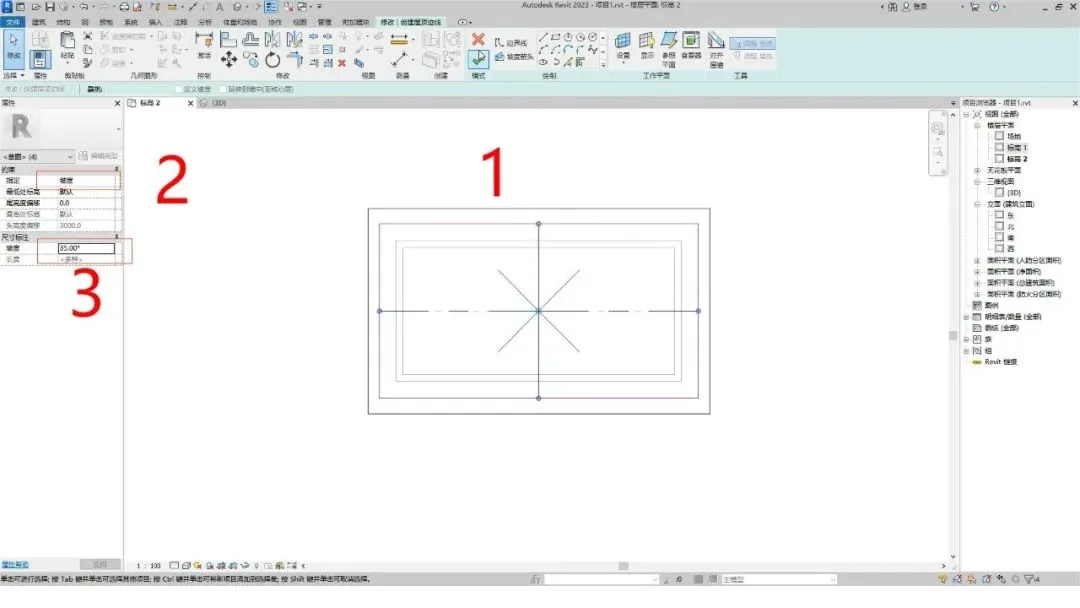
Method 2: Using Slope Arrows

Begin by drawing the roof outline as before.

How to draw a sloping roof in Revit using BIM techniques? How to draw sloping roofs in Revit (Type 3)

Next, select the Slope Arrow tool.

At the midpoint of each of the four roof edges, draw slope arrows pointing towards the center of the roof.

How to draw a sloping roof in Revit using BIM techniques? How to draw sloping roofs in Revit (Type 3)

Select all the slope arrows you just created.

In the Properties panel, set the “Defines Slope” option to enabled.

Adjust the slope value to 35 degrees.

Click the Finish button to finalize the roof.

How to draw a sloping roof in Revit using BIM techniques? How to draw sloping roofs in Revit (Type 3)

Switch to a 3D view to inspect the completed sloping roof.

Job complete.

How to draw a sloping roof in Revit using BIM techniques? How to draw sloping roofs in Revit (Type 3)

xuebim
Follow the latest BIM developments in the architecture industry, explore innovative building technologies, and discover cutting-edge industry insights.
← Scan with WeChat
Like(0) 打赏
BIM WORLD » How to Create Sloping Roofs in Revit Using BIM Techniques (Type 3)

Comment Get first!

Must log in before commenting!


BIM World, A Professional BIM Learning Platform

Stay updated on the latest architecture trends and share new building technologies.

Contact UsAbout Us

觉得文章有用就打赏一下小编吧

非常感谢你的打赏,我们将继续提供更多优质内容,让我们一起创建更加美好的网络世界!

支付宝扫一扫

微信扫一扫

Account Login

By signing in, you agree toUser Agreement

Sign Up