Content source: Applied Consultation Society

Have you ever faced the issue where the corners of a Revit curtain wall fail to connect properly? Many users encounter this problem, but there is a straightforward solution to achieve perfectly connected curtain wall corners. Keep reading to learn how!
When curtain walls are drawn in different directions, the corner connections often show significant flaws.
So, how can we fix this? The answer is simple: modify the curtain wall panels.

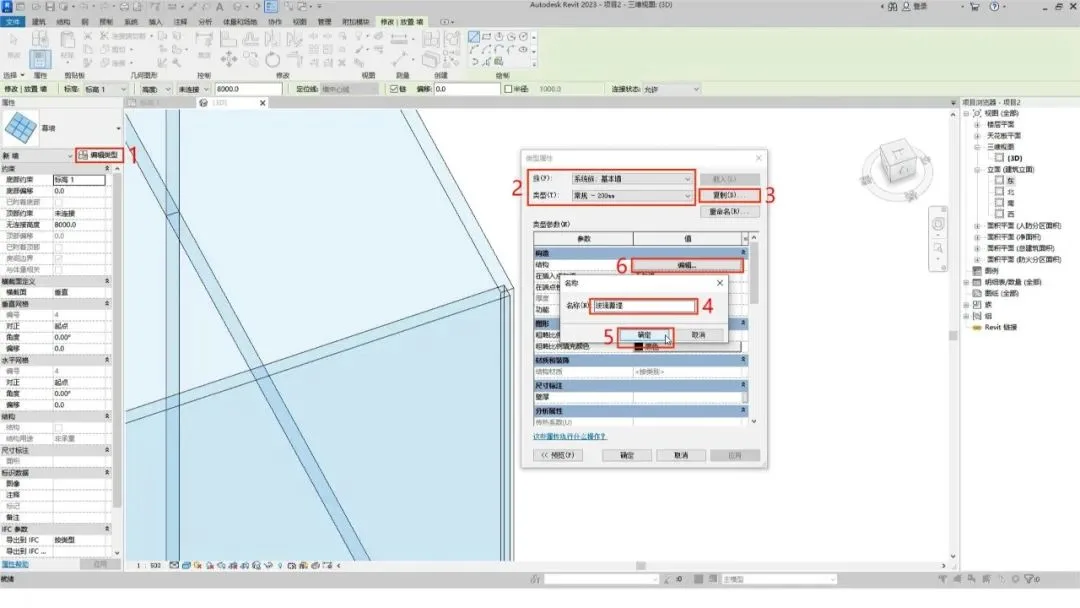
Start by clicking the Wall button in the Architecture tab, then select Edit Type.
Change the family to Basic Wall and set the type to Regular 200.
Next, click Copy, rename it as Glass Curtain Wall, and then click Edit.
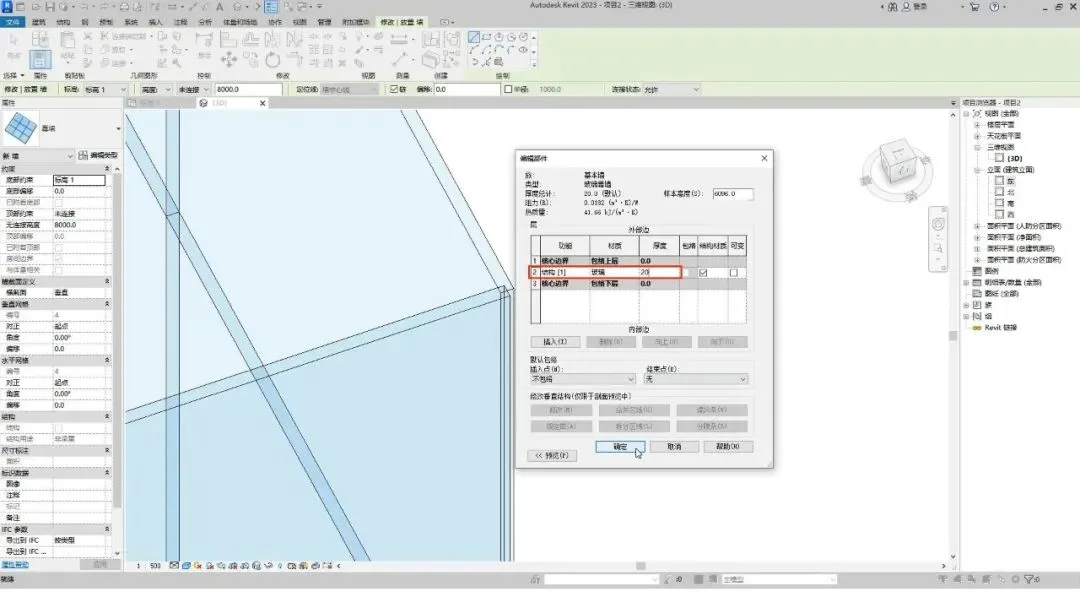
Change the material to glass and set the thickness to 20.
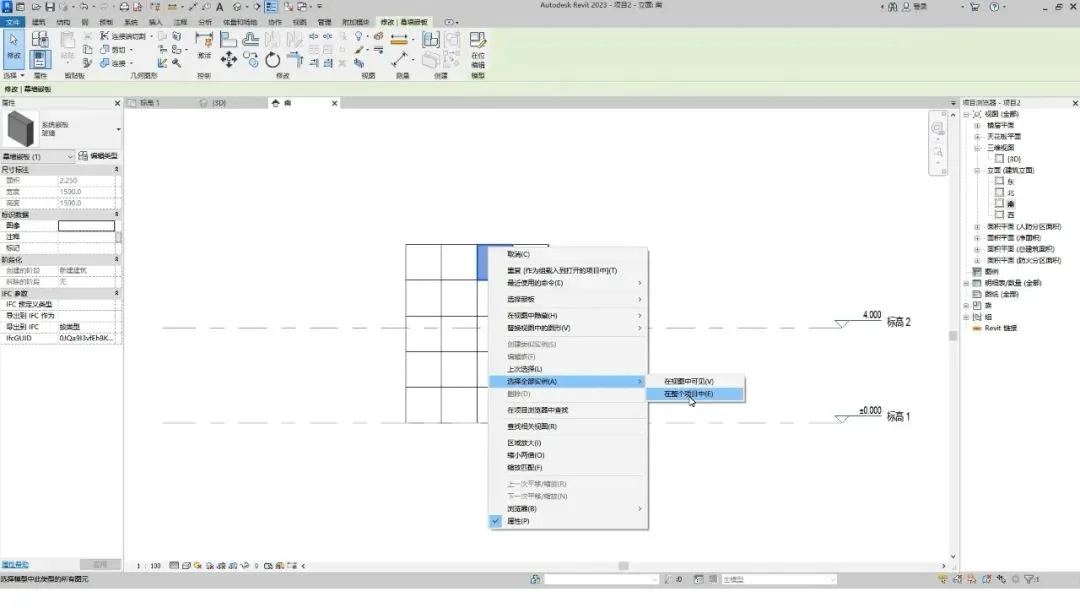
Exit the drawing mode and switch to the elevation view.
Randomly select a curtain wall panel, right-click it, and choose Select All Instances → In Entire Project.
Then, change the type of all selected panels to the newly created Glass Curtain Wall.
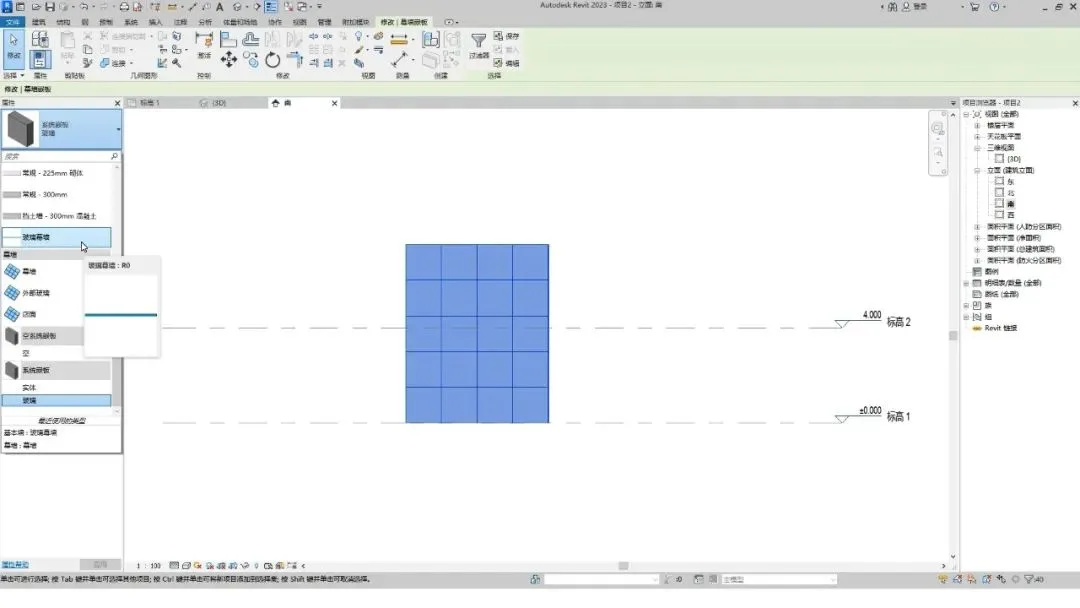
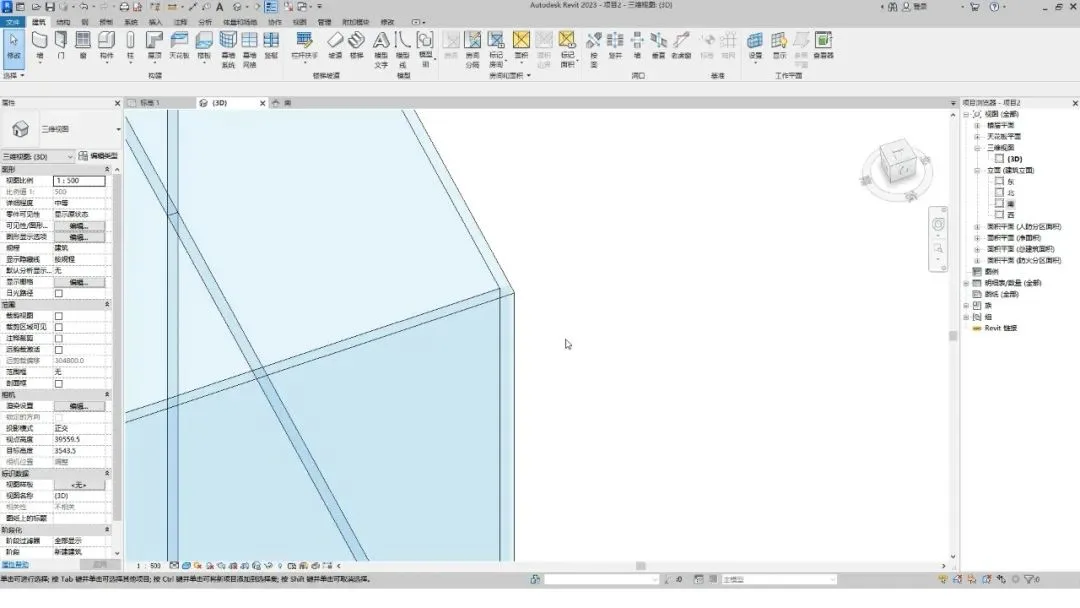
Finally, return to the 3D view to check the results. The curtain wall corners are now perfectly connected.


Must log in before commenting!
Sign Up