Today, we will learn how to draw heating and ventilation ducts using Revit.
Step 1: First, open your project file within the Revit interface.
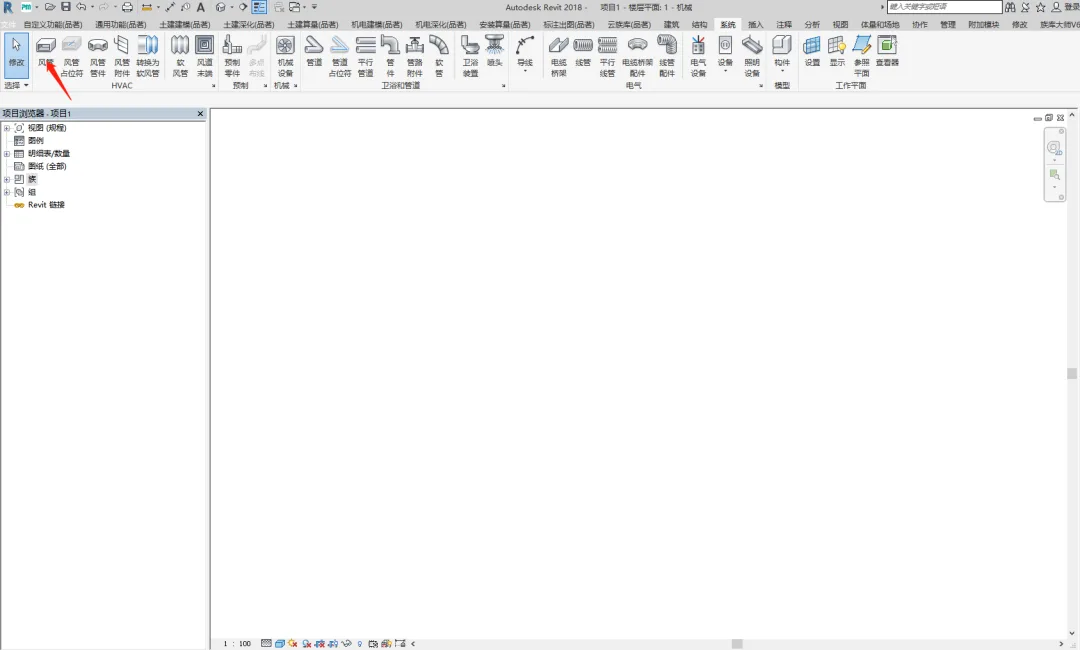
Step 2: Once the project is open, locate the system options menu at the top of the interface. Here, you will find systems for air, water, and electricity.
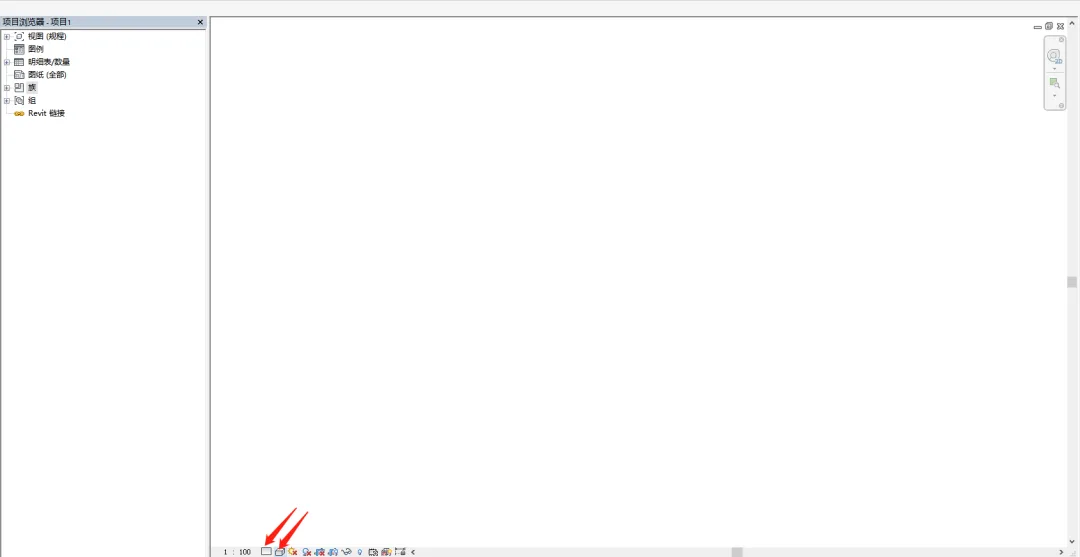
Select the duct option (shortcut key DT) to begin drawing. Before you start, adjust the project’s detail level to Fine and set the visual style to Shading for better clarity.
Step 3: Duct Drawing
Air ducts come in two main shapes: circular and rectangular.
There are three methods for drawing ducts horizontally and another three for vertical duct drawing.
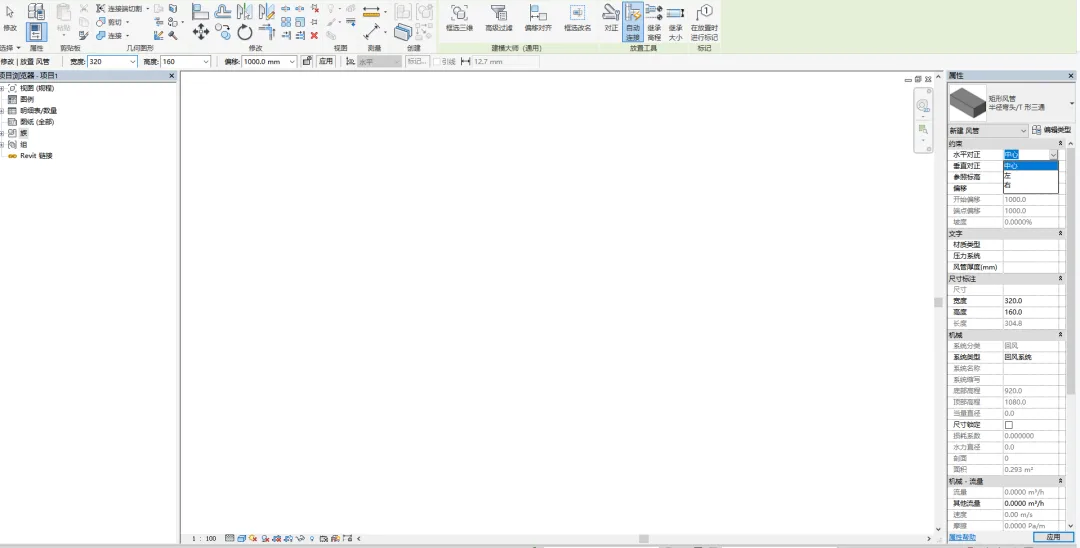
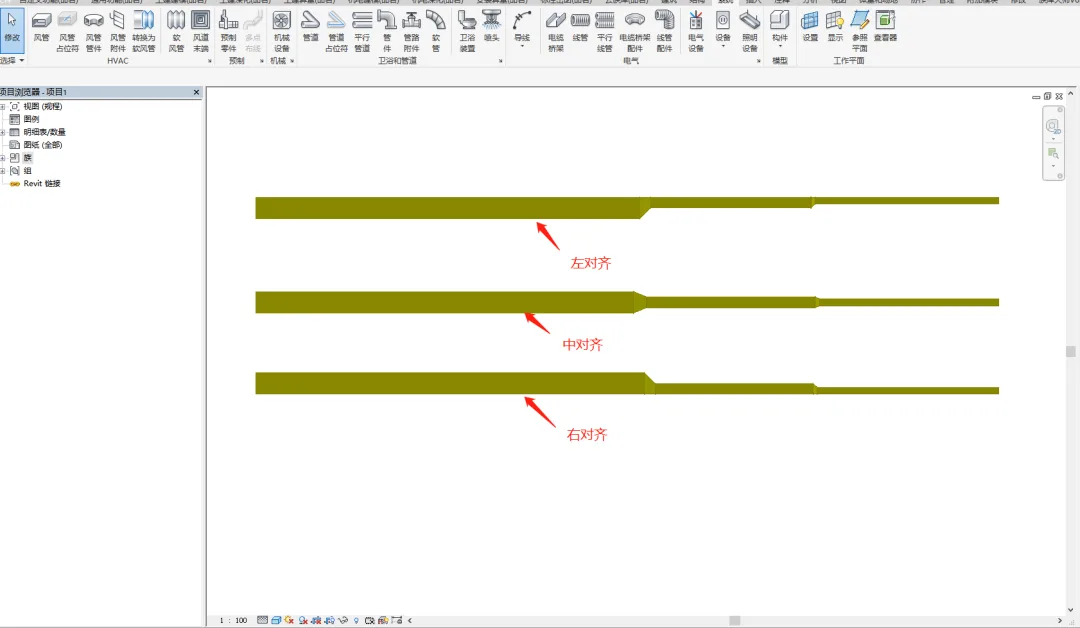
First, draw three horizontal duct sections with the following dimensions:
- 1000mm x 500mm
- 500mm x 320mm
- 320mm x 160mm
Align these sections to the left, center, and right, respectively.
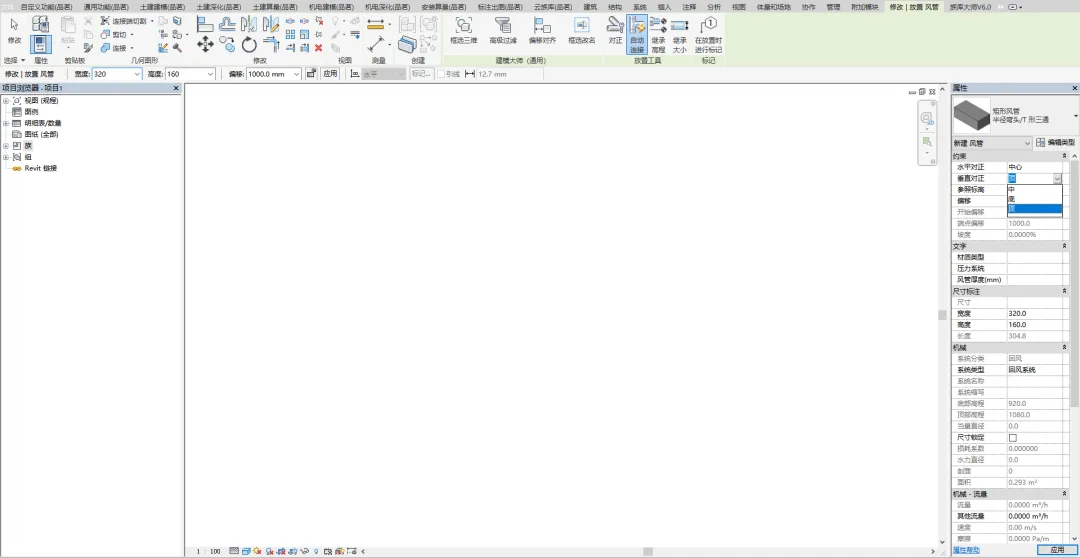
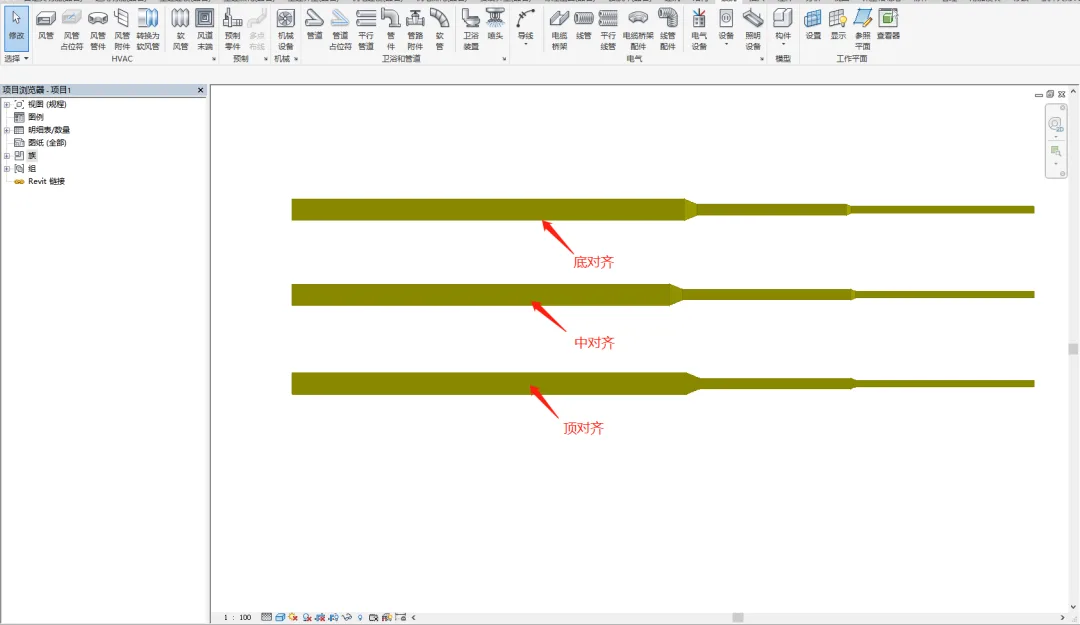
Next, draw three vertical duct sections with the same dimensions mentioned above.
These should be aligned at the top, center, and bottom, respectively.
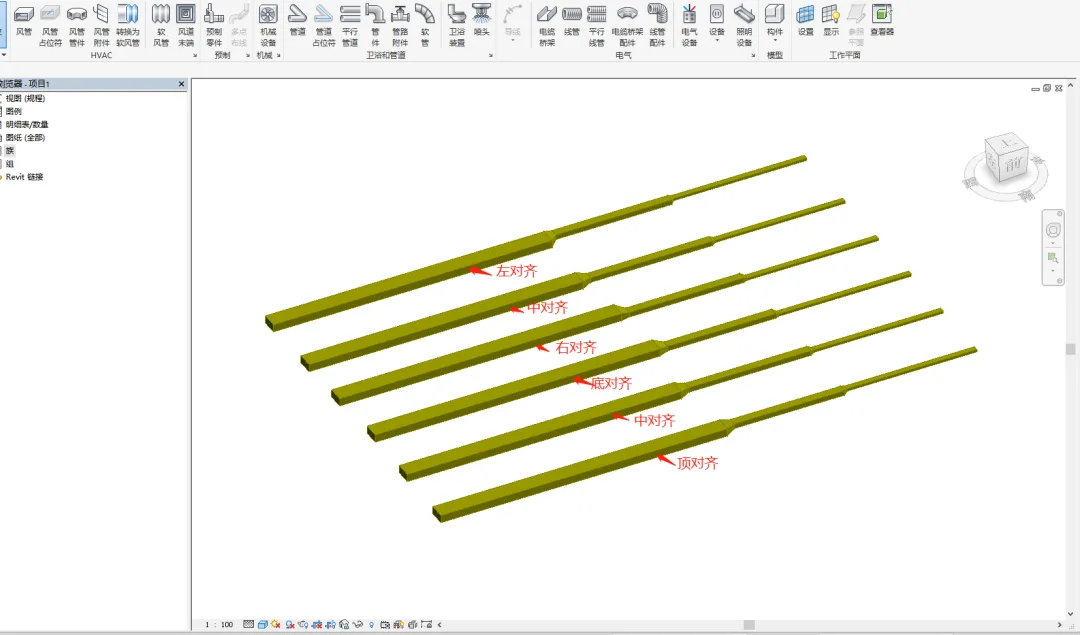
Finally, review the six different duct types in 3D to clearly observe their variations.
With that, your duct drawing process is complete.


Must log in before commenting!
Sign Up