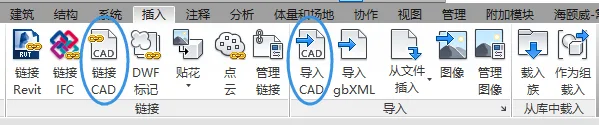
When inserting CAD drawings into Revit for modeling, there are generally two options: linking the CAD file or importing it. But what exactly is the difference between these two methods? And which one should you choose?
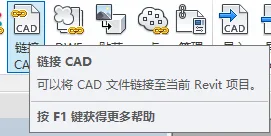
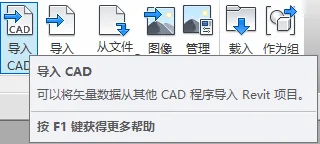
By hovering your mouse over the options, you can see their brief explanations. Linking a CAD file means attaching the CAD drawing to your current Revit project as a reference. Importing a CAD file, on the other hand, brings the vector data from the CAD software directly into the Revit project.
Simply put, the terms “linking CAD” and “importing CAD” in Revit don’t clearly reveal their practical differences.
After thorough research and experimentation, here are the key differences discovered:
- Linking CAD is similar to inserting a hyperlink in Office software. When you link a CAD file, the original CAD file must remain accessible. If you move or delete the original CAD file outside of Revit, the linked drawing will no longer be visible in your Revit project. Essentially, linking borrows the external CAD file, so the connection depends on the file’s location.
- Importing CAD embeds the CAD data directly into the Revit project. This merges the two files into one, making the CAD data part of your Revit file. Changes made to the original CAD file after import will not affect the imported drawing within Revit. However, importing increases the size and memory usage of your Revit file since the CAD data is stored internally.
Note that when using plugins for tasks like mirror modeling (such as flipping nozzles), only linked drawings can be recognized properly.
Therefore, it is generally recommended to insert CAD drawings by linking them rather than importing.


Must log in before commenting!
Sign Up