This article is from the WeChat official account: Hongjian Smart Building.

In this guide, we will demonstrate how to quickly generate floor tiles in Revit using floor slabs. Follow these steps:
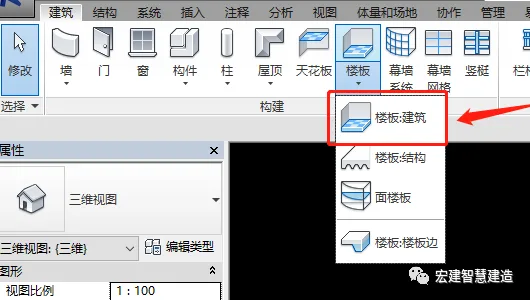
First, select the floor slab and choose the building floor slab.
Next, set the structural material of the floor slab according to the desired process.

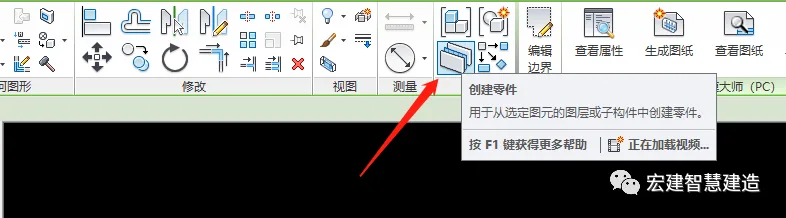
Then, select the created floor slab and click on “Create Part.”
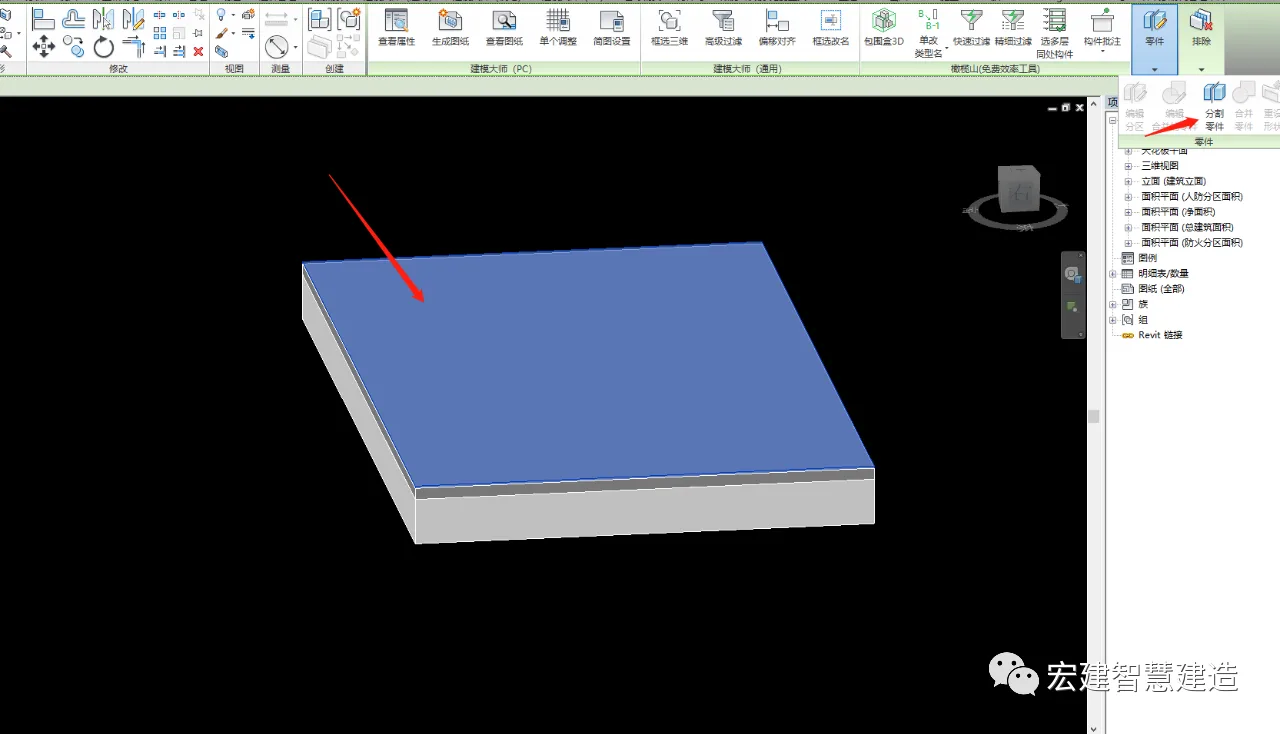
Click on the topmost floor slab and locate the segmented component.
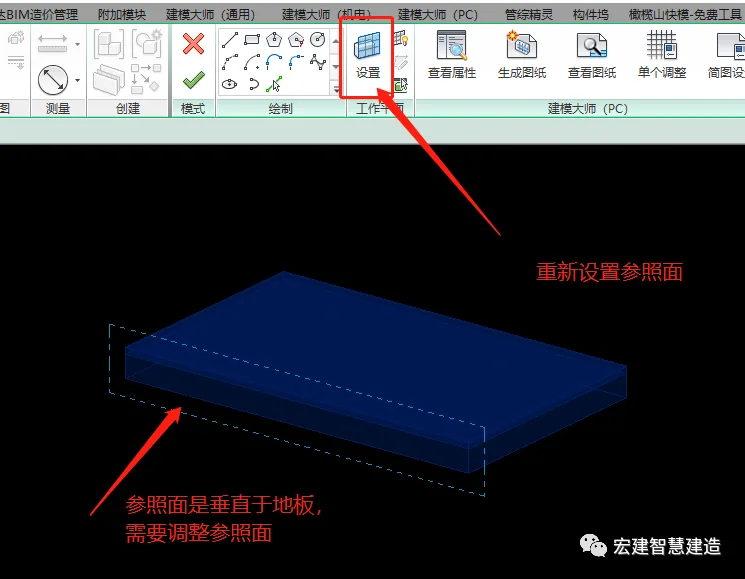
Choose the option to edit the sketch.
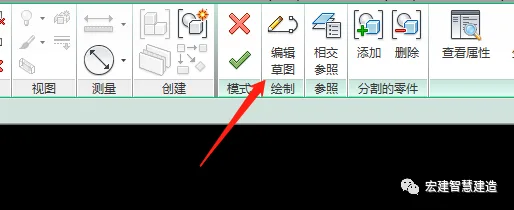
While editing the sketch, ensure the reference plane is flat. If it is not, use the “Set Plane” tool to reset the reference plane.
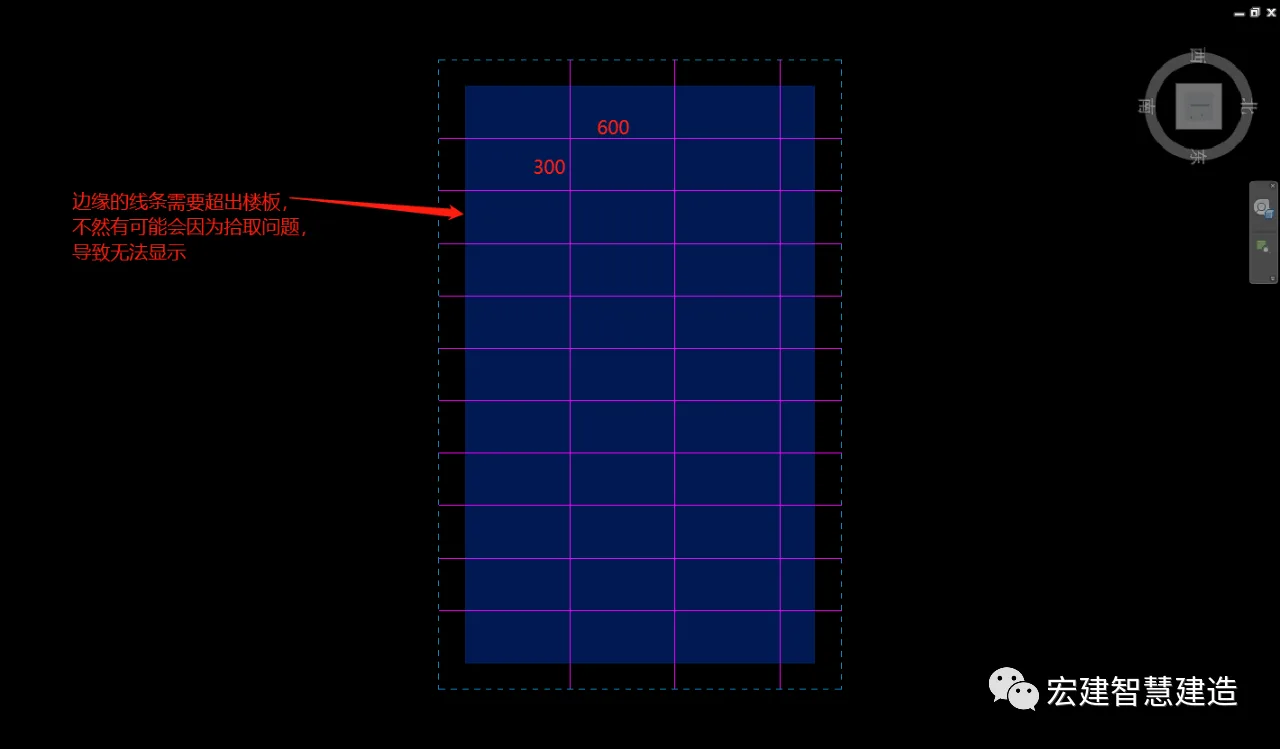
Assuming the area will use 600×300 mm tiles, draw the tiles accordingly in that space.
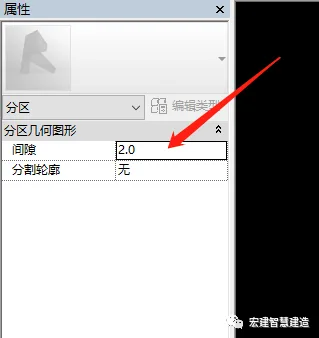
In the adjacent property browser, set the gap value to control the spacing between each tile.
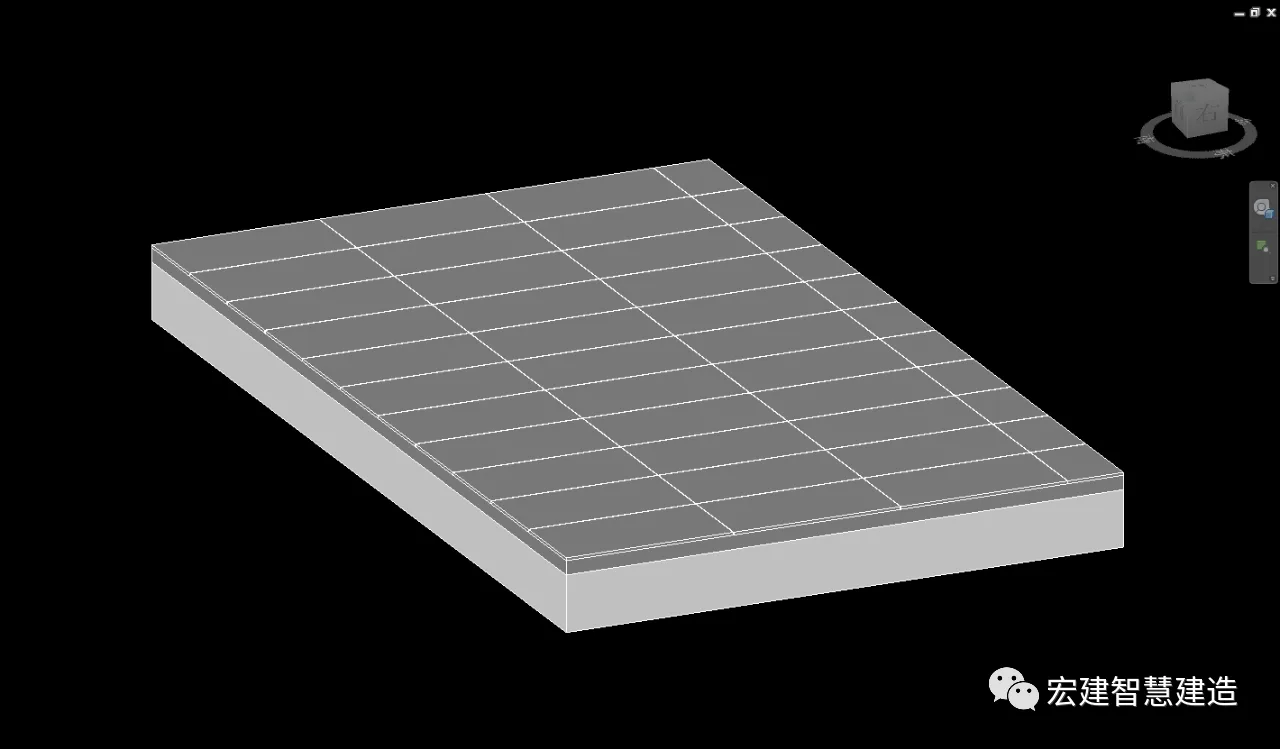
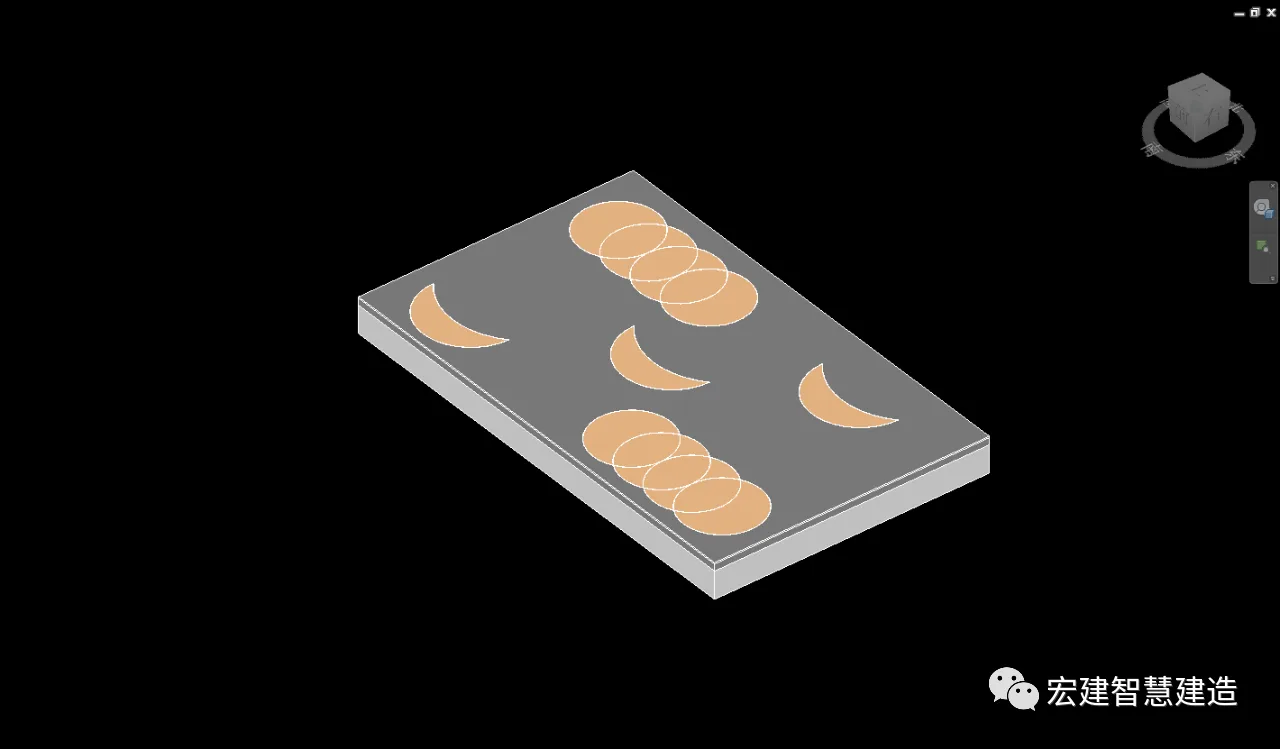
With these steps, the floor tiles are generated from the floor slab.
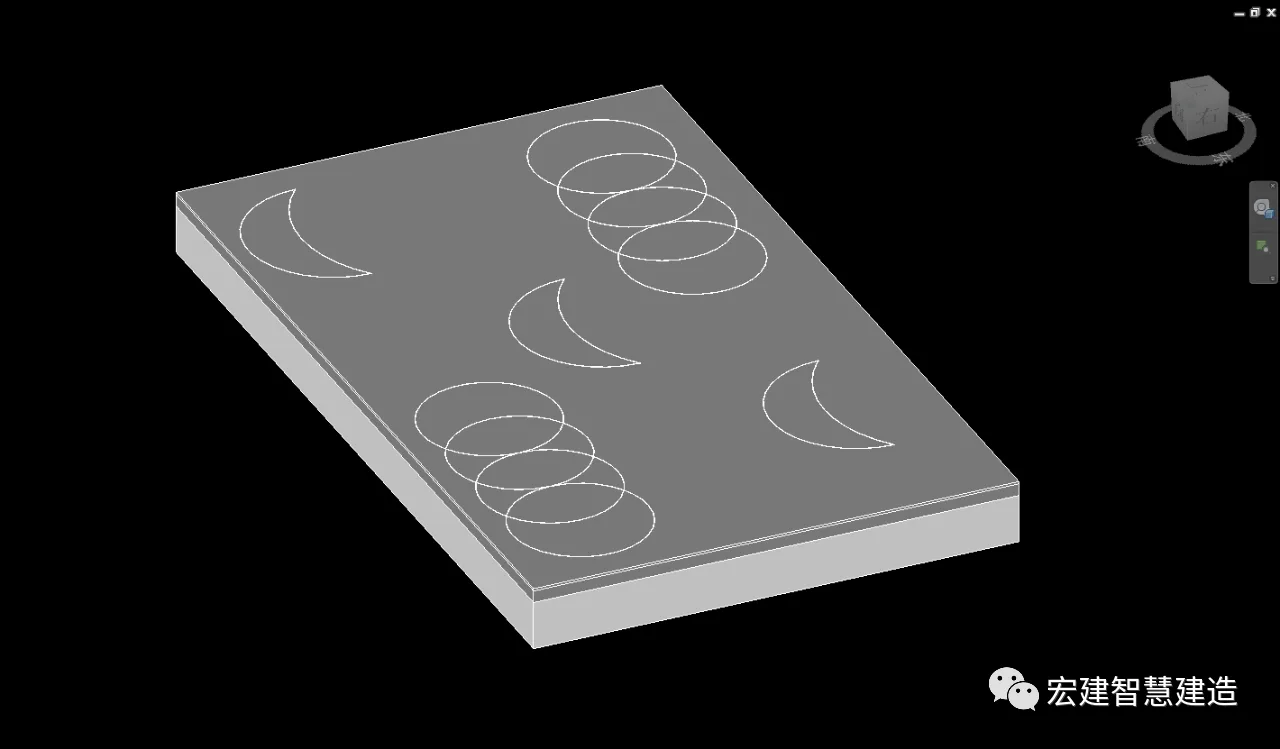
If the floor tiles require special shapes, you can directly draw the pattern while editing the sketch.
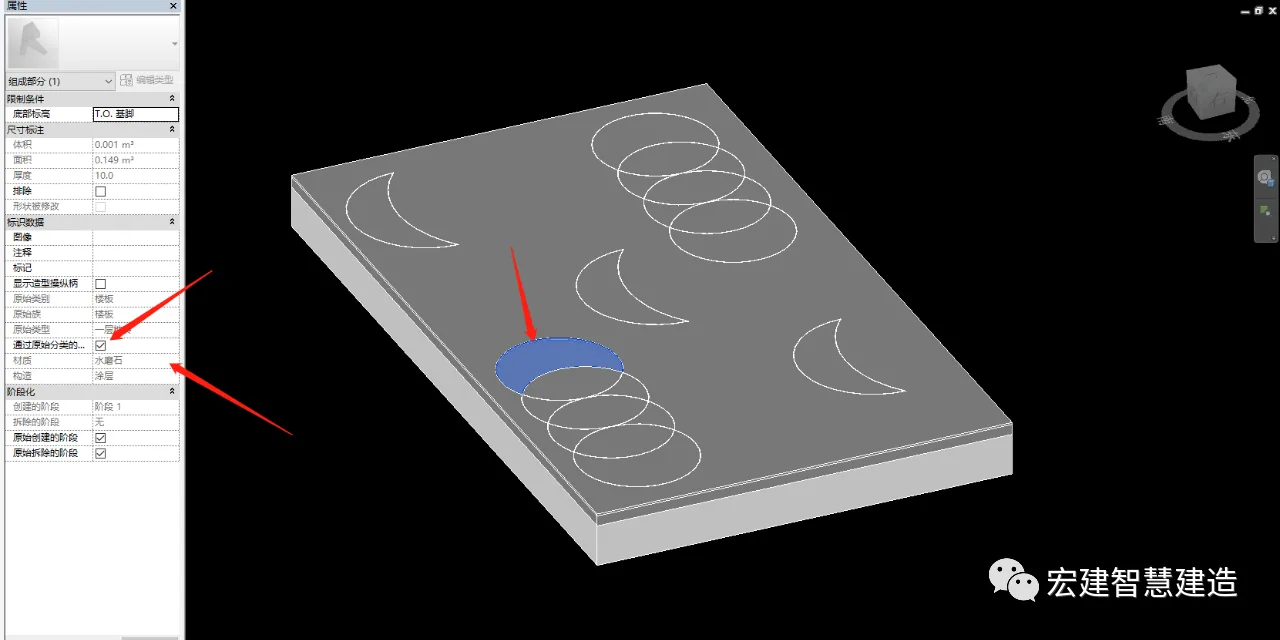
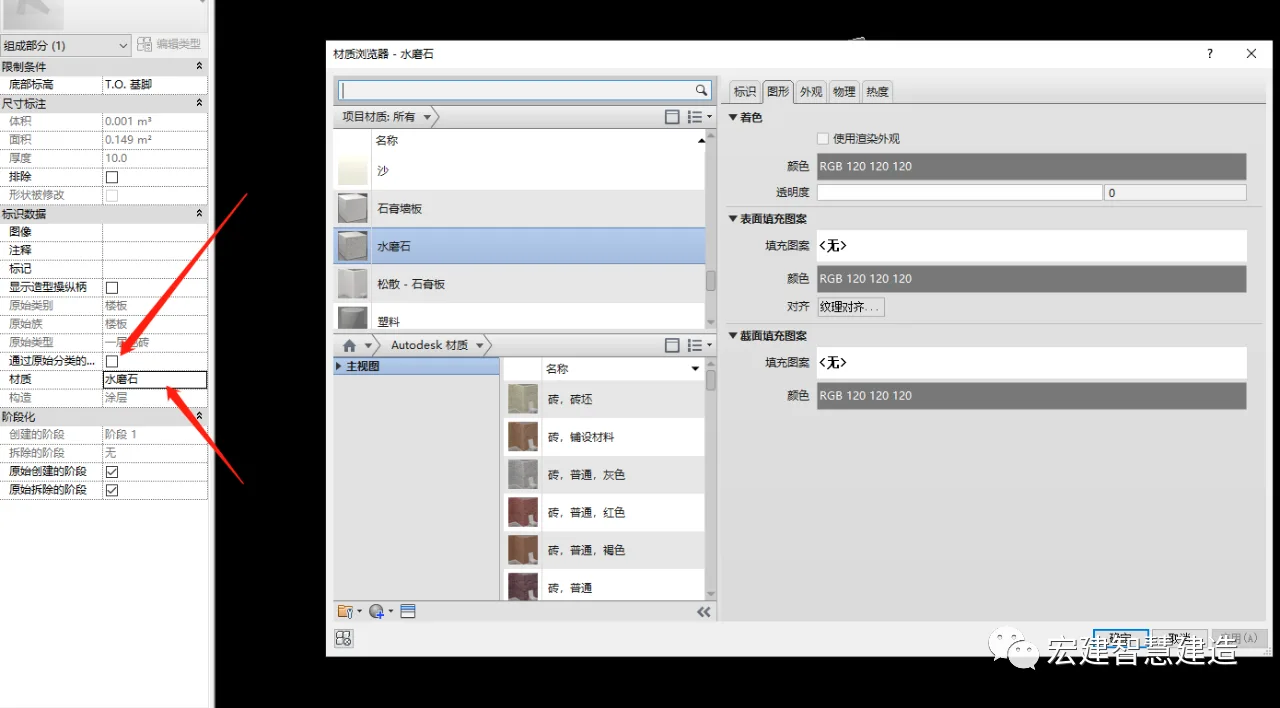
If the special design uses tiles made of different materials, select the pattern component and uncheck it in the property browser based on the original material classification. You can then freely change the material in the materials panel below.


Must log in before commenting!
Sign Up