To install Civil3D 2015, ensure your computer is running Windows 7, Windows 8.1, or Windows 10. Note that Civil3D 2015 supports only 64-bit systems; it is not compatible with Windows XP or 32-bit systems. If your system meets these requirements, follow the steps below:
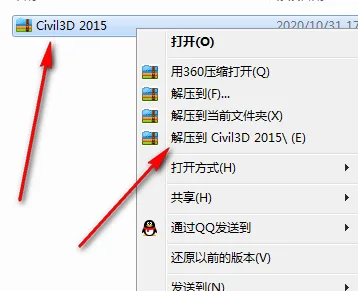
1. Right-click on the downloaded Civil3D 2015 file and unzip it to a folder named Civil3D 2015.
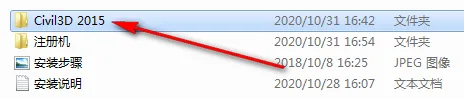
2. Open the unzipped Civil3D 2015 folder by double-clicking it.
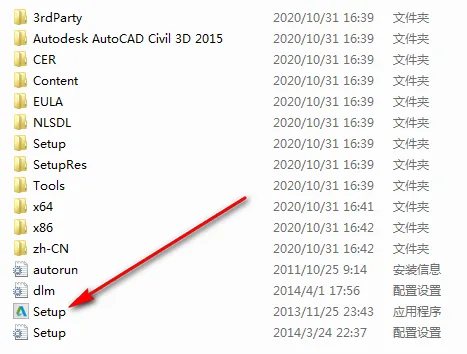
3. Double-click Setup to start the installation process.
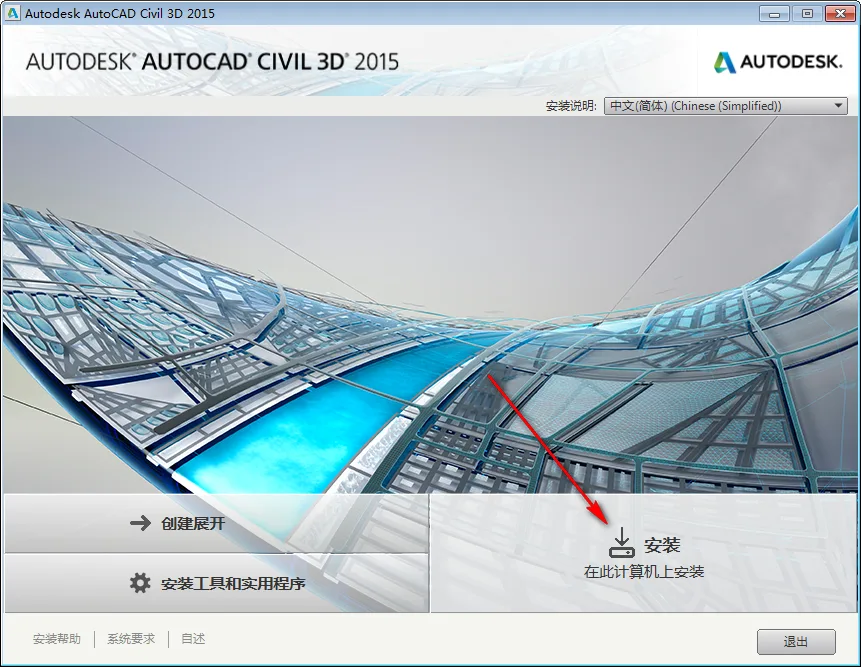
4. Click the button to begin installation.
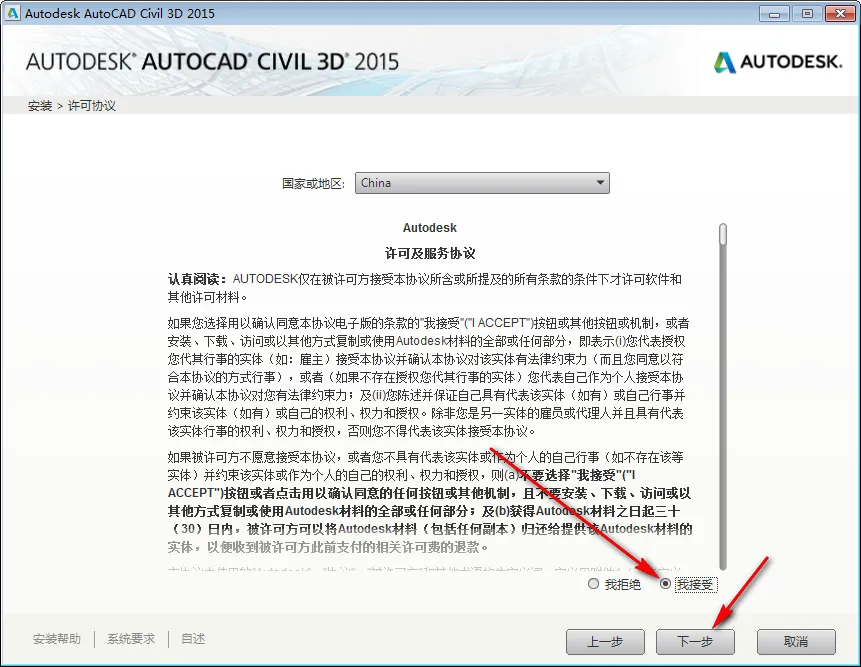
5. Accept the license agreement by clicking Accept, then proceed to the next step.
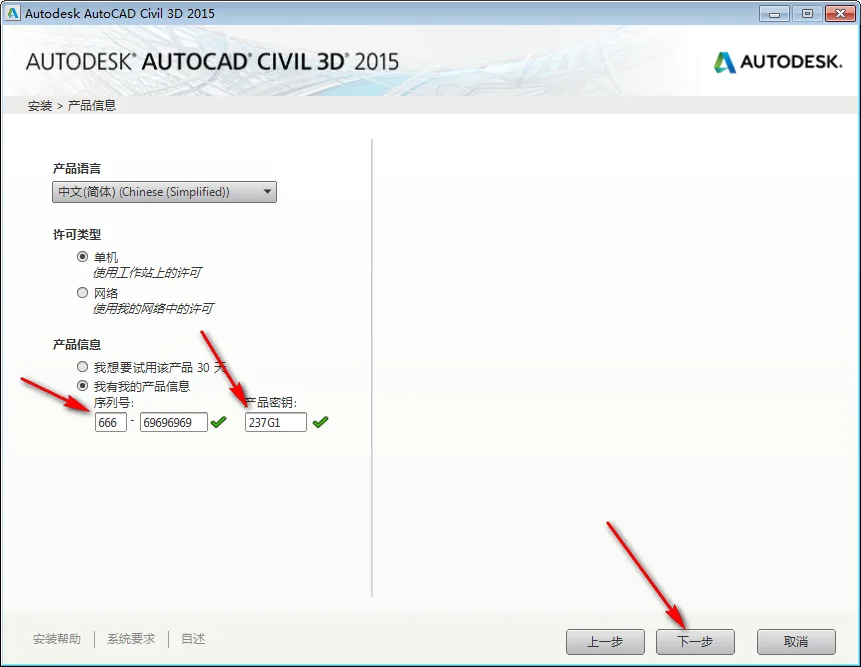
6. Enter the serial number and product key, then click Next.
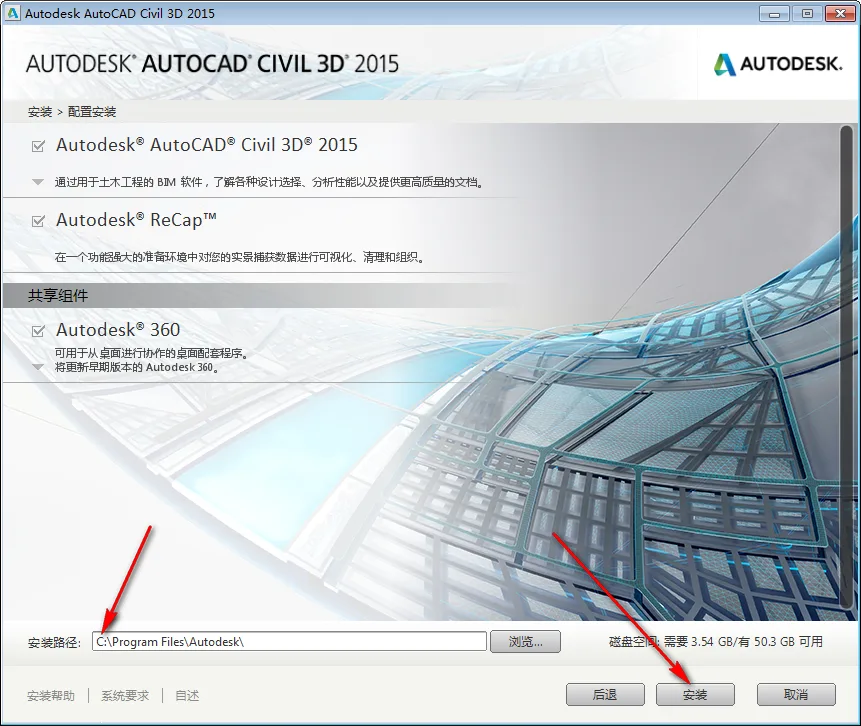
7. Change the installation drive to your preferred location (for example, from C: to D:) as indicated by the arrow, then click Install.
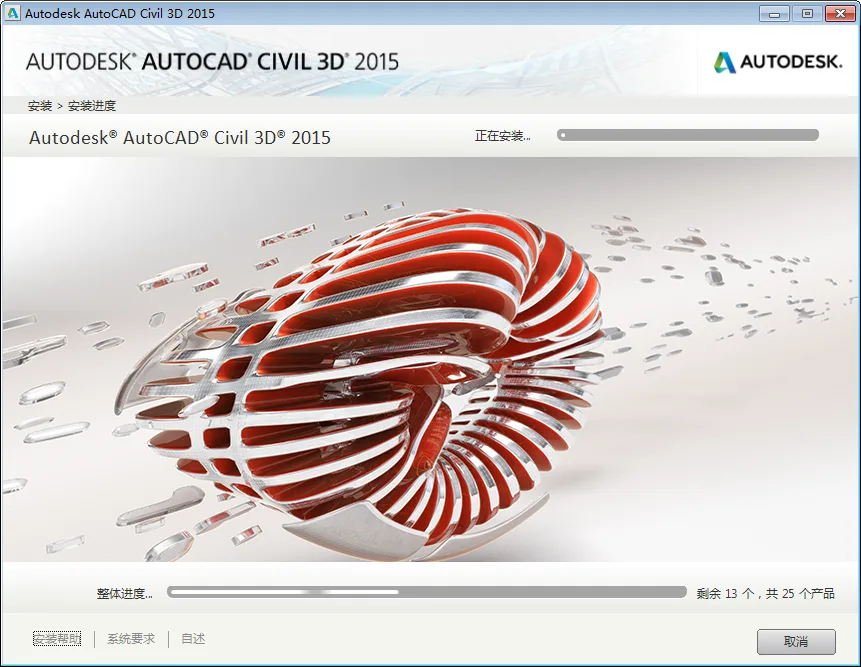
8. The installation is in progress. Please wait…
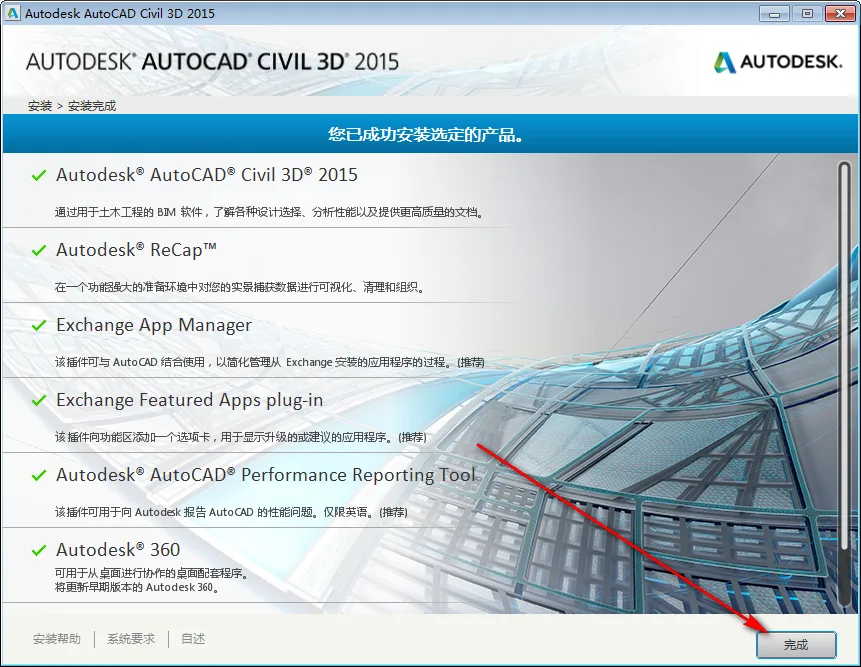
9. Once installation completes, click Finish.
10. When prompted, select No.

11. Double-click the Civil 3D 2015 icon on your desktop to launch the program.

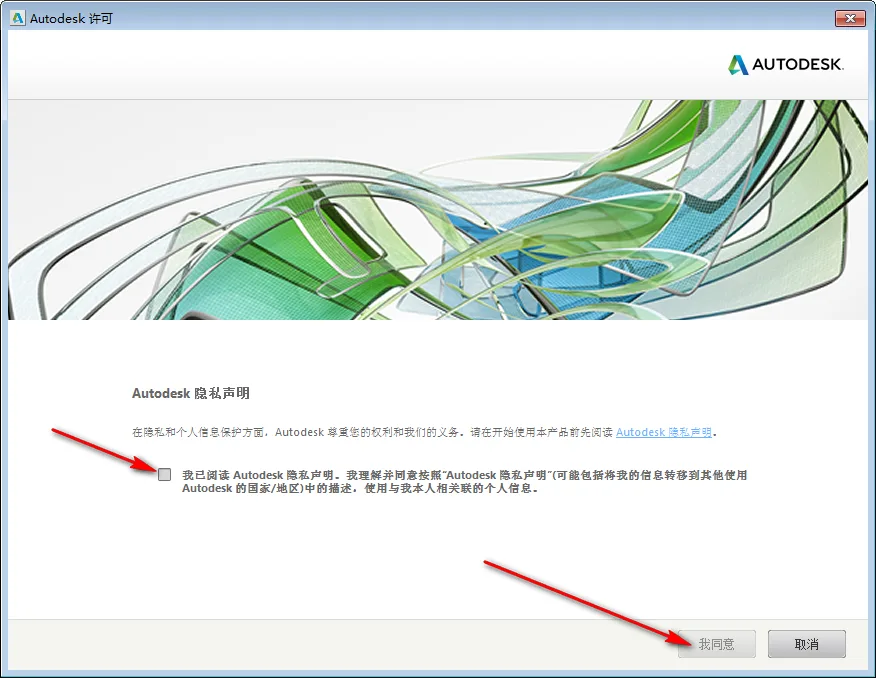
12. Check the box labeled I Agree to Autodesk Privacy Statement, then click I Agree.
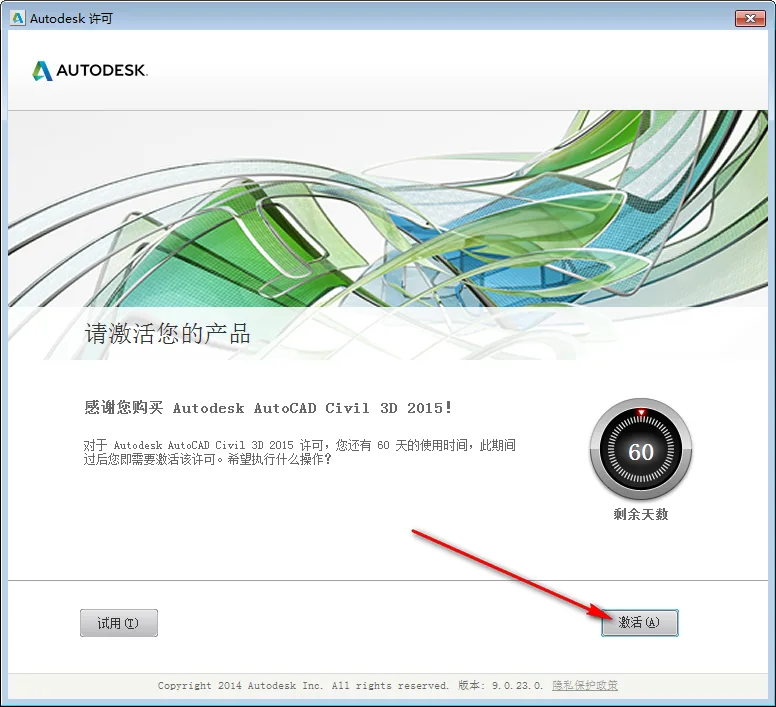
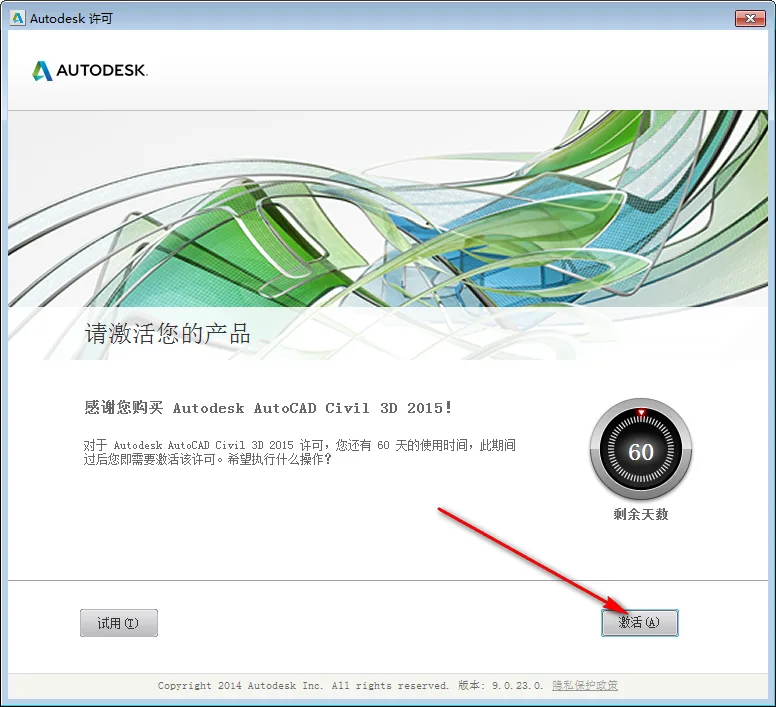
13. Click Activate to proceed.
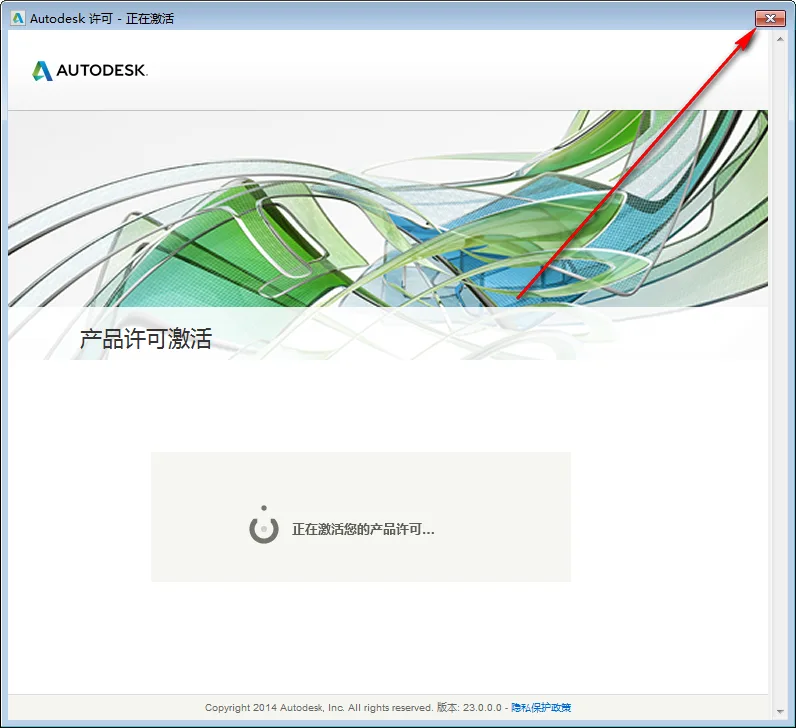
14. Close the activation window by clicking the upper-right corner.
15. Click Activate again.
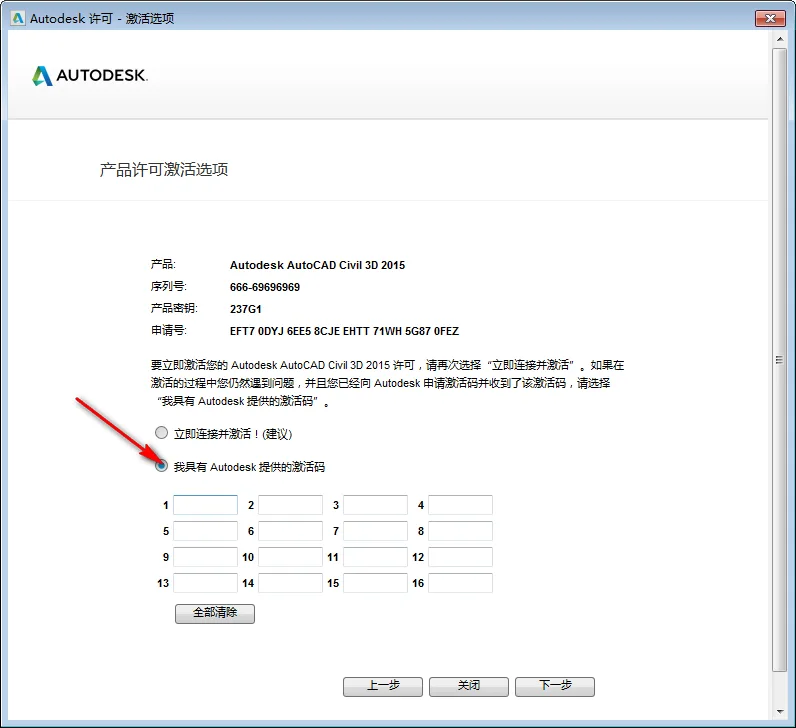
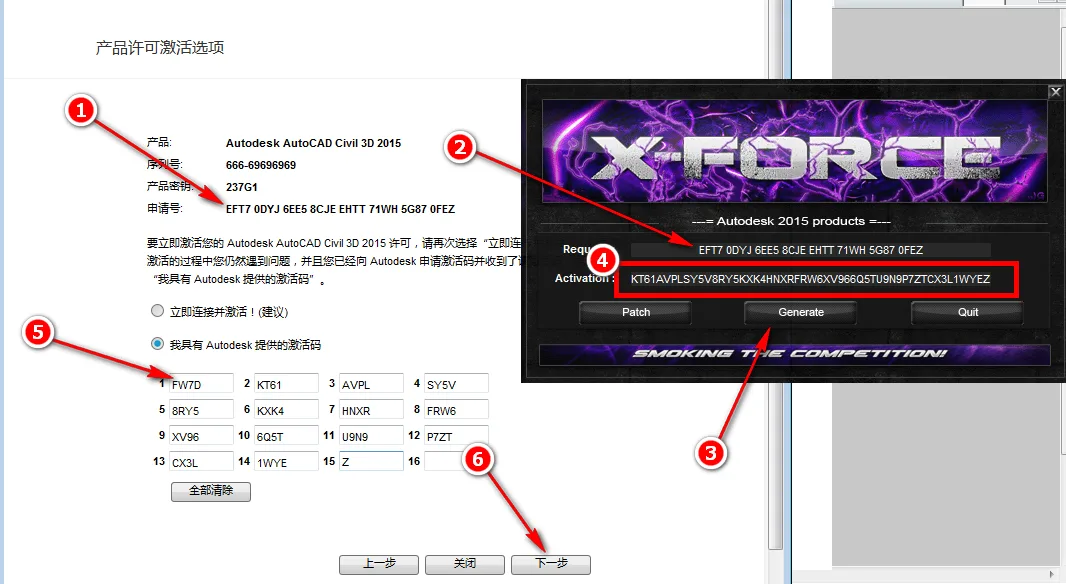
16. Select I have an activation code from Autodesk.
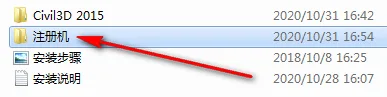
17. Return to the Civil3D 2015 folder, then open the Registry folder by double-clicking it.
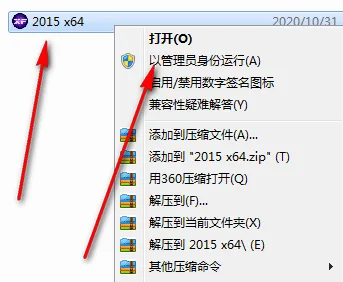
18. Right-click on 2015 x64 and select Run as administrator.
19. Click Patch and confirm by clicking OK.

20. Copy the request code shown in step 1, paste it into the box indicated by the arrow in step 2, then click Generate. Next, copy the activation code generated in step 4 and paste it into the box indicated by the arrow in step 5. Finally, click Next.
21. Click Finish to complete activation.
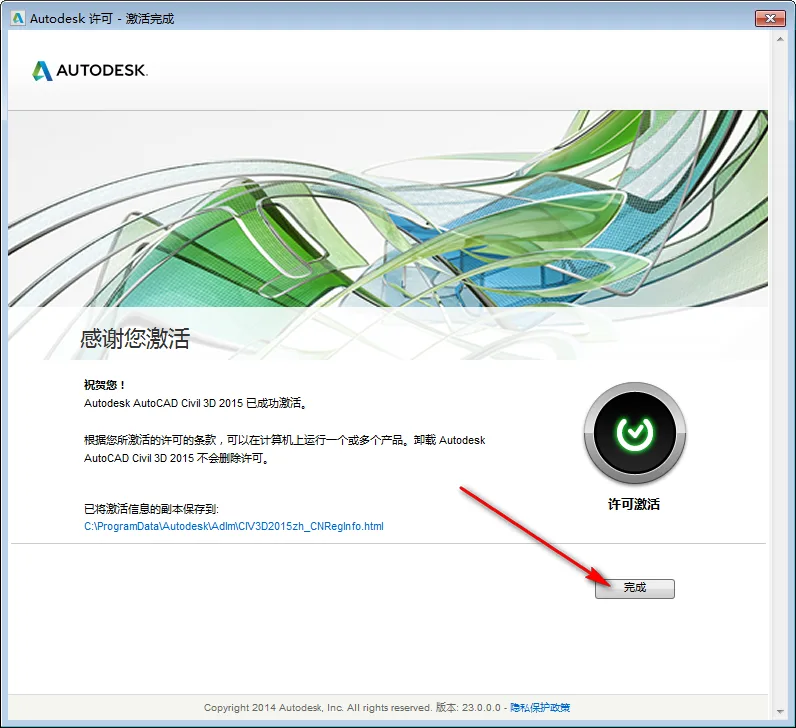
22. The installation is now complete. Thank you for following this guide!


Must log in before commenting!
Sign Up