This article is from the WeChat official account: Hongjian Smart Creation.

After completing the building’s structural modeling, the next step is to create detailed decorative elements. One common task is drawing floor tiles using footprint roofs in Revit. Here’s a step-by-step guide on how to do this:
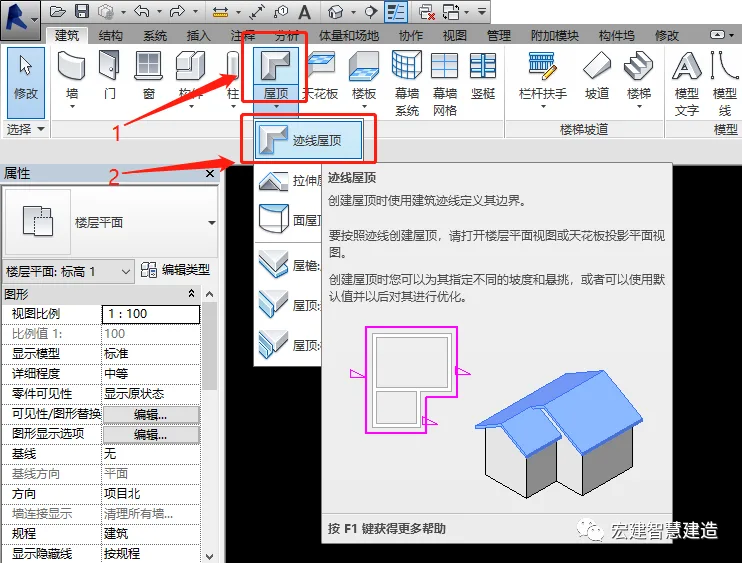
1. Create a Roof Using Footprint Roof
Click on the roof tool and select Footprint Roof to start creating your roof.
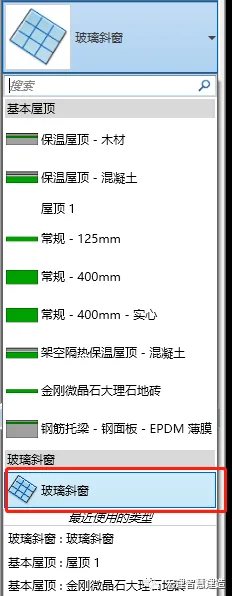
2. Select Basic Roof Type: Glass Slanted Window
Choose the basic roof type labeled Glass Slanted Window from the options.
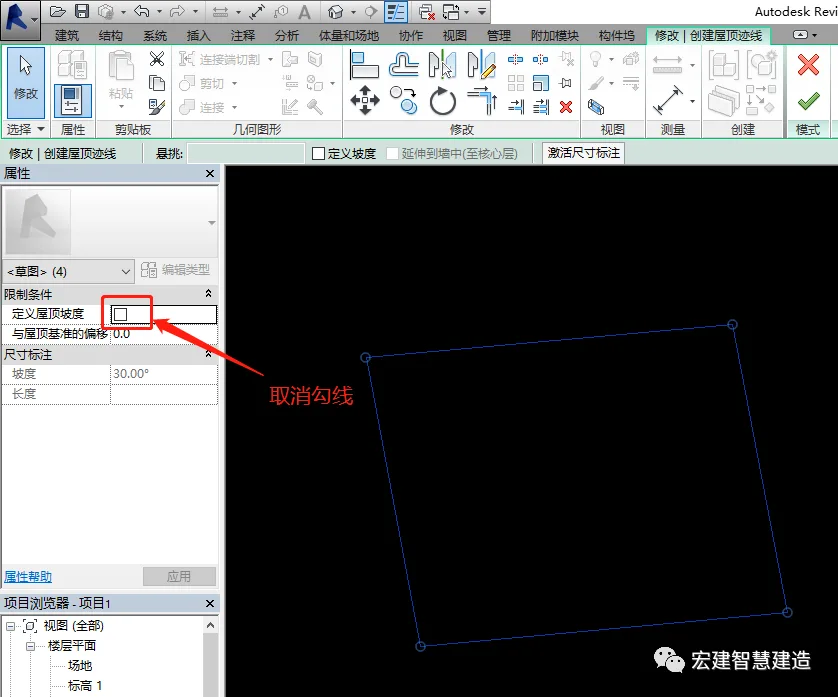
3. Disable Roof Slope
Click to cancel the option Define Roof Slope to avoid sloping the roof.
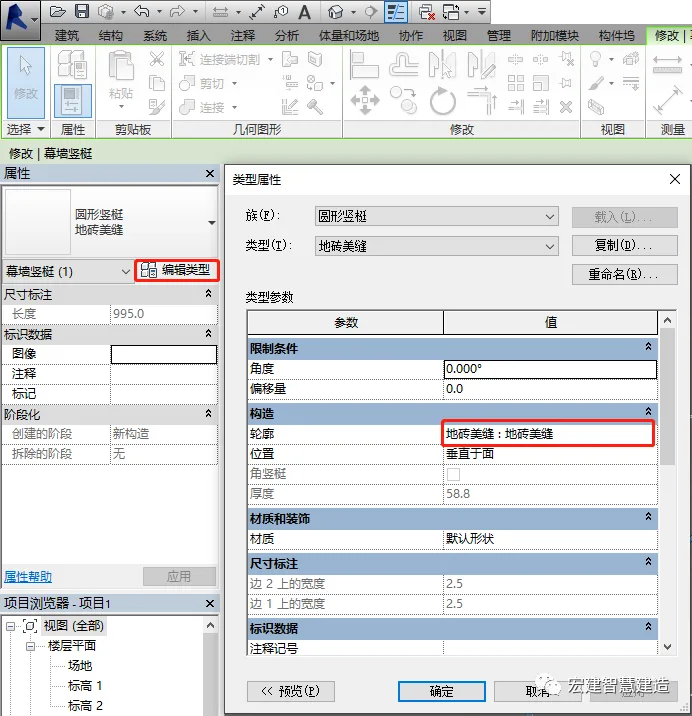
4. Set Tile Size and Replace Tile Type
Generate the required tile size, then click to change the tile type to your preferred style.
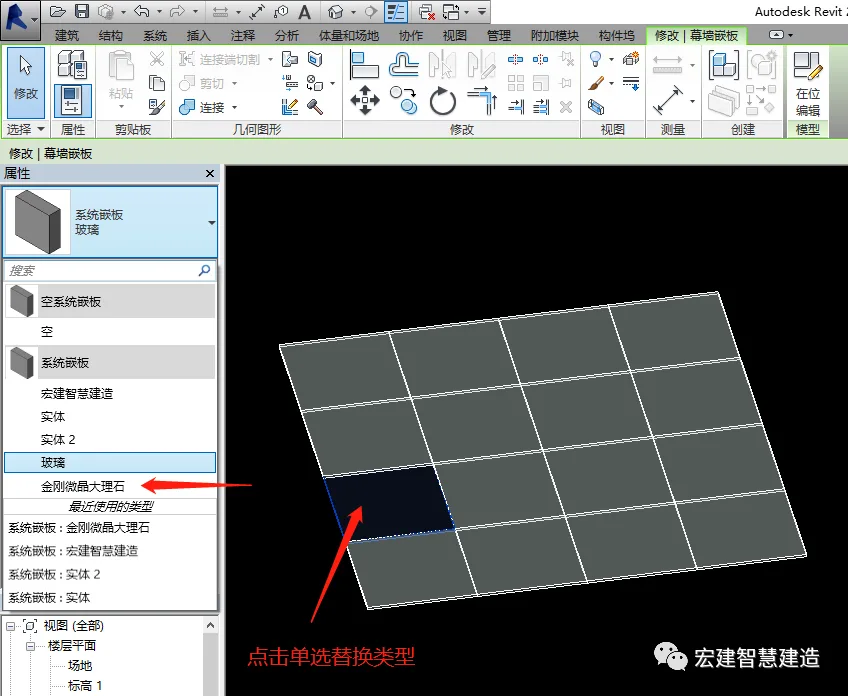
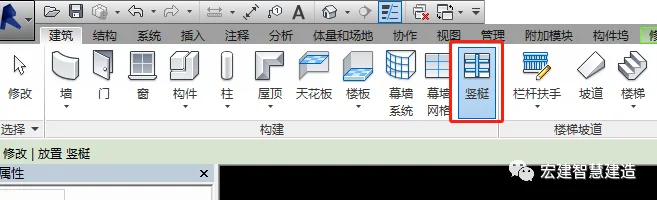
After setting the tile type, add the floor tile seams and edit the vertical alignment to customize the seam type.
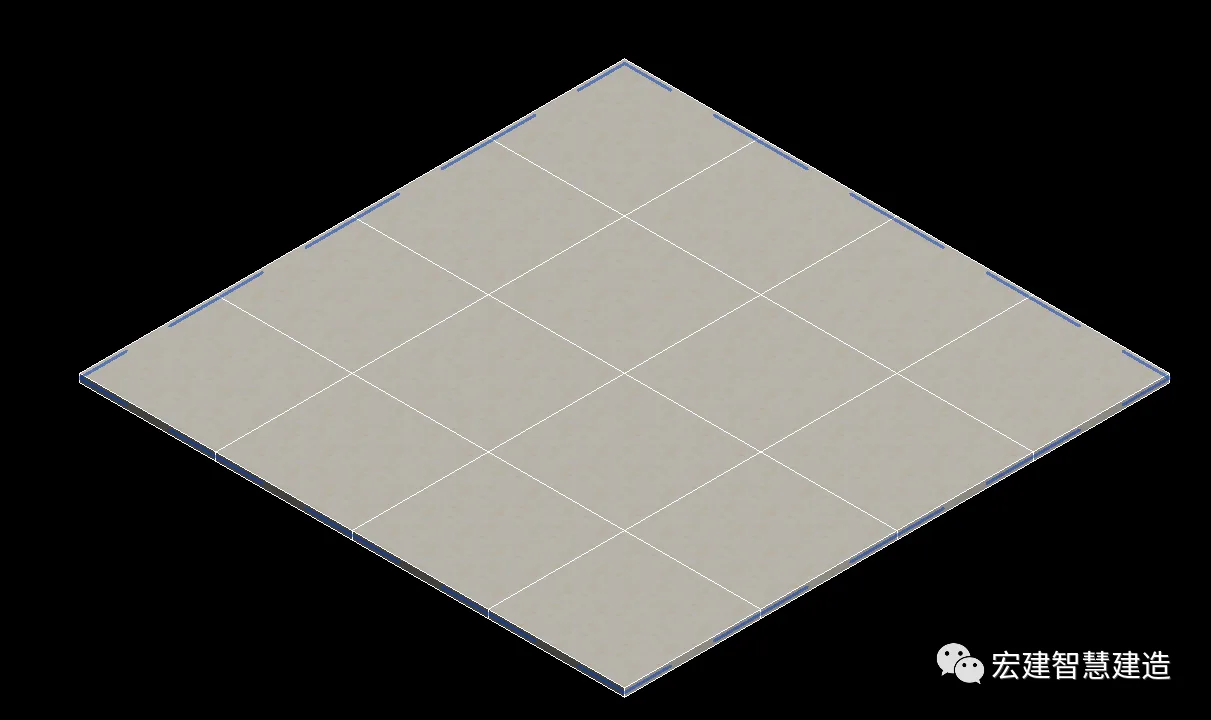
5. Generate the Desired Tile Seam Effect
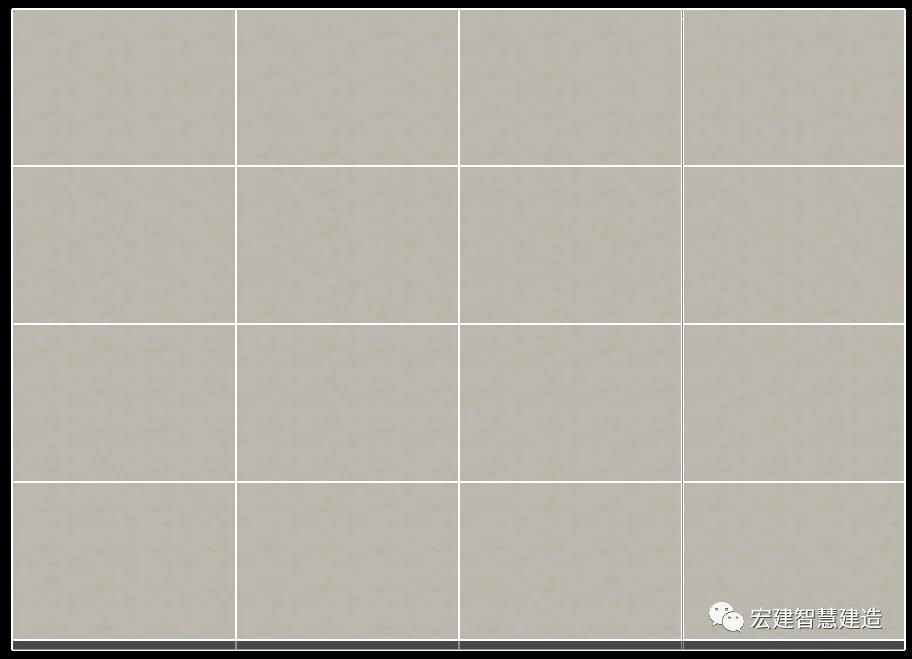
Among the methods described above, using the Glass Slanted Window roof type is simpler and more flexible. If you have the corresponding fill pattern file, you can create any brick layout style with ease.
In contrast, using the Parts tool to create floor or wall tiles is more limited because it requires manually drawing sketches. This method becomes less convenient for large areas or complex patterns.
Choose the method that best suits your project needs.


Must log in before commenting!
Sign Up