This article is from the WeChat official account: Hongjian Smart Building. Projects often feature irregular glass canopies. Today, we will guide you through the process of creating an irregular glass canopy using Revit.
Step 1: Based on the drawings, start by creating the corresponding irregular rain shelters within the internal building volume.
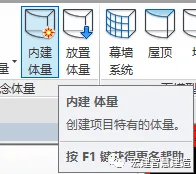
Internal building volume
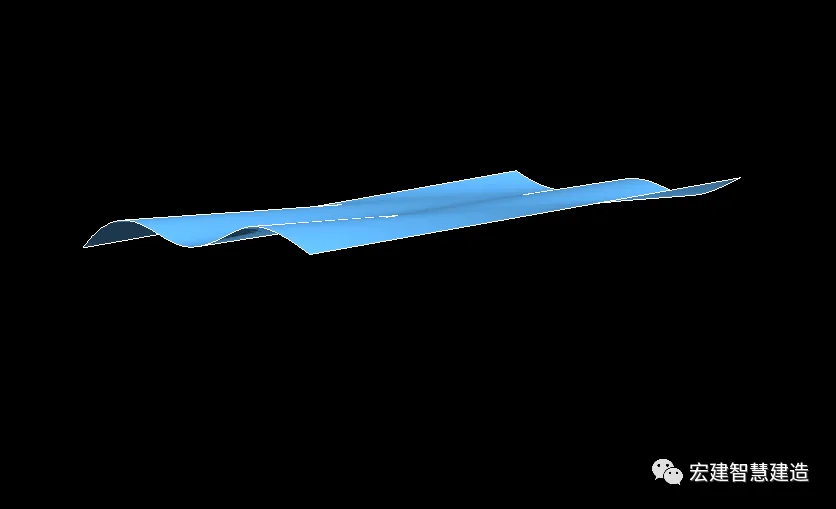
Irregular canopy design
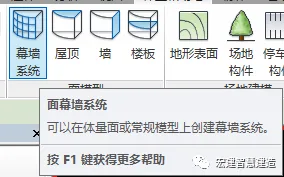
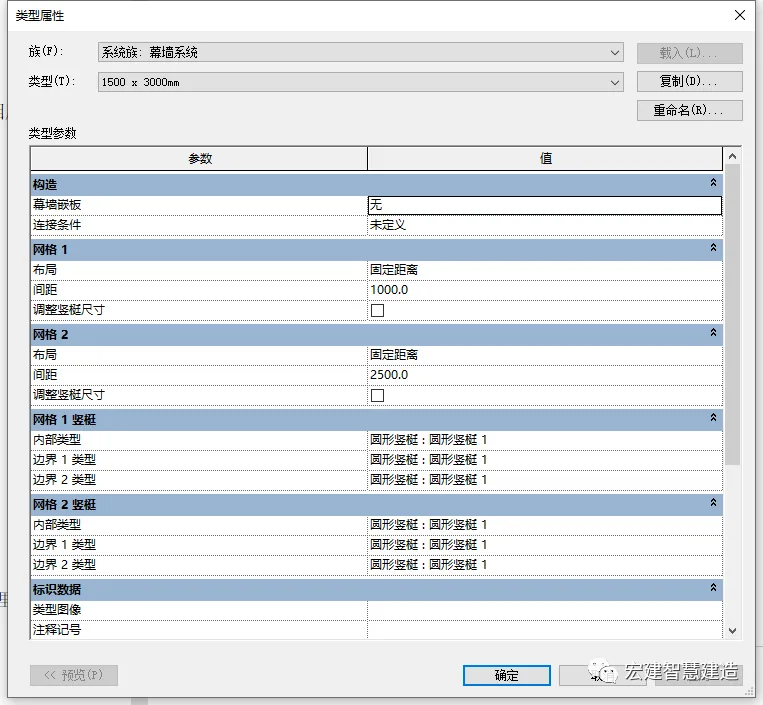
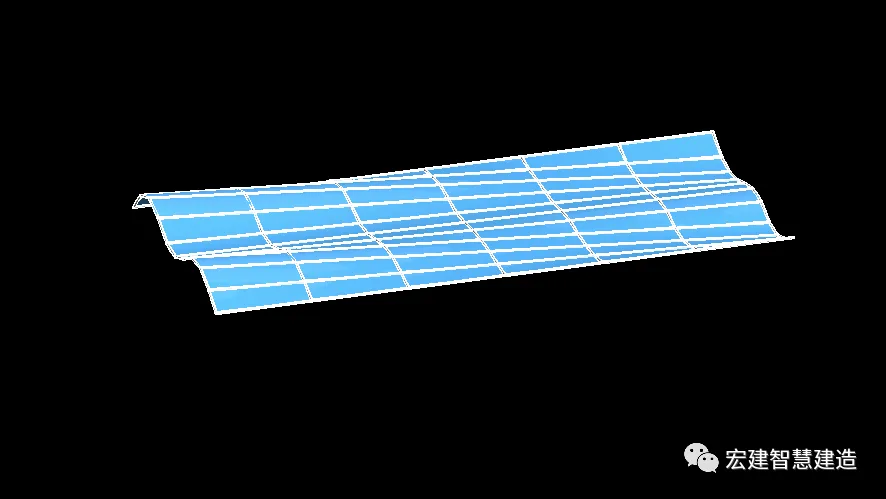
Step 2: Use the curtain wall system to generate a grid. Be sure to adjust its parameters in the Type Properties to fit your design.
Applying curtain wall system:
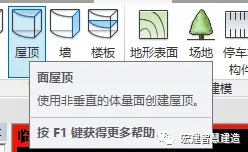
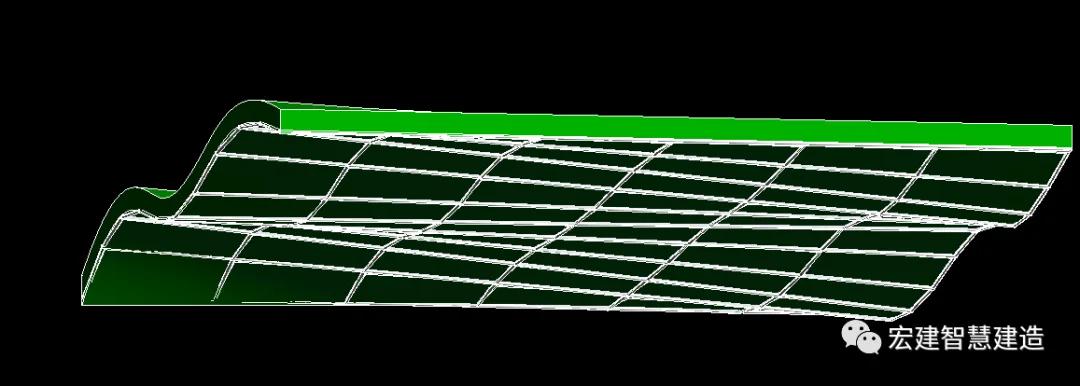
Step 3: Utilize the roof tool to select the mesh created in the previous step and generate the roof accordingly.
Using the roof function:
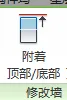
Step 4: Draw a wall and use the attach function to connect it to the roof generated in Step 3. Position this wall based on the location of the main beam shown in your drawings.
Attach function in use:
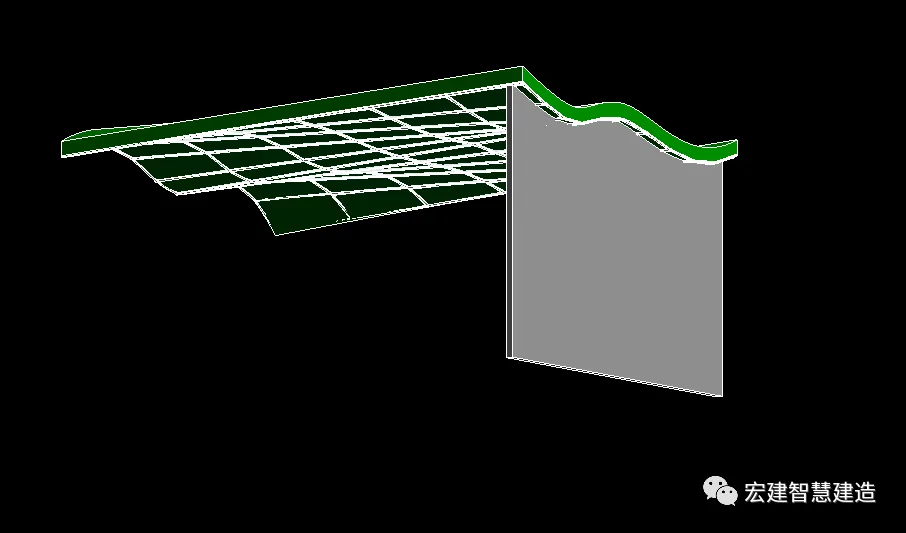
Wall after attachment
Step 5: Before placing the steel beams, enable 3D snapping. Select the upper contour of the wall and create the corresponding steel beams. Repeat this process to generate all necessary beams.

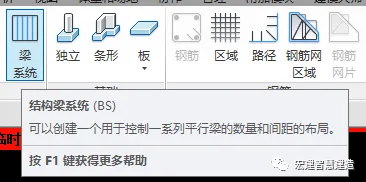
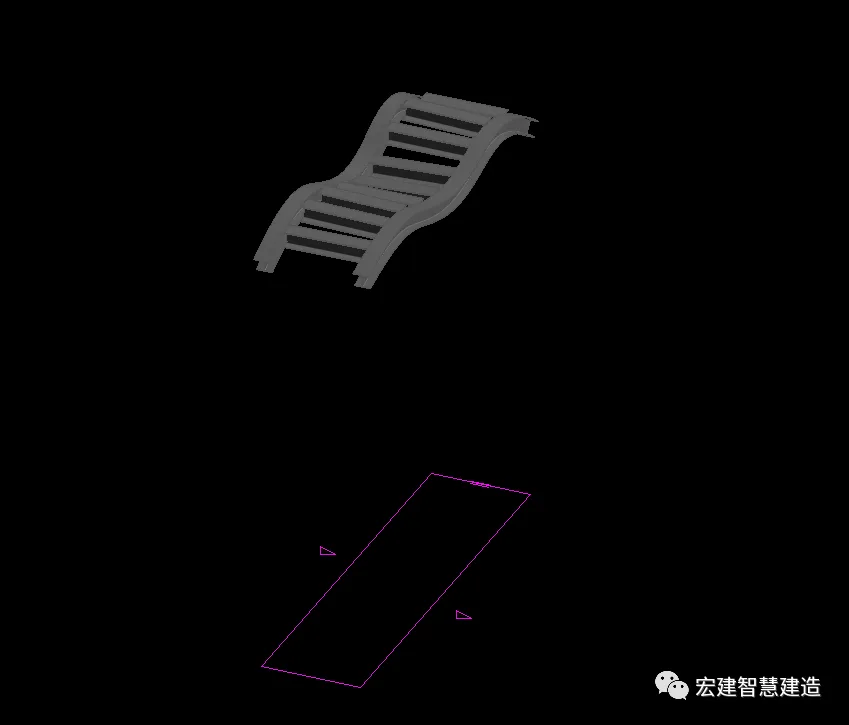
Step 6: Use the beam system tool to select two main beams by picking their supports. Create a closed loop and set the beam direction perpendicular to the main beam. Continue this process to generate all secondary beams.
Beam system function:

Selecting supports and beam orientation:

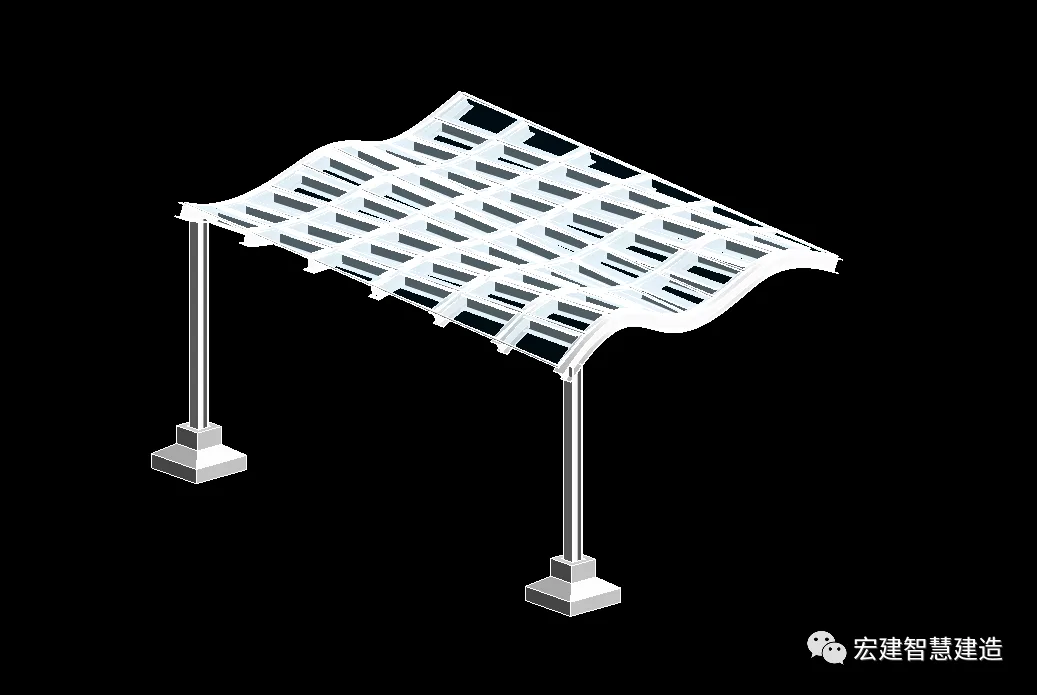
Step 7: Finally, draw the steel columns and column supports according to your design drawings. This completes the modeling of your irregular glass canopy.


Must log in before commenting!
Sign Up