BIM World
A Professional BIM Learning Platform


Mastering BIM: How to Create Sloping Walls Using Built-In Revit Models

This article is from the WeChat official account: Shi Yiping.

To create a smooth and natural intersection between a sloping wall and a straight wall, using a built-in model to draw the sloping wall is an excellent choice. This process can be completed in just two simple steps.

BIM skills | How to draw sloping walls in Revit? How to use built-in models in Revit to draw sloping walls?

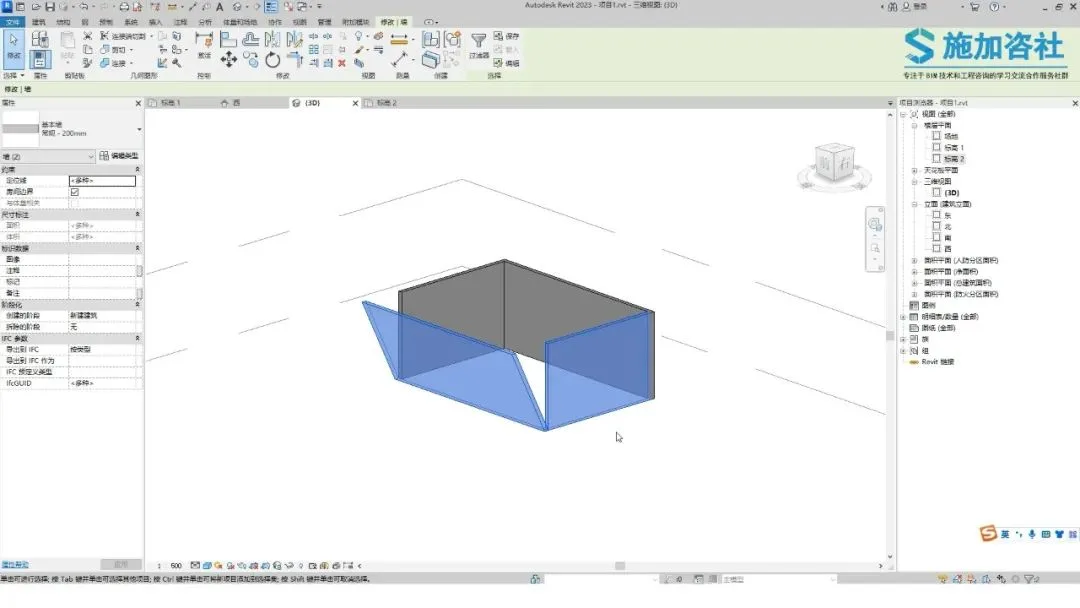
Step 1: Draw the built-in model.

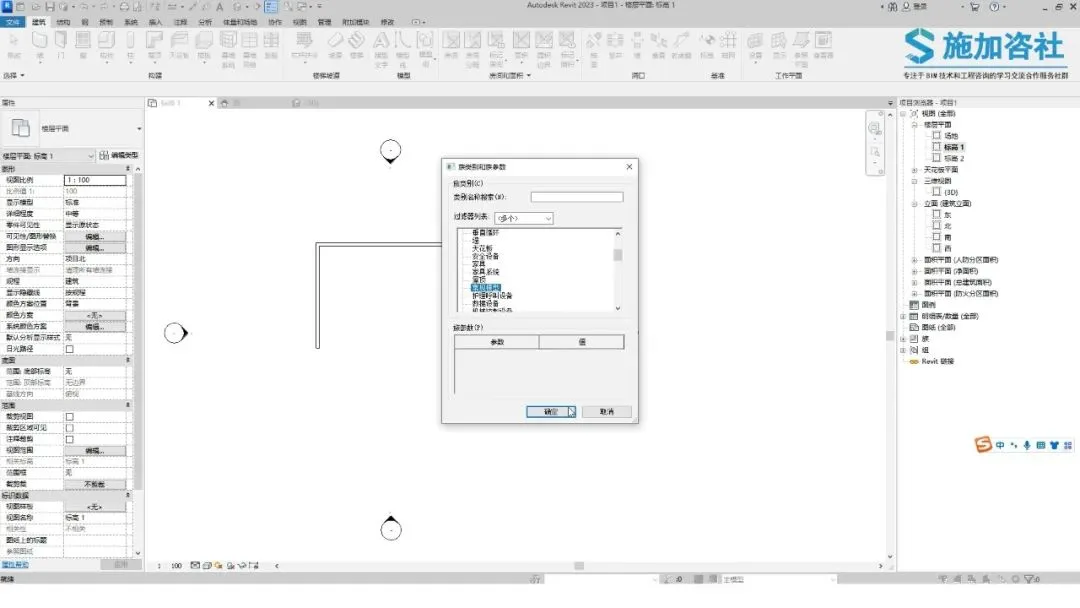
Start by clicking the Component button on the Building tab, then select the built-in model option.

BIM skills | How to draw sloping walls in Revit? How to use built-in models in Revit to draw sloping walls?

In the dialog box that appears, choose the regular model and click OK.

BIM skills | How to draw sloping walls in Revit? How to use built-in models in Revit to draw sloping walls?

Rename the model to Sloping Wall for clarity.

BIM skills | How to draw sloping walls in Revit? How to use built-in models in Revit to draw sloping walls?

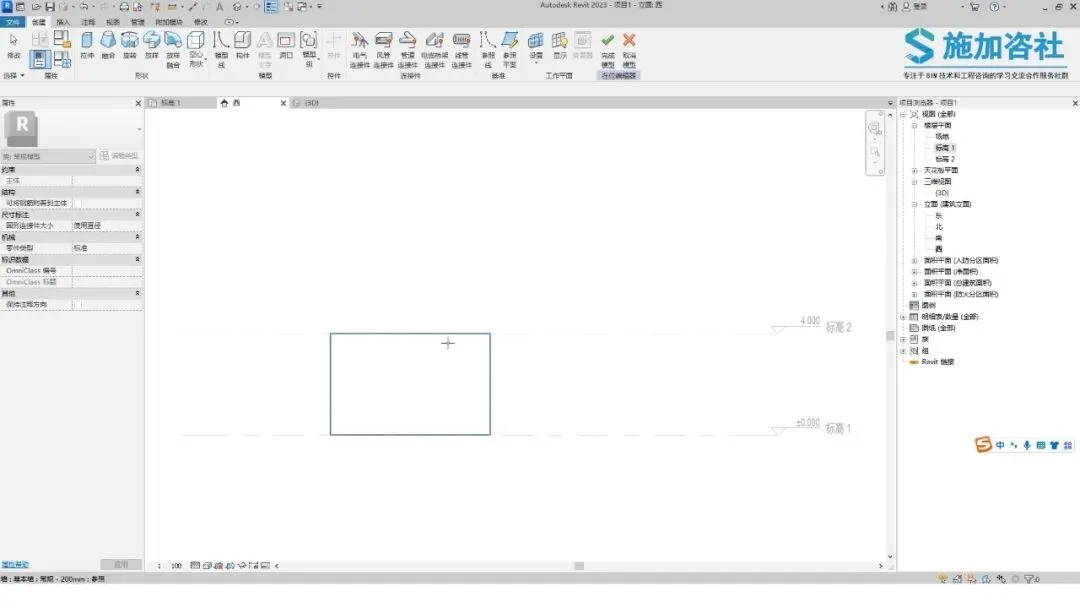
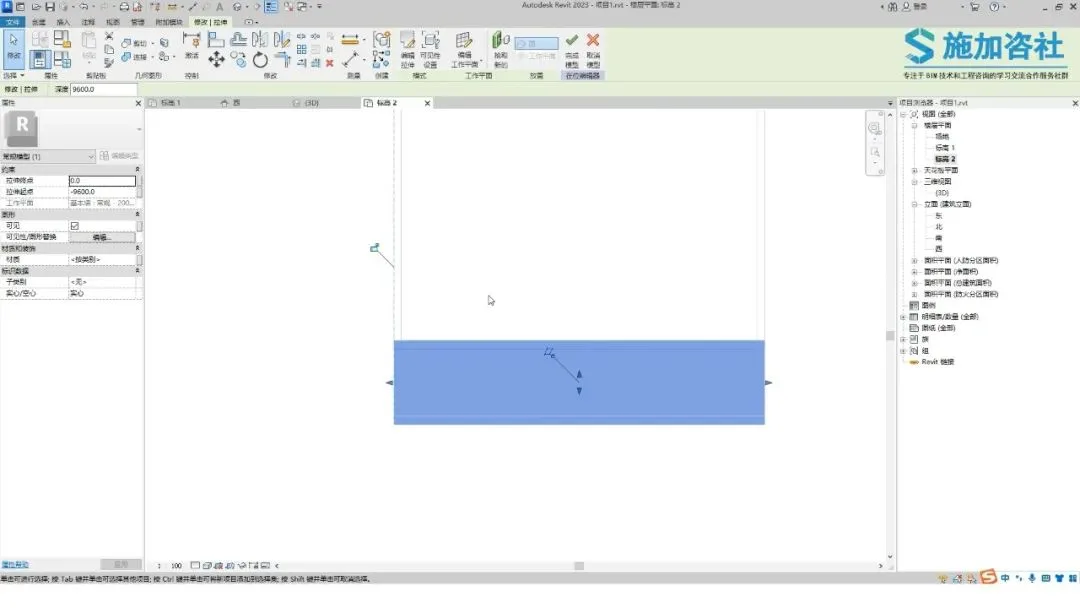
Switch to the west elevation view and set the work plane for the wall section.

BIM skills | How to draw sloping walls in Revit? How to use built-in models in Revit to draw sloping walls?

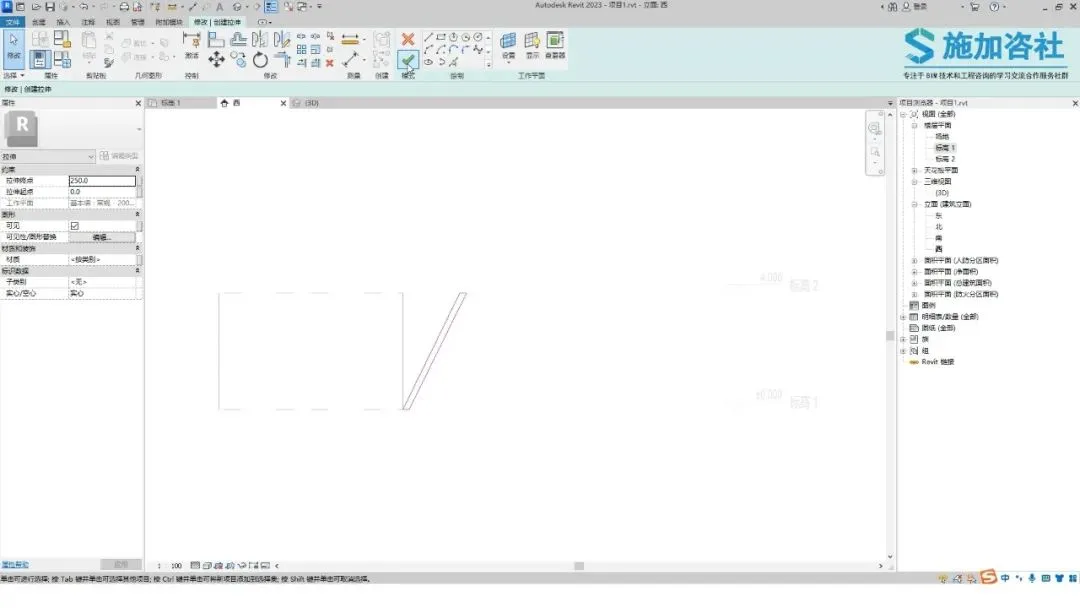
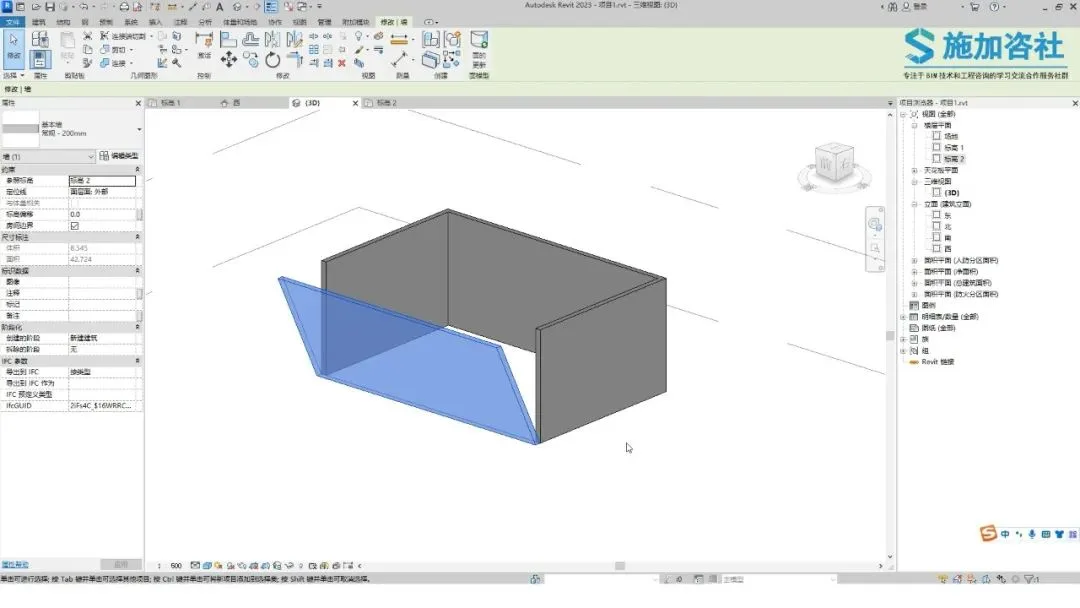
Use the stretching tool to shape the wall, then click the Finish button.

BIM skills | How to draw sloping walls in Revit? How to use built-in models in Revit to draw sloping walls?

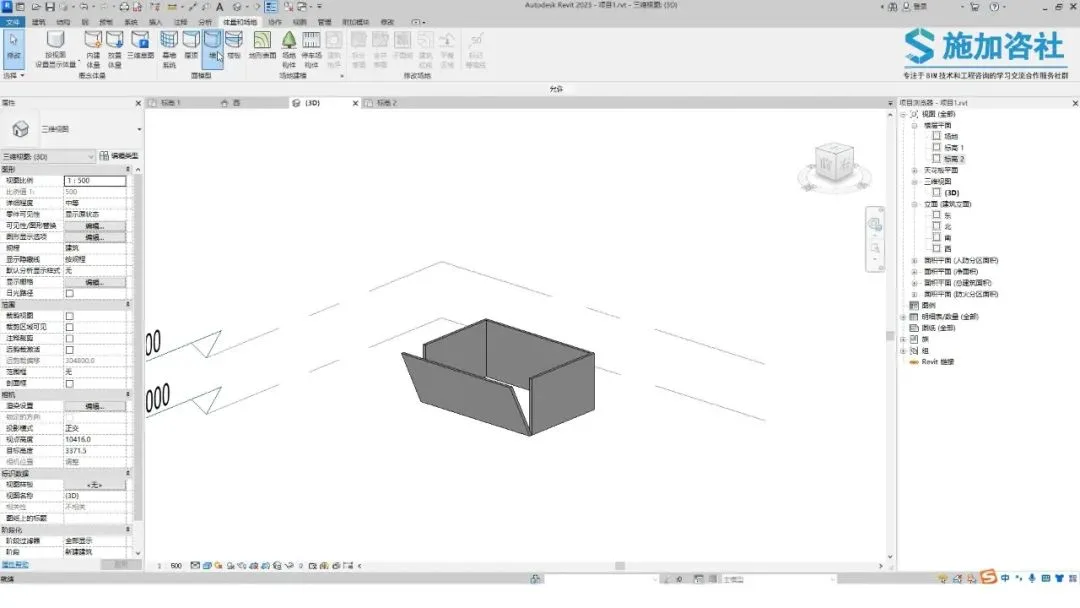
Next, switch to the second floor plan view, adjust the wall’s position as needed, then click Finish again.

BIM skills | How to draw sloping walls in Revit? How to use built-in models in Revit to draw sloping walls?

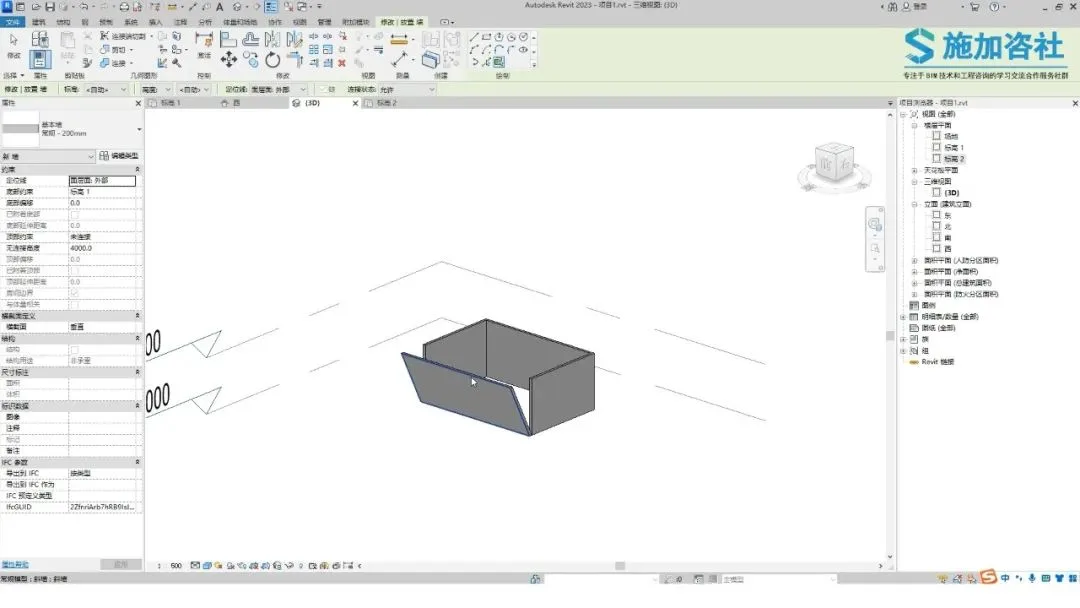
Step 2: Convert the shape into an actual wall.

Go to the Volume and Site tab and click the Wall button.

BIM skills | How to draw sloping walls in Revit? How to use built-in models in Revit to draw sloping walls?

Use the Pick Face tool to select the sloping wall shape.

BIM skills | How to draw sloping walls in Revit? How to use built-in models in Revit to draw sloping walls?

Finally, delete the original wall shape to complete the process.
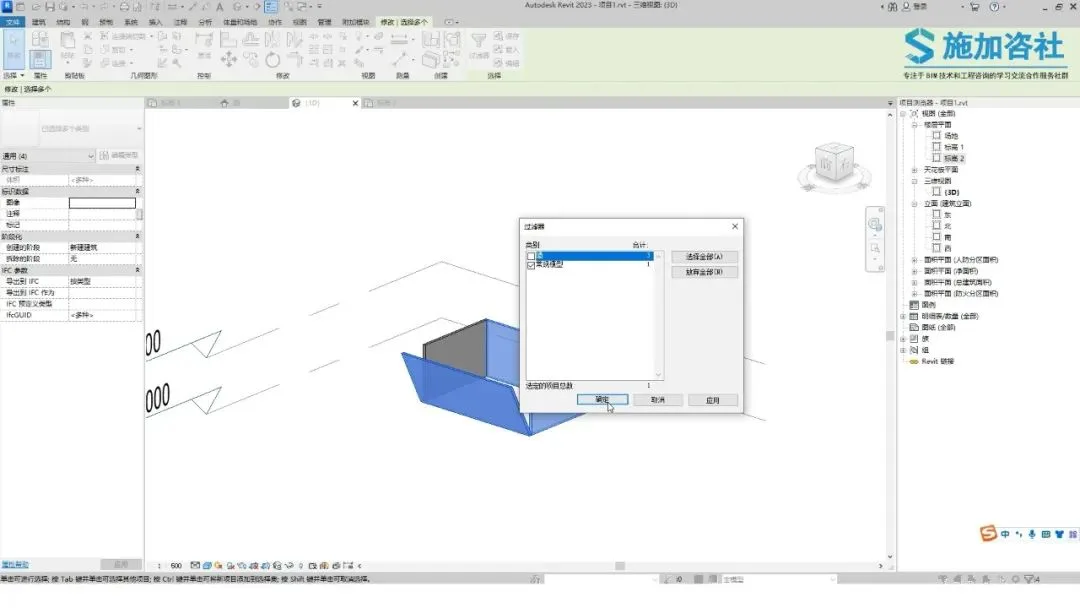
BIM skills | How to draw sloping walls in Revit? How to use built-in models in Revit to draw sloping walls?

Process complete.

BIM skills | How to draw sloping walls in Revit? How to use built-in models in Revit to draw sloping walls?

xuebim
Follow the latest BIM developments in the architecture industry, explore innovative building technologies, and discover cutting-edge industry insights.
← Scan with WeChat
Like(0) 打赏
BIM WORLD » Mastering BIM: How to Create Sloping Walls Using Built-In Revit Models

Comment Get first!

Must log in before commenting!


BIM World, A Professional BIM Learning Platform

Stay updated on the latest architecture trends and share new building technologies.

Contact UsAbout Us

觉得文章有用就打赏一下小编吧

非常感谢你的打赏,我们将继续提供更多优质内容,让我们一起创建更加美好的网络世界!

支付宝扫一扫

微信扫一扫

Account Login

By signing in, you agree toUser Agreement

Sign Up