This article is from the WeChat official account: Revit Decoration.
We will demonstrate how to create curved roofs in Revit using a volumetric approach.
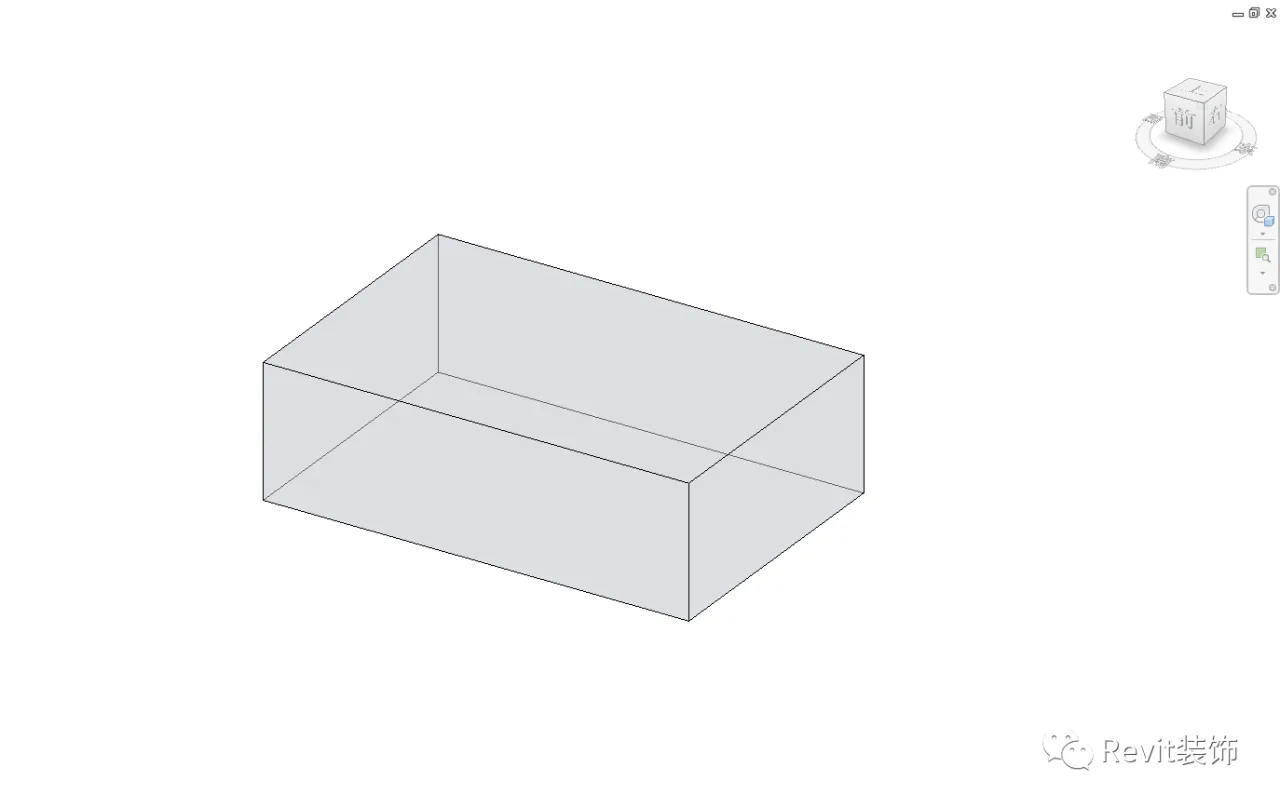
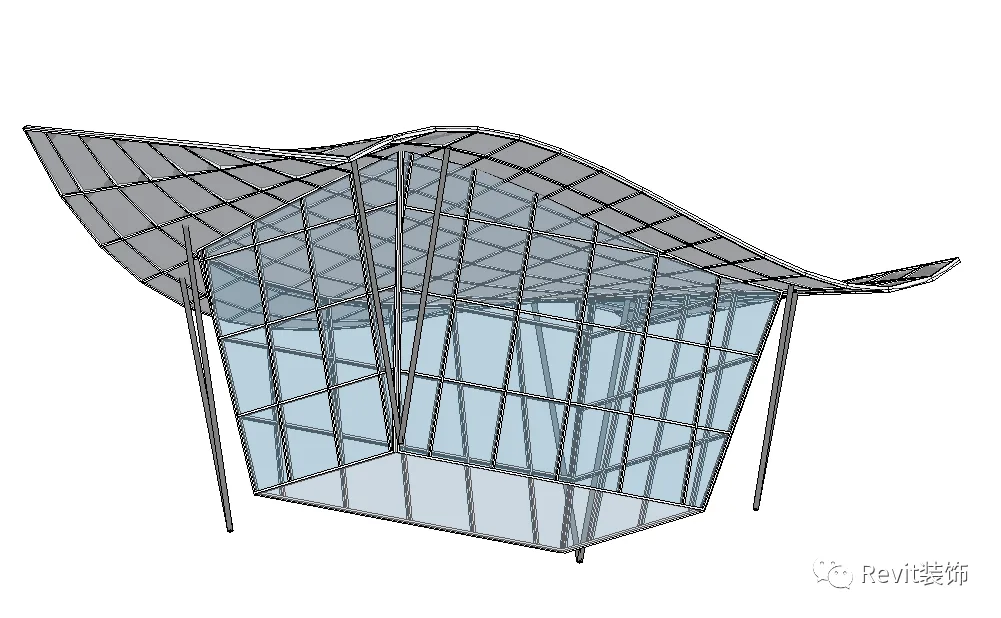
First, we generate the base section using volume.
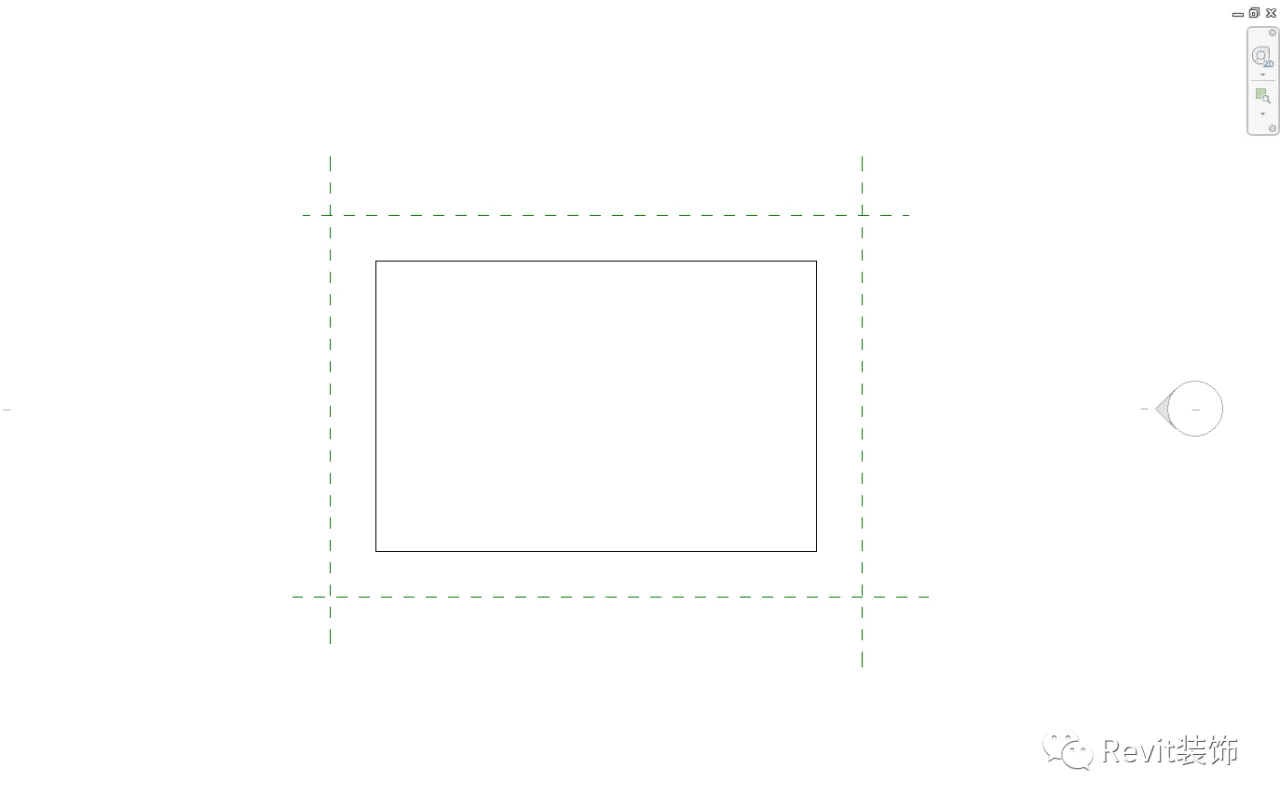
Next, we draw a circle of reference planes (RP) around the volume and name each one accordingly.
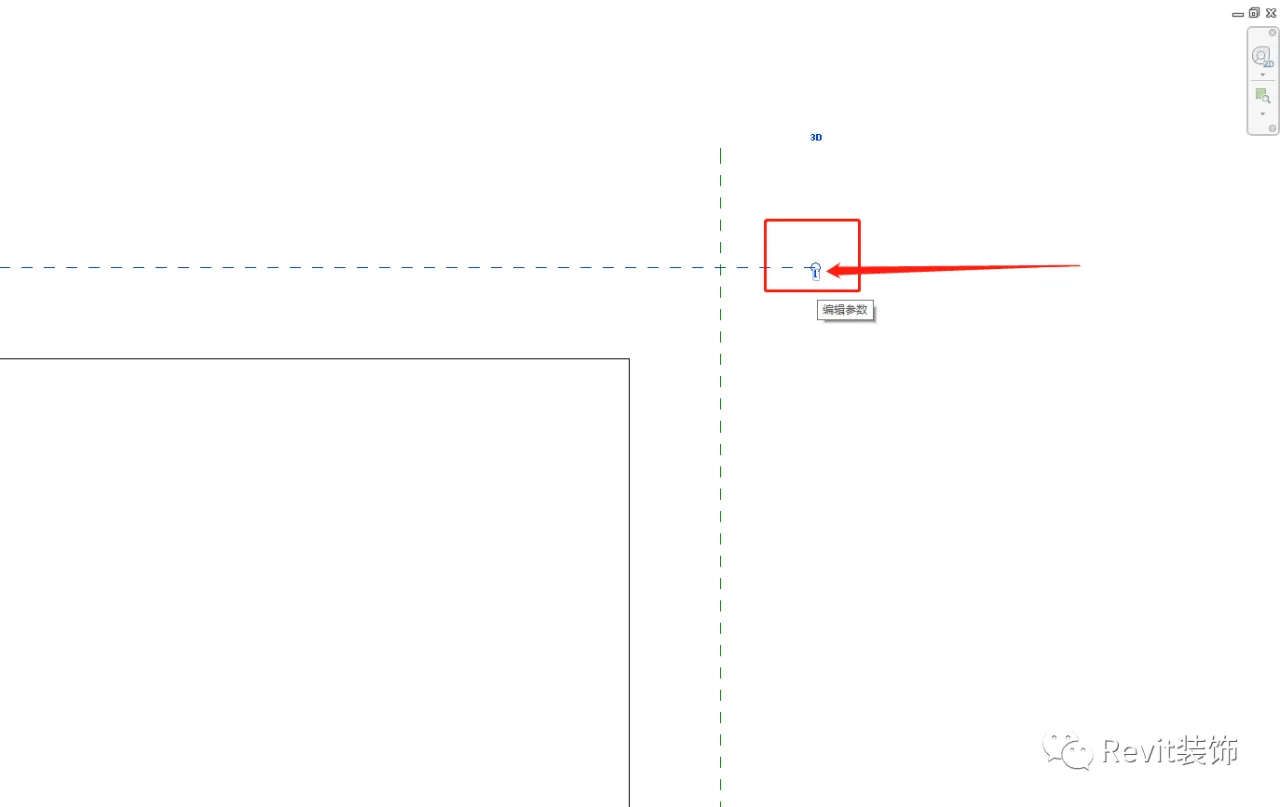
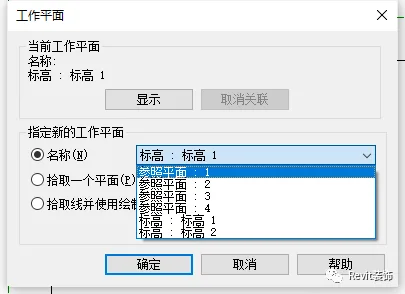
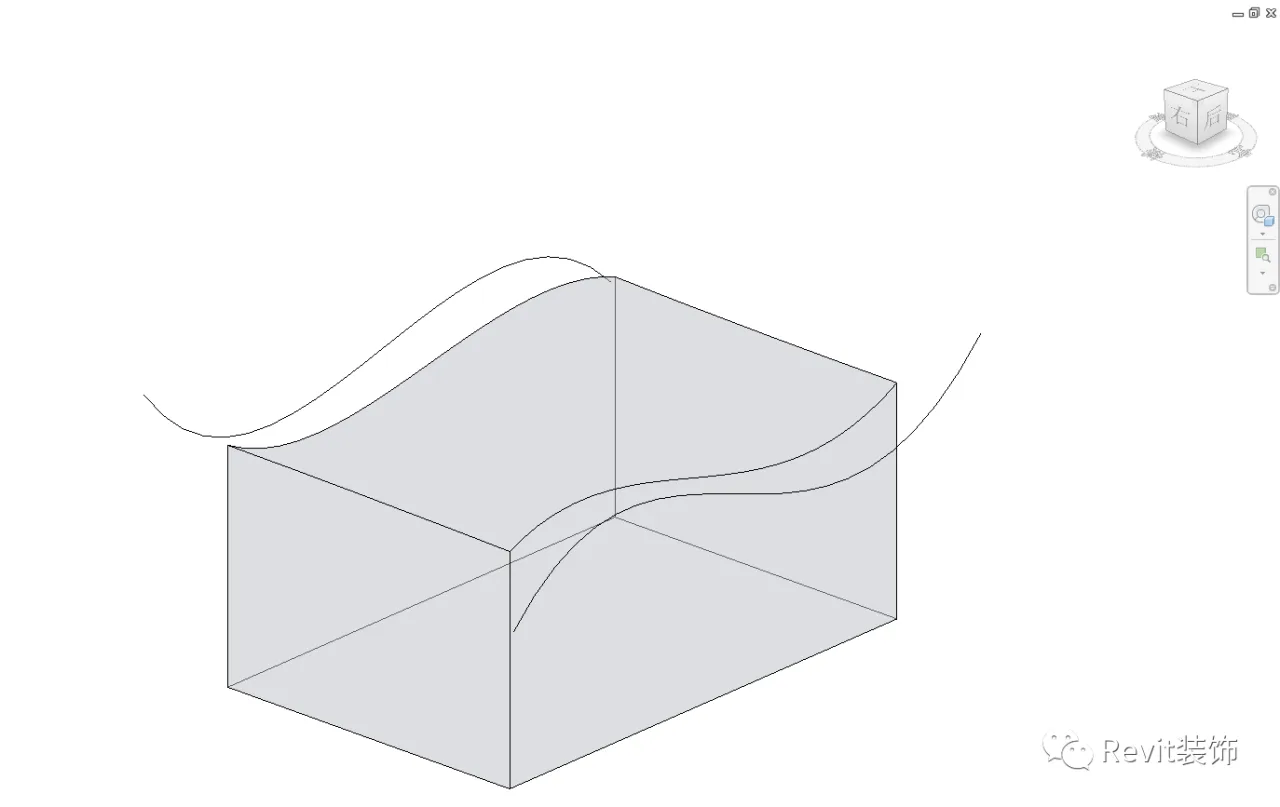
Then, we draw a curve on the reference plane.
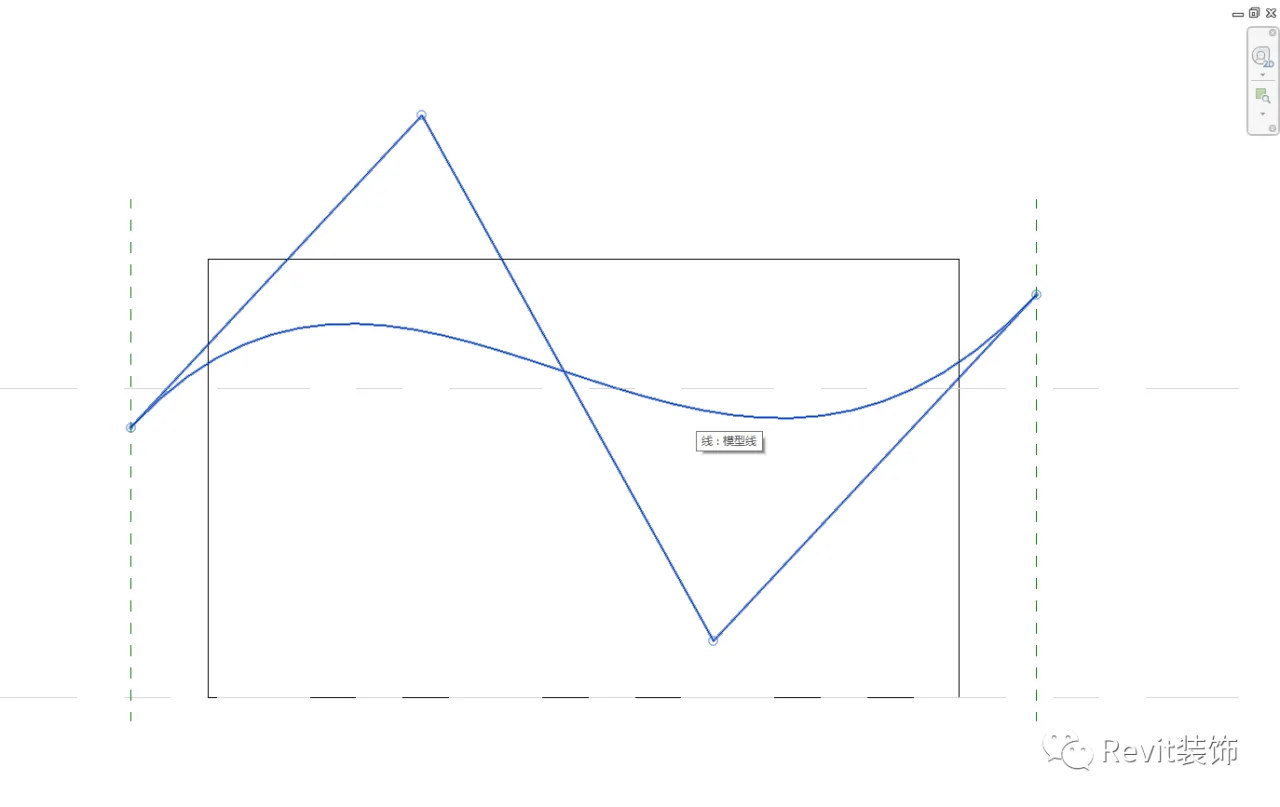
Similarly, we draw curves on the opposite side as shown below.
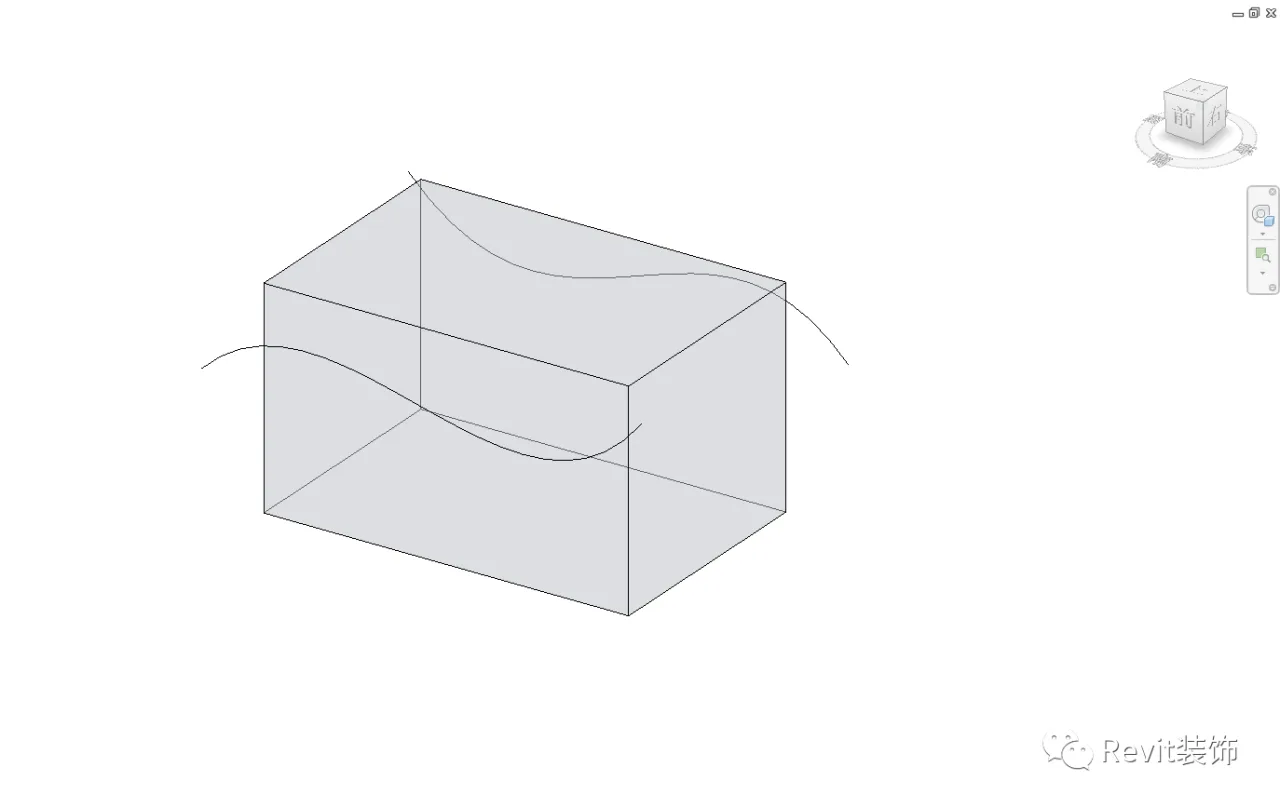
Copy the curves once at the same location.

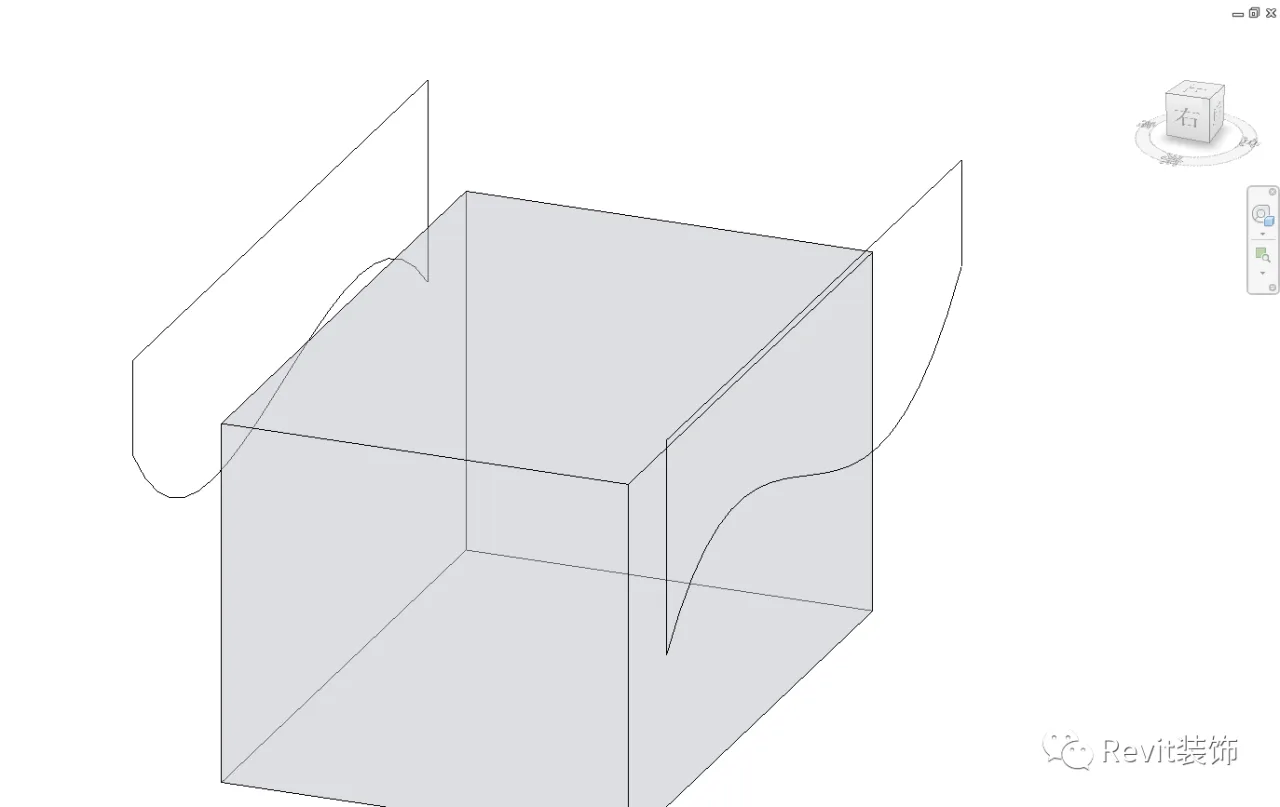
Then, draw outlines on the two opposite sides respectively.
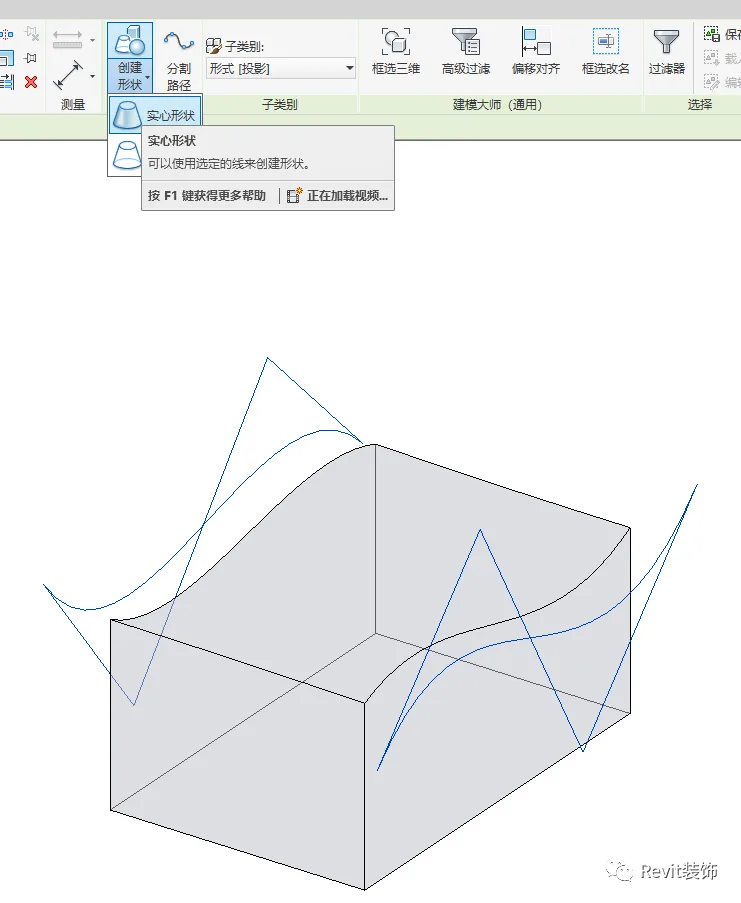
Select the lines to generate a hollow shape, which will be automatically cut.
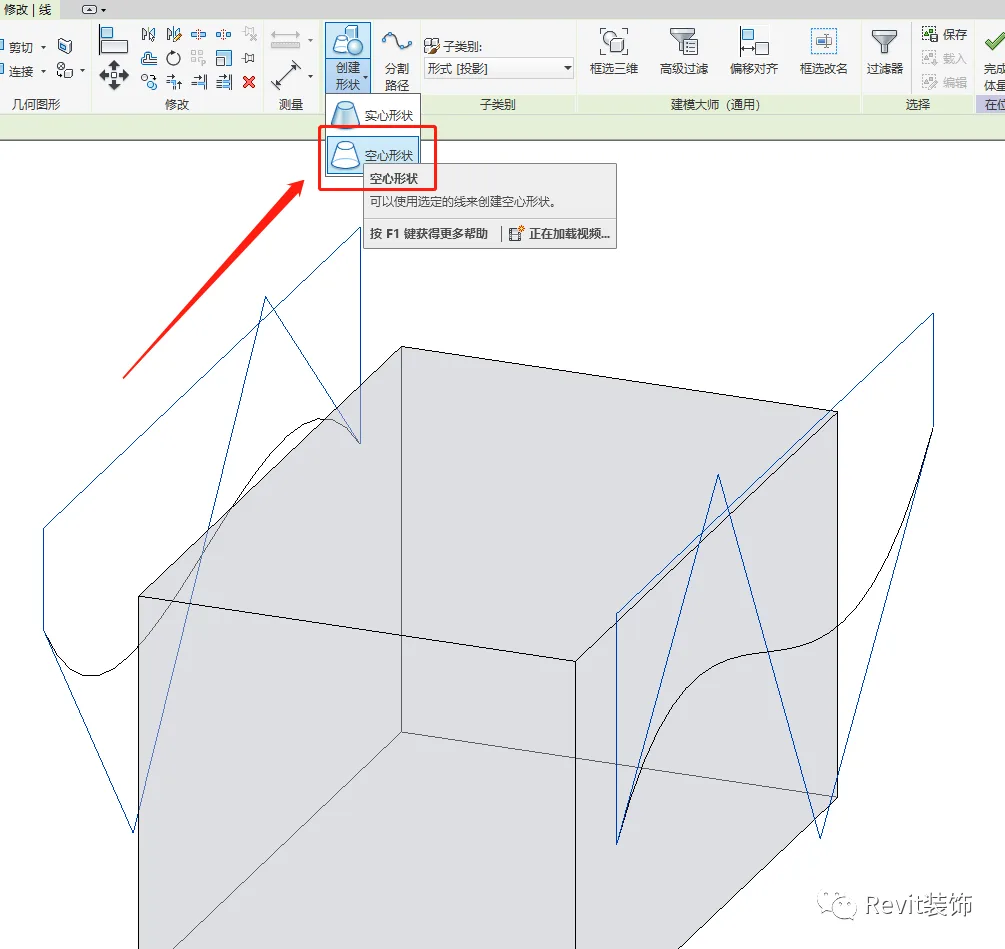
Next, select two curves to create solid shapes, which is why we copied them in their original positions earlier.

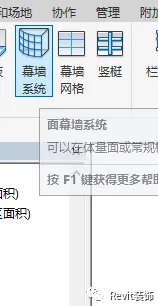
Choose the curtain wall system.
The results are illustrated below.
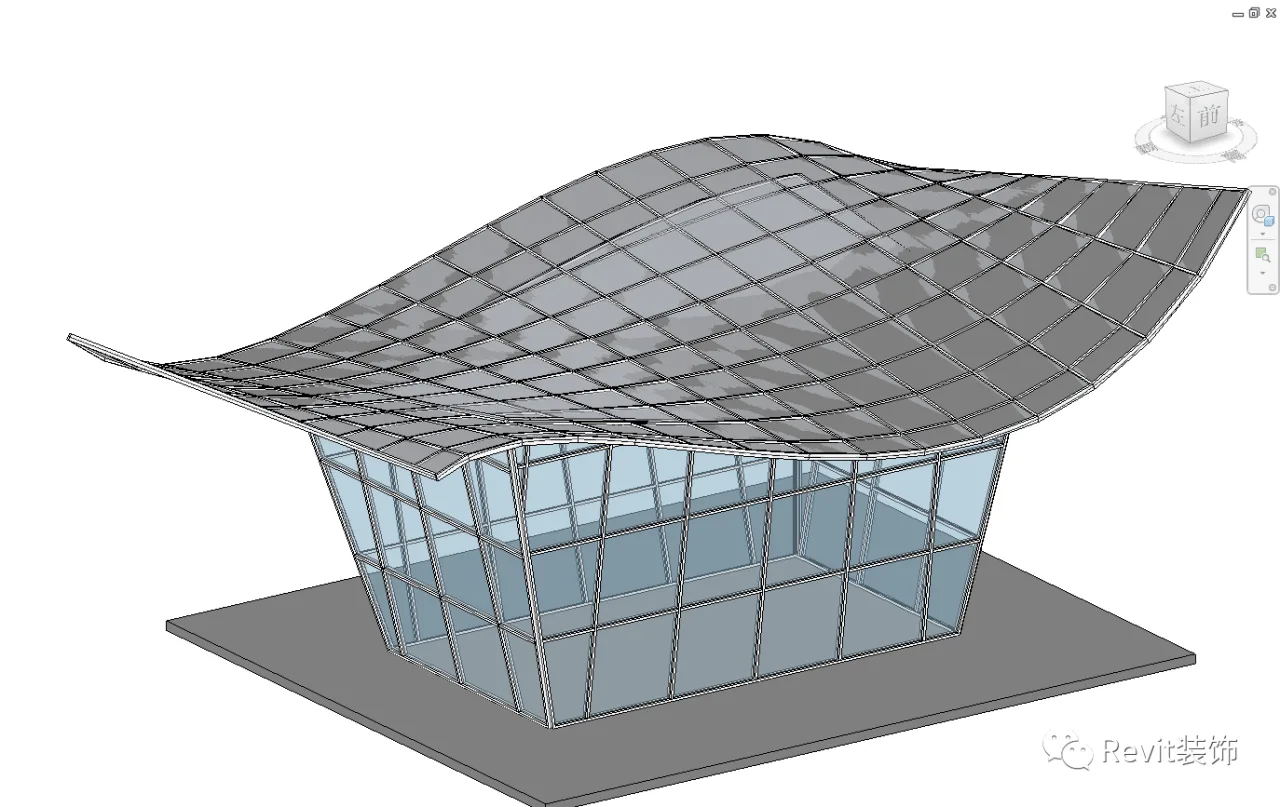
Add supporting pillars.
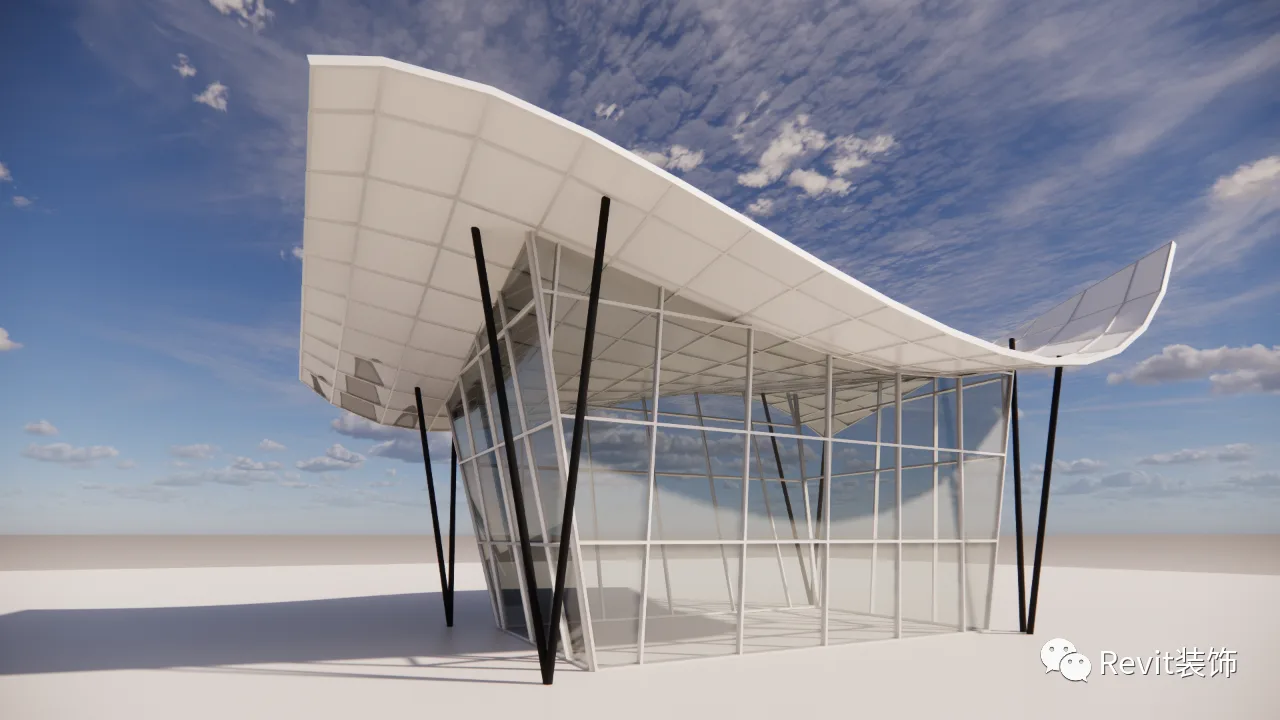
Finally, render the model.


Must log in before commenting!
Sign Up