Question:
How can I fix a Revit model that appears in the wrong location or disappears when imported into InfraWorks, and ensure it imports to the correct position?
Solution:
To automatically import Revit models into InfraWorks at the correct location, please follow these steps:
1. Use InfraWorks version 2020.2 or later.
2. In InfraWorks, navigate to Application Options > Data Import and disable the Local Import Based on Navisworks option.
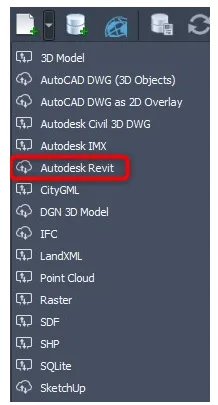
3. Under the Data Sources section, click the dropdown menu for Add File Data Source and select AutodeskRevit.
Note: Cloud importing Revit models requires an internet connection and an A360 account. Revit links and custom textures will not be imported.
4. After importing the model, select Configure Data Source.
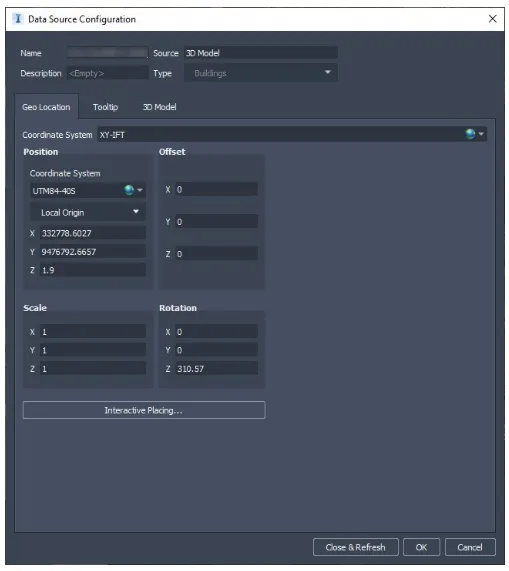
5. In the Data Source Configuration menu, set the following values:
Geographic Location tab:
- Coordinate system: XY-IFT
Position cluster:
- Coordinate system: Choose the geographic coordinate system that defines the model’s location, typically a projected coordinate system.
- Local origin: Define the model origin as follows:
- X: East/West value used as the Revit project base point (in meters).
- Y: North/South value used as the Revit project base point (in meters).
- Z: Elevation of the Revit project base point (in meters).
Rotation cluster:
- X = 0
- Y = 0
- Z = The angle from due north, calculated as 360° minus the Revit project base point rotation (e.g., 360° – 49.43° = 310.57°)
Tip: After entering the position values, switch to the 3D Model tab. If all settings are correct, your Revit model should display properly within the bounding box.
6. Finally, select Close & Refresh to apply the changes.


Must log in before commenting!
Sign Up