BIM Q&A | How to Draw a Pyramid in Revit
In Revit, you can use the “Layout” command to create pyramids with ease.
Follow these steps:
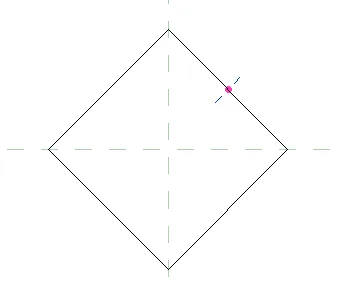
1. Start by creating a new family. Then, select Layout > Draw Path and draw a regular polygon centered at the intersection of the reference lines.
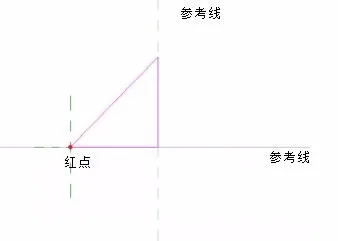
2. Next, enter Edit Profile mode to draw the elevation view of the pyramid by sketching a triangle. Make sure the right angle vertex of the triangle aligns with the original reference line intersection. The base of the right angle extends from the red point to this vertex, while the other leg represents the pyramid’s height, aligned with the vertical reference line. See the illustration below:
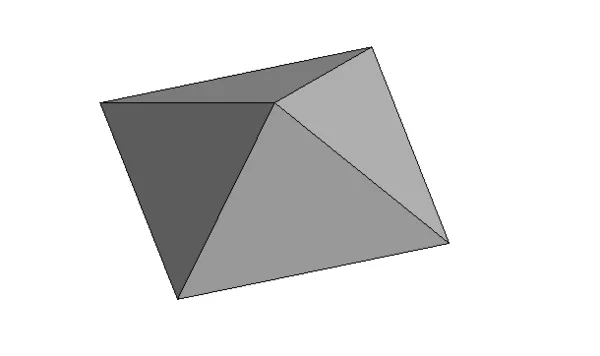
3. After completing the profile editing, you will have a four-sided pyramid. The process for creating triangular or other polygonal pyramids is similar and won’t be covered in detail here.


Must log in before commenting!
Sign Up