BIM Q&A | How to Uninstall Revit 2013
Are you having trouble uninstalling Revit 2013? If you’ve tried uninstalling and reinstalling Revit 2013 but the uninstallation fails, this guide will help you understand why and how to fix it.
Revit is a professional architectural design software. If you cannot reinstall it after attempting to uninstall, it’s often due to an incomplete uninstallation. This causes the installer to mistakenly detect that Revit is still present on your system, preventing reinstallation. Here are some solutions you can try:
1. First, ensure all Revit-related components have been completely removed from your system. You can check this via the Control Panel:
Press WIN + R to open the “Run” dialog, type control, and press Enter to open the Control Panel. Then, go to “Uninstall a Program,” locate all Revit-related entries, right-click on each, and select “Uninstall.”
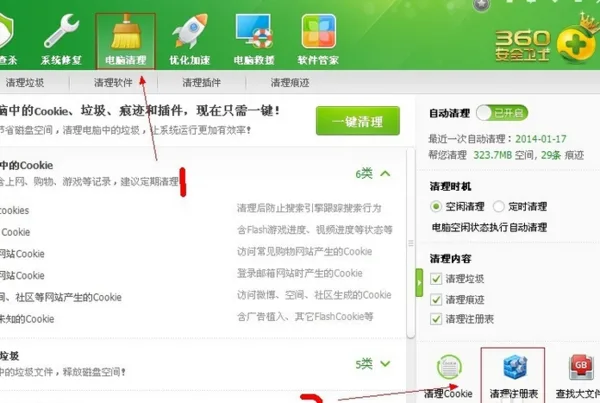
2. Next, clean your registry to fully remove any leftover installation data. This can be done using system cleanup tools such as 360 Security Guard or QQ Manager. Here’s how to do it using 360 Security Guard:
Open 360 Security Guard and navigate to Computer Cleanup > Clean Registry.
In the “Clean Registry” window, users who prefer a conservative approach can simply click Start Scan, wait for the scan to finish, and then click Clean Now.
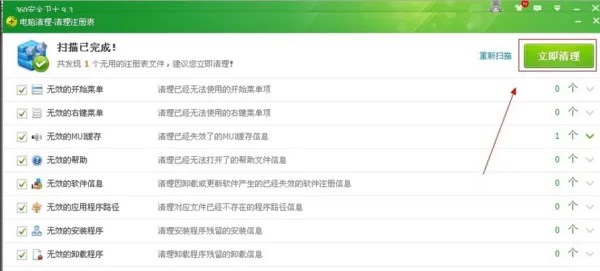
For users who want a more thorough clean, click Scan Item Settings in the bottom right corner, select all available options, and confirm to start a comprehensive scan.


Must log in before commenting!
Sign Up