Revit Customize Project Browser Organizational Framework
This guide explains how to use the Project Browser to organize and categorize views during the early stages of preparing project templates. By neatly classifying the created professional views, you can ensure quick and easy access, preventing a cluttered Project Browser. Here are the steps to customize your organizational framework:
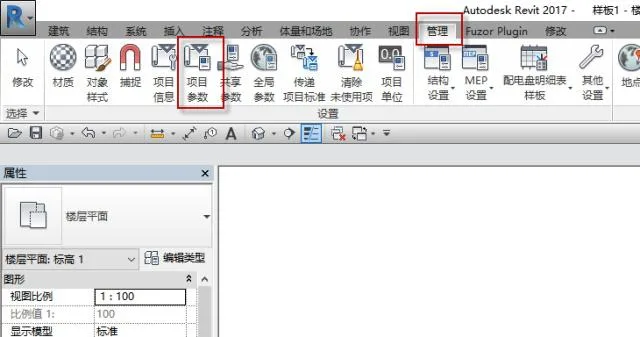
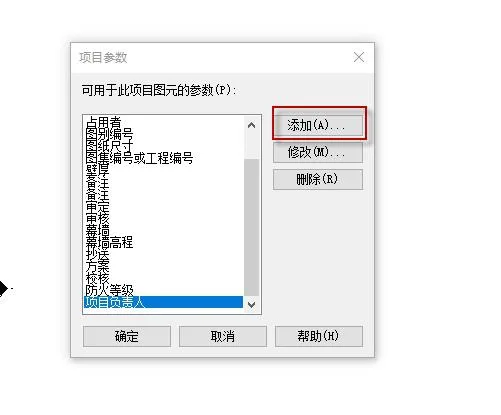
1. Start by creating a new project template. Then, go to the Management panel, select Project Parameters, and add new project parameters.
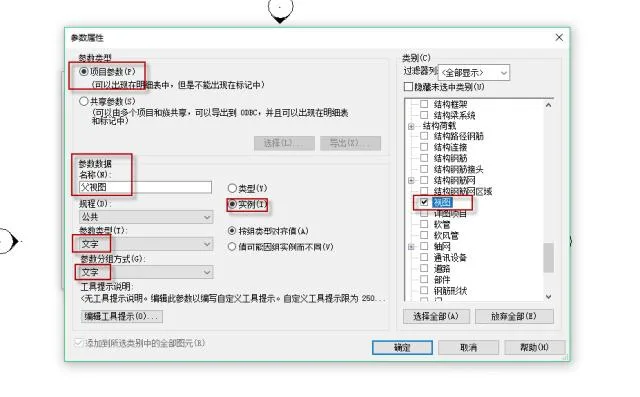
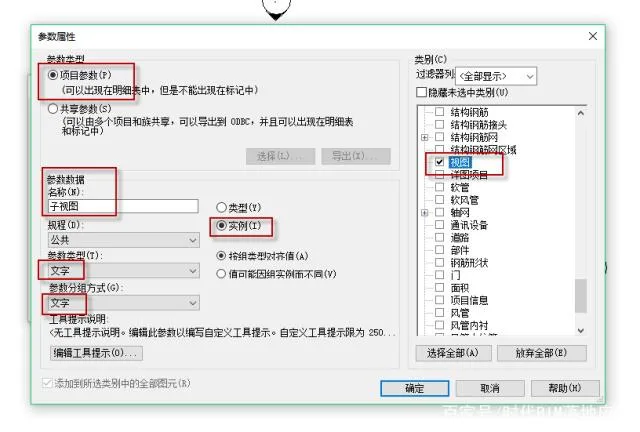
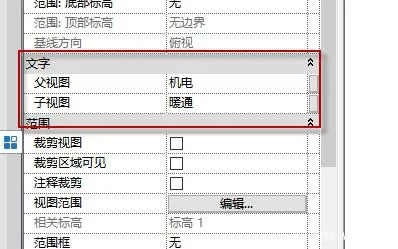
2. Next, create new project parameters for both parent and child views. Choose Text as the parameter type and classification method. Set the parameter as an Instance property and assign it to the View category. Clicking OK will display the parent and child views in the property bar, where you can then input text based on your classification criteria.
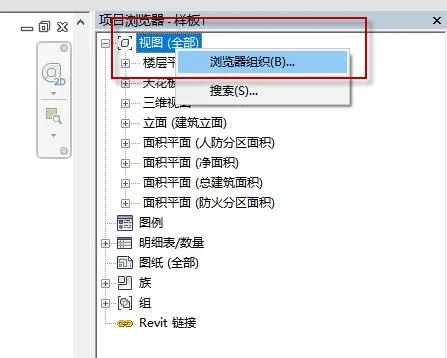
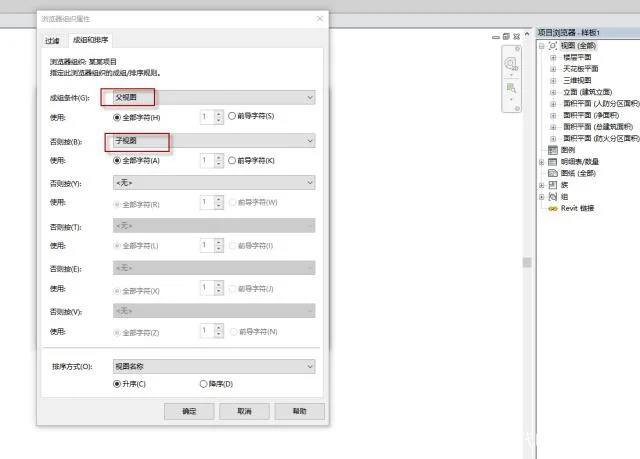
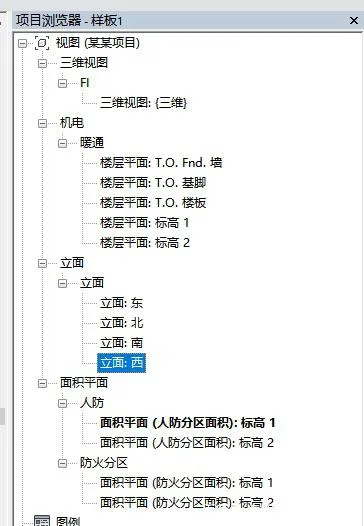
3. In the Project Browser, right-click on “View (All)”, then select “Browser Organization”. Create a new organization scheme with a name like “Project”, and click OK. Set the grouping order under Composition and Sorting and confirm by clicking OK. Finally, assign the parent and child views to each view accordingly. The resulting organization will look like the following images.


Must log in before commenting!
Sign Up