When working on a project, creating instance tags for each component can be tedious if done manually one by one. A more efficient approach is to delegate this data editing task to Excel. However, Revit natively supports exporting detailed schedules but does not allow importing them back after modification.
Fortunately, there is a plugin that bridges this gap, enabling seamless export and import of detailed schedules between Excel and Revit. Here’s how the process works:
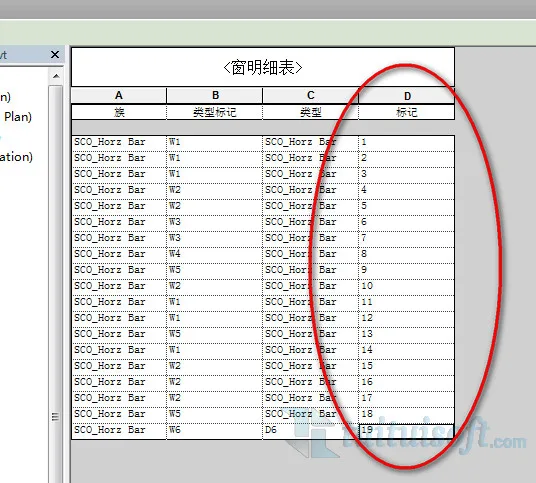
- After generating your detailed schedule in Revit, use the plugin to review the list, select a location to save the Excel file, and click Export.
The Excel export will complete successfully, as shown below: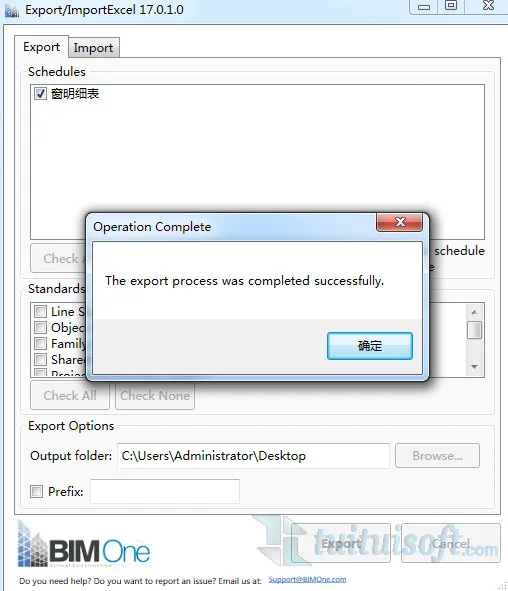
- Open the exported Excel file and make your desired edits to the data.
- Save the edited Excel file, switch back to Revit, and use the plugin to click Import. Select the location of your edited Excel file, verify the schedule details in the dialog, and then click Import again to complete the transfer.
The import process will update your Revit schedules accordingly, as illustrated below: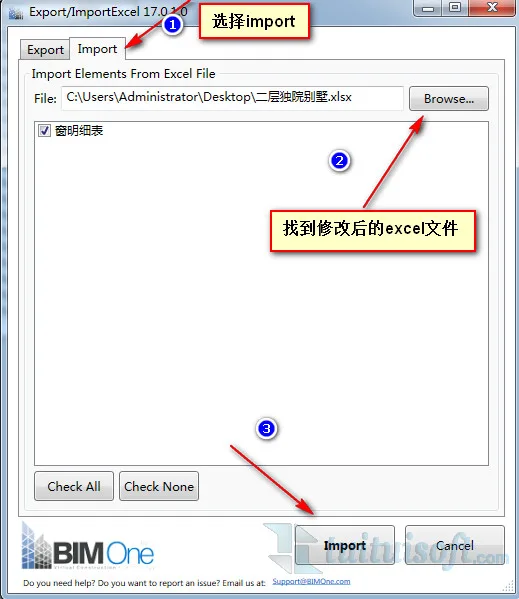


Must log in before commenting!
Sign Up