WPF is an enhanced version of WinForms. When developing with Revit for the second time, using a WPF interface not only looks better but also offers greater convenience and efficiency. So, how do you implement WPF in Revit secondary development? It’s actually quite simple.
Within a class, you cannot directly add WPF windows; only WinForms windows can be added quickly and easily, which is why WinForms is often the default choice.
To add WPF windows to a class, some modifications are necessary. First, add a WPF UserControl to your project. Then, follow the steps below to change the UserControl into a Window.

Next, inside your class, change the UserControl reference to Window as well.

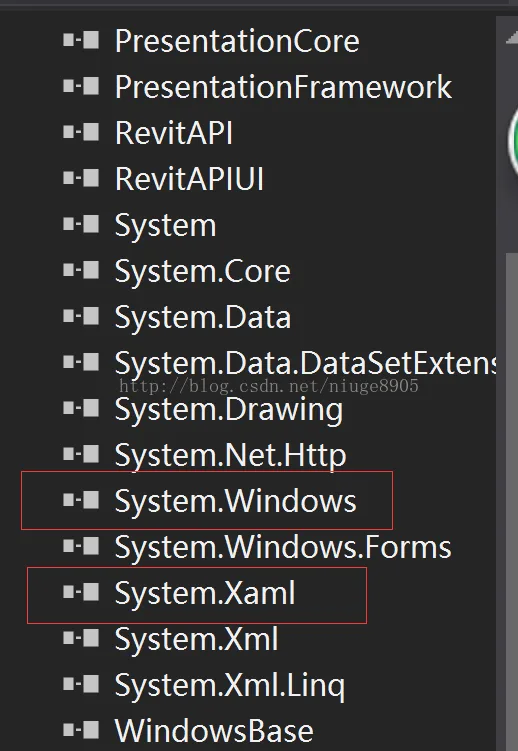
After that, simply add two additional references at the end of your project. If you still encounter errors, save the file and reopen it in Visual Studio.


Must log in before commenting!
Sign Up