Article source: Binfu BIM Consulting

The schedule is a vital component within Revit. By customizing detailed tables, users can extract various project details from the Revit model and present this information clearly in a tabular format. Additionally, project data from Revit models can be exported to other database management systems via ODBC databases.
1. Creating an Instance Detail Table
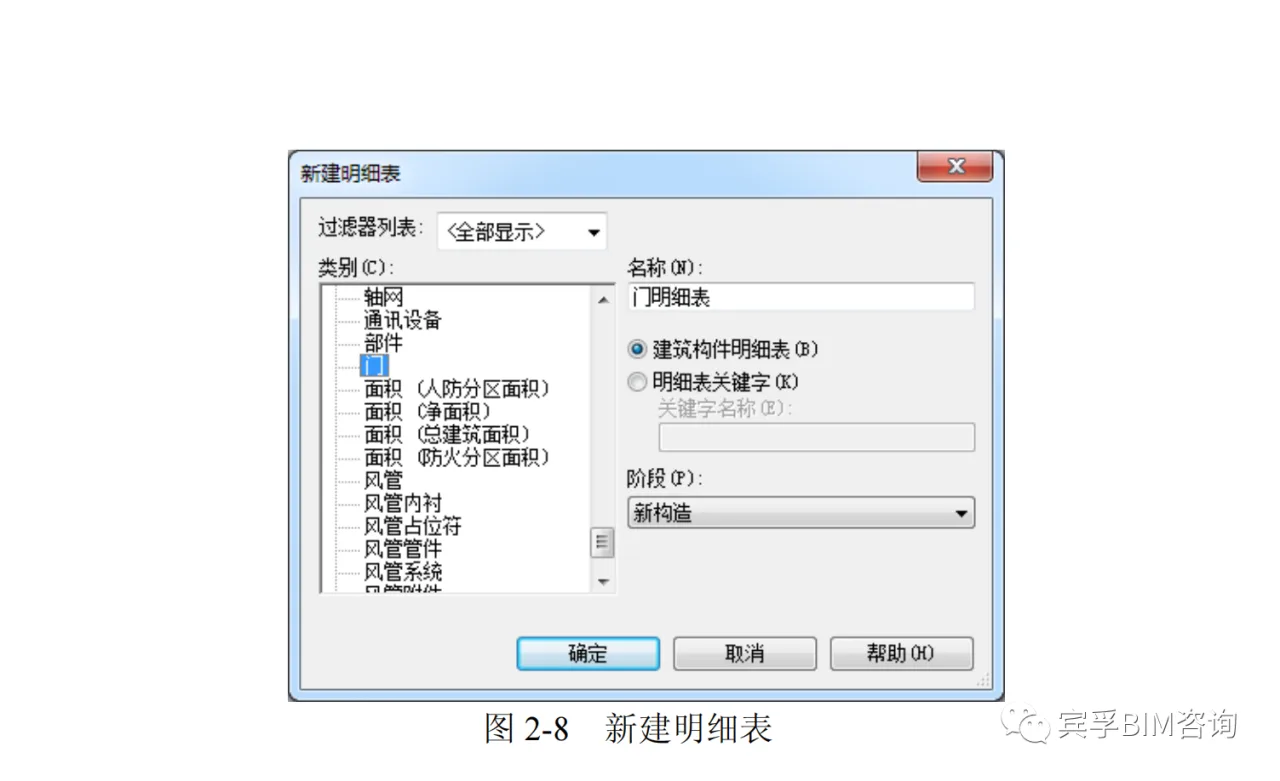
Navigate to the View tab, then the Create panel. Click the Detail Table dropdown and select the Detail Table/Quantity command. In the pop-up New Detail Table dialog, choose the category of components to count, for example, doors. Name the detail table “Door Detail Table” and select the Building Component Detail Table radio button, as illustrated in Figure 2-8.
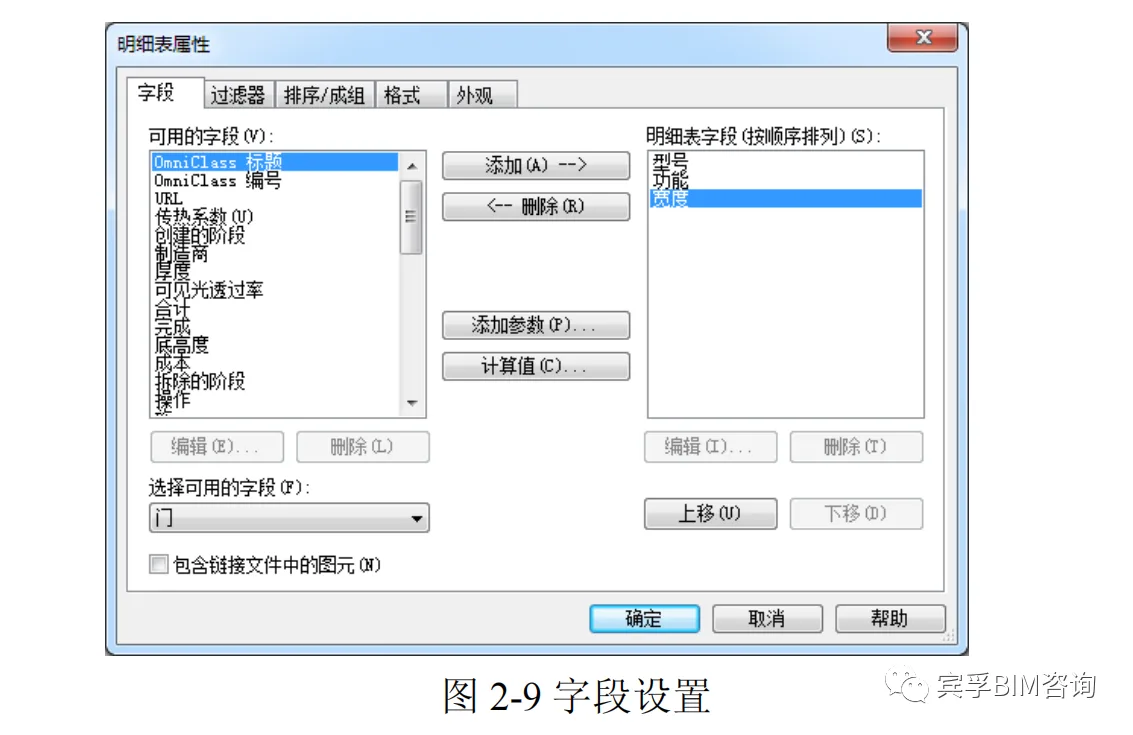
In the Detail Table Properties dialog box (Figure 2-9), under the Fields tab, choose the fields to include from the Available Fields list, such as model and function. Add them to the Detail Table Fields list using the add button. Use the Move Up and Move Down buttons to arrange the field order.
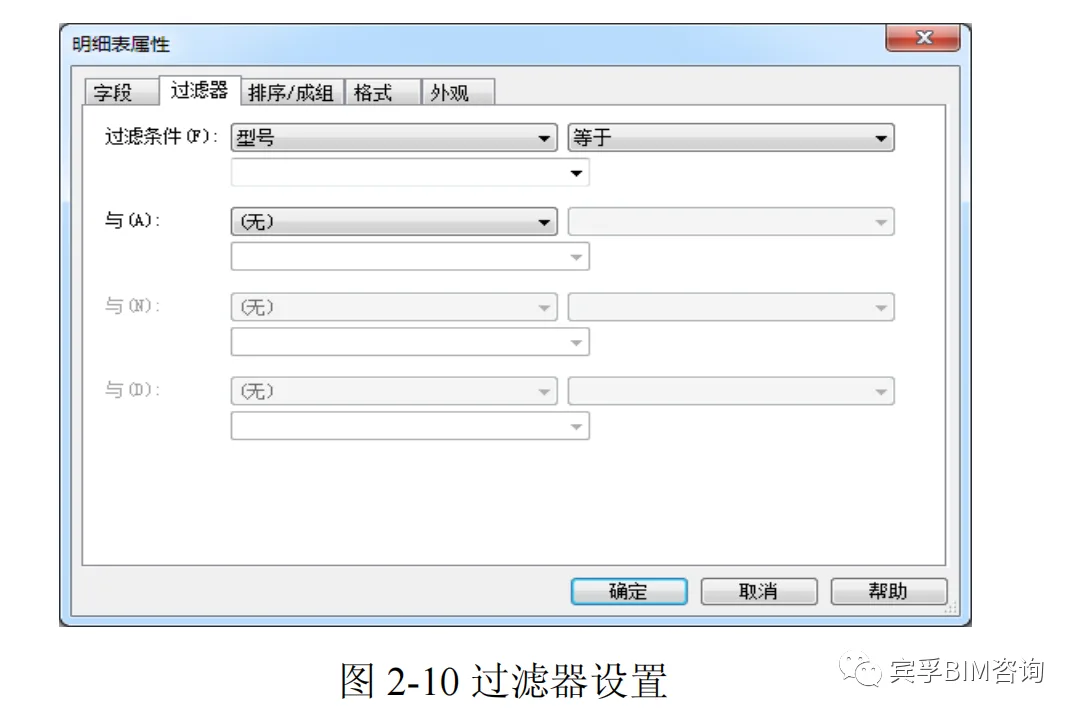
In the Filter tab, you can set filters to count specific components; otherwise, all components will be counted (see Figure 2-10).
The Sort/Group tab allows you to define the sorting method, such as sorting by model. Check the boxes for Total and List each instance item by item as shown in Figure 2-11.
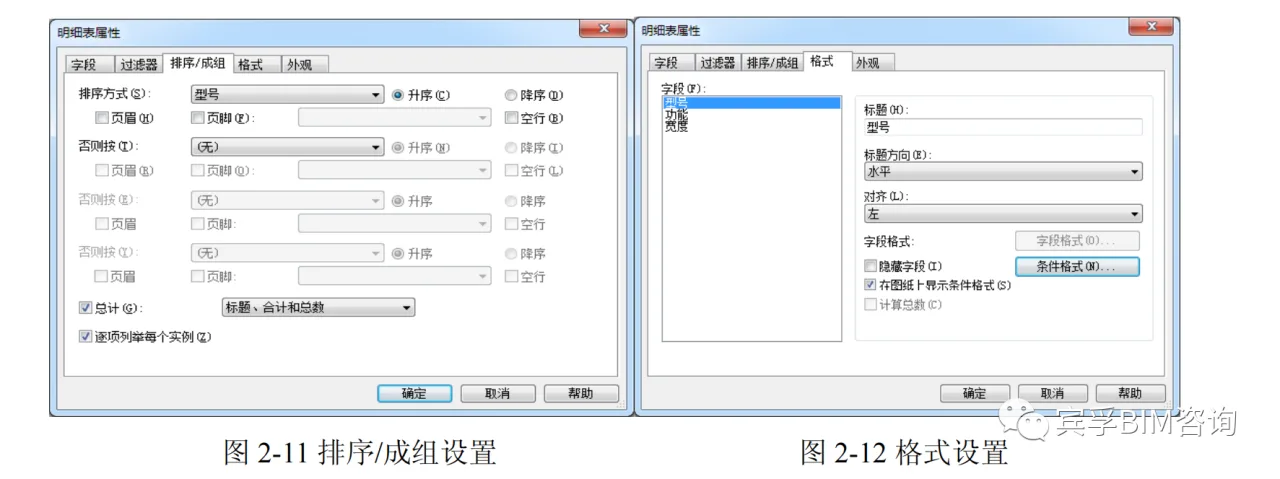
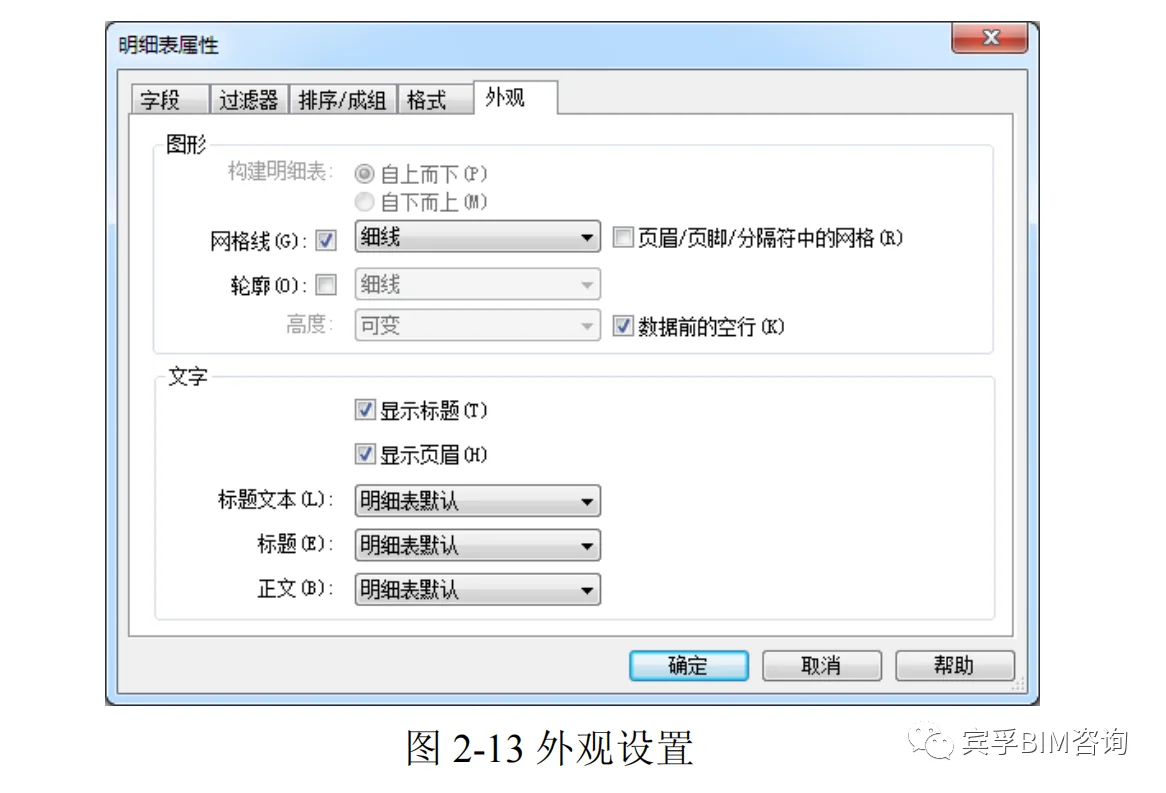
Under the Format tab (Figure 2-12), you can set the title names (field and title names can differ), title orientation, and alignment of fields in the table. If necessary, enable the Calculate Total option. In the Appearance tab (Figure 2-13), configure the table line width, title font, and body font size. Click OK to finalize the settings.
2. Creating a Type Detail Table
In the instance detail table view, click the edit button next to Arrange/Group in the View Properties panel on the left. Within the Arrange/Group tab, uncheck the List each instance item by item box. Select the component type for sorting. Once confirmed, the type detail table will be generated automatically.
3. Creating a Keyword List
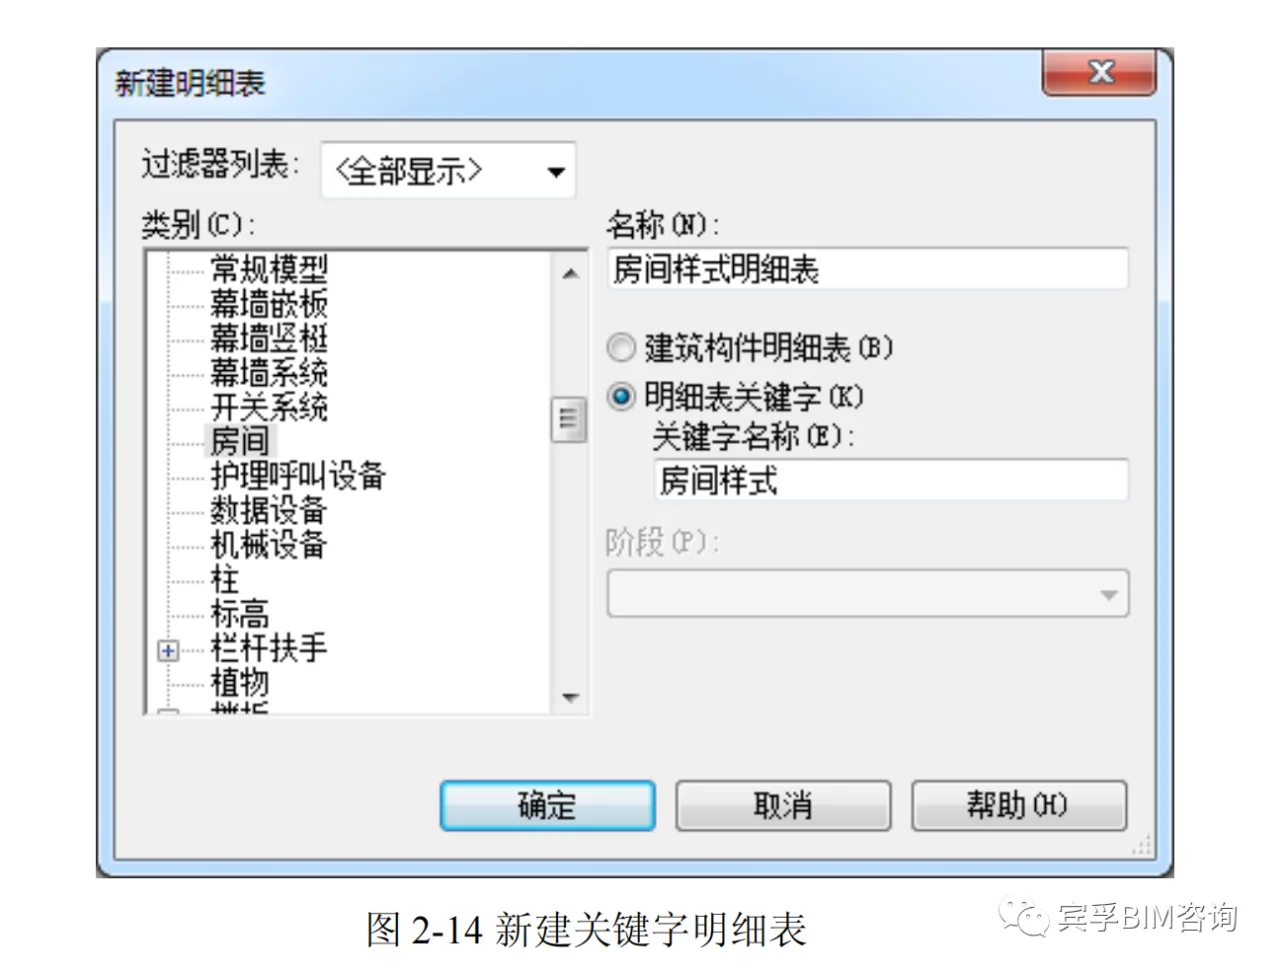
Select the List/Quantity command and pick the component category to count, such as rooms. Name the detail table, choose the Detail Table Keyword radio button, enter a Keyword Name, and click OK, as shown in Figure 2-14.
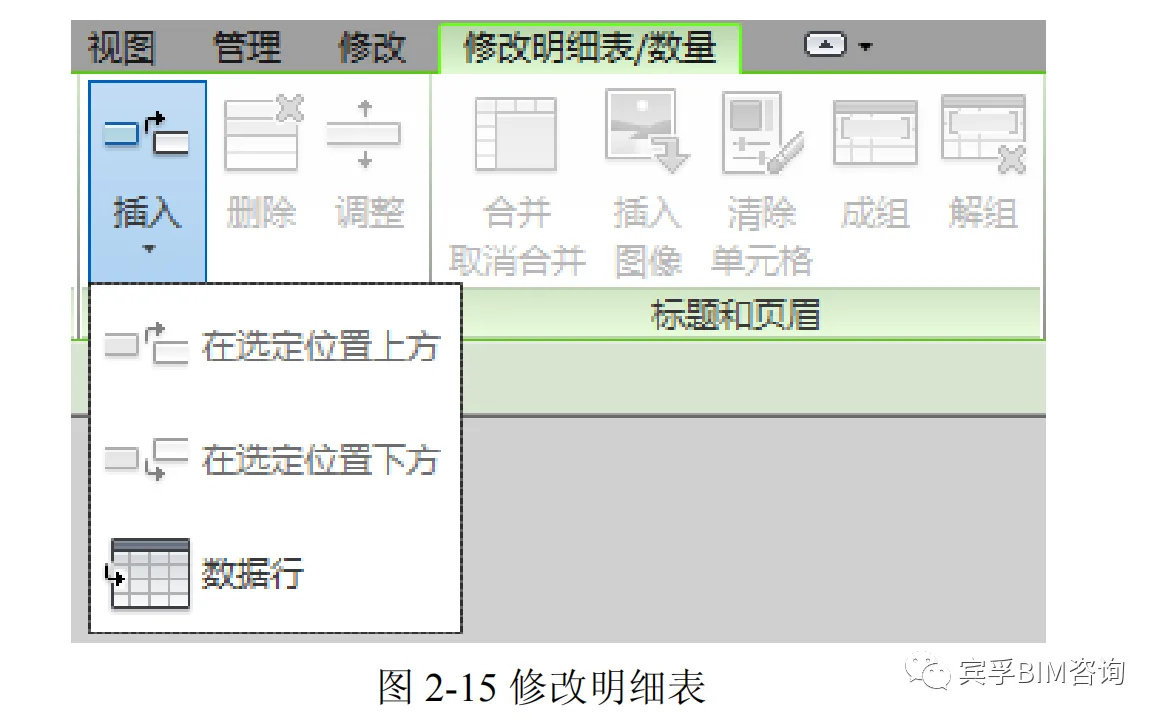
Next, follow the same steps as creating an instance detail table to set properties such as detail table fields, arrangement/grouping, format, and appearance. Use the Insert button in the Rows panel on the ribbon to add new rows, create new keywords, and fill in the corresponding information as shown in Figure 2-15.
Apply keywords to elements by selecting them in the graphic view. Then, apply the keywords to the schedule table by creating a new schedule table and adding the keyword name fields, such as “room style,” when selecting fields. Set the table properties as needed and click OK to complete the process.


Must log in before commenting!
Sign Up