Let’s continue our Revit learning journey. Today, we’ll share some useful tips on setting up a heating and ventilation system in Revit. The process is straightforward and can be completed in just a few simple steps!
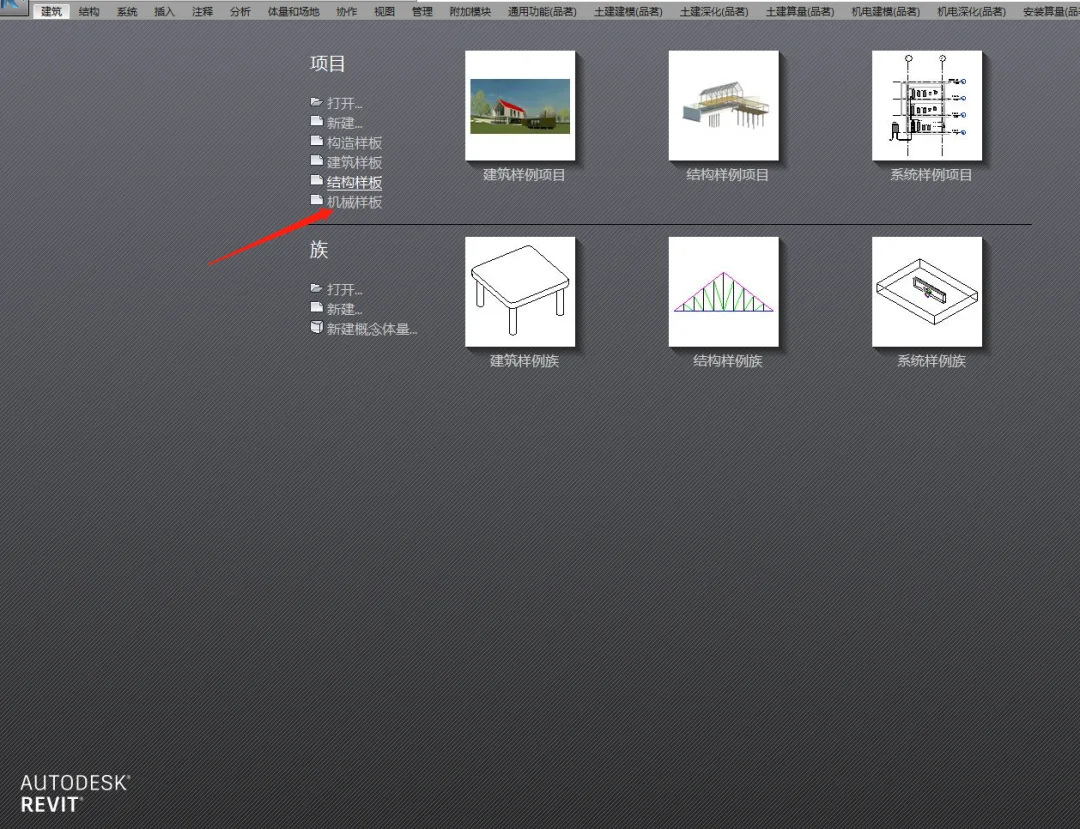
Step 1: Start by opening the mechanical template file in the Revit interface.
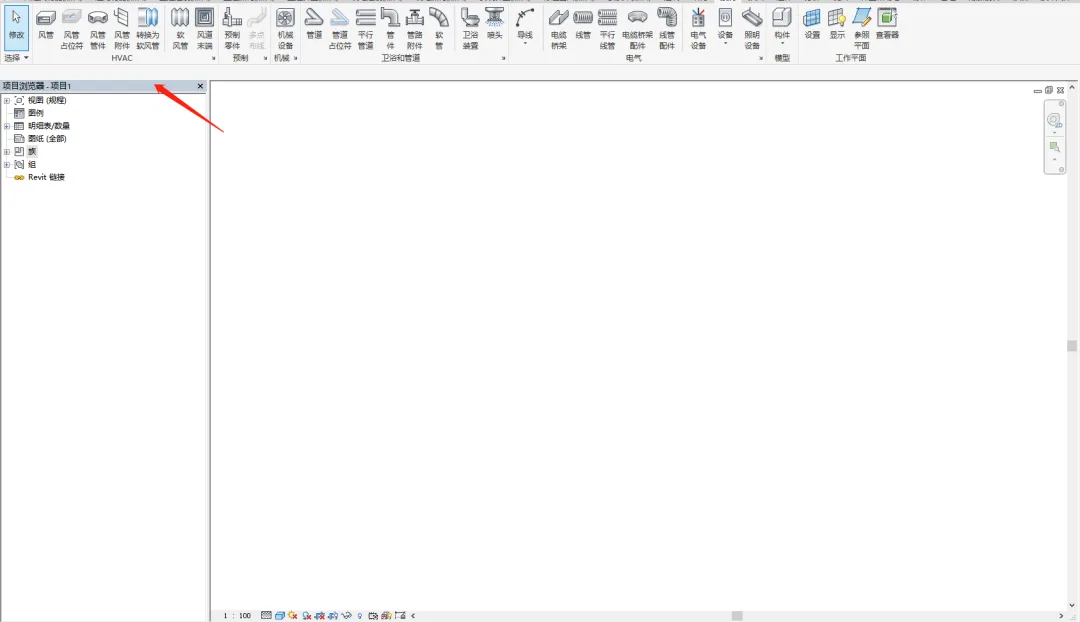
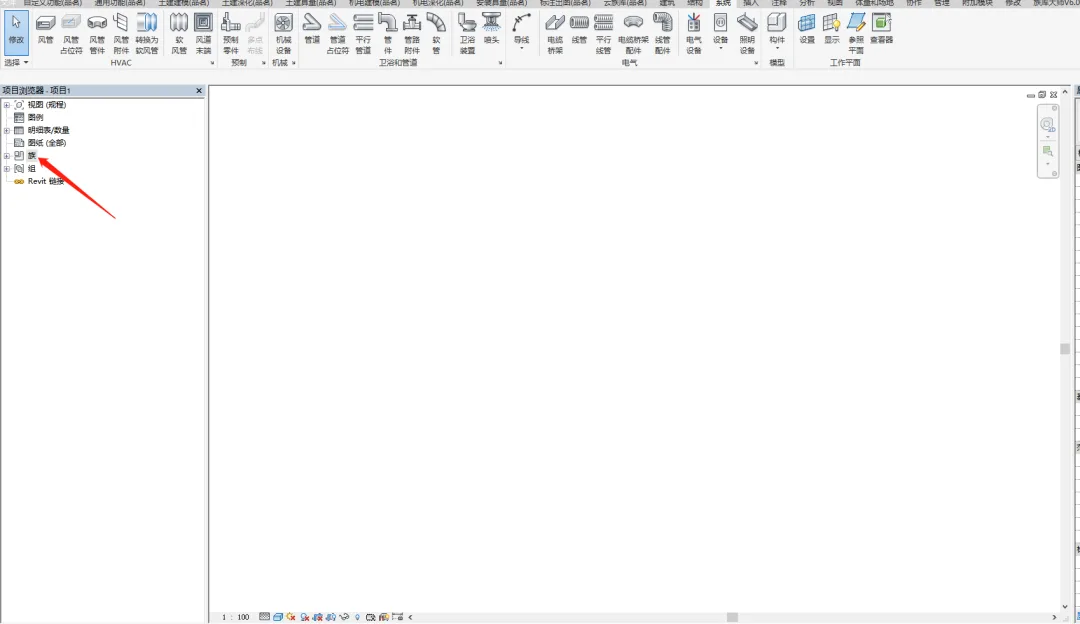
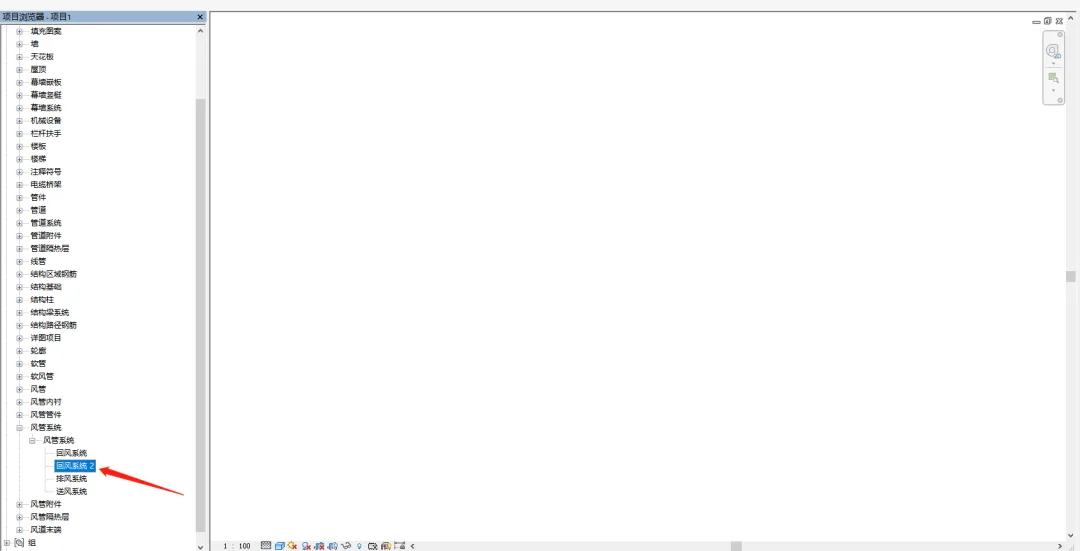
Step 2: Once the file is open, locate the Project Browser on the left side of the screen.
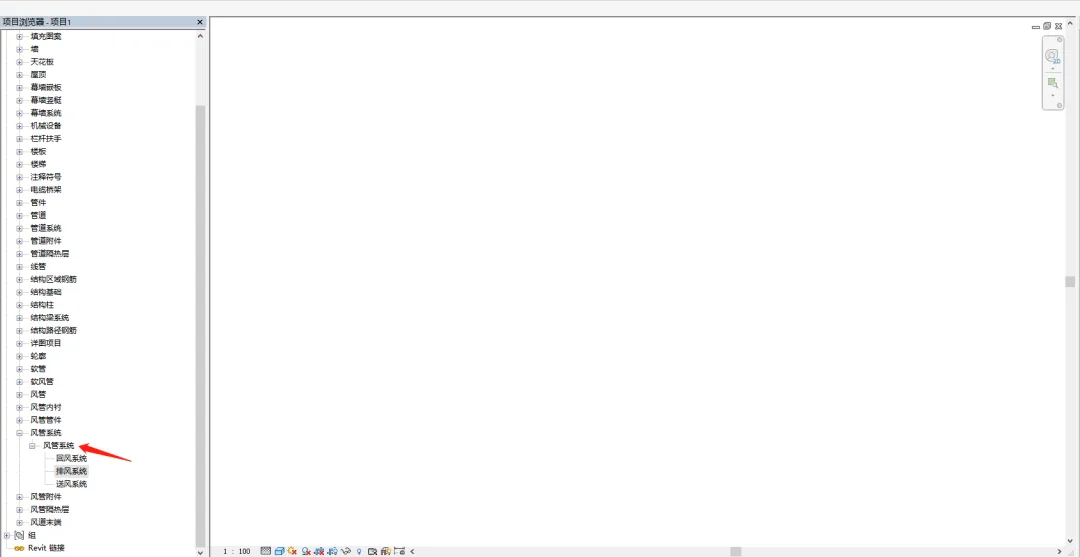
Within the Project Browser, find the Families category. Expanding it, you will see the Duct System section at the bottom. In the mechanical template, three default duct systems are included: the return air system, the exhaust air system, and the supply air system.
Wondering how to add a new duct system?
Step 3: Adding a Duct System
If you want to add systems like fresh air or smoke exhaust, start by copying one of the existing systems—return air, supply air, or exhaust air. Then, rename the copy to represent the new system, such as the fresh air system.
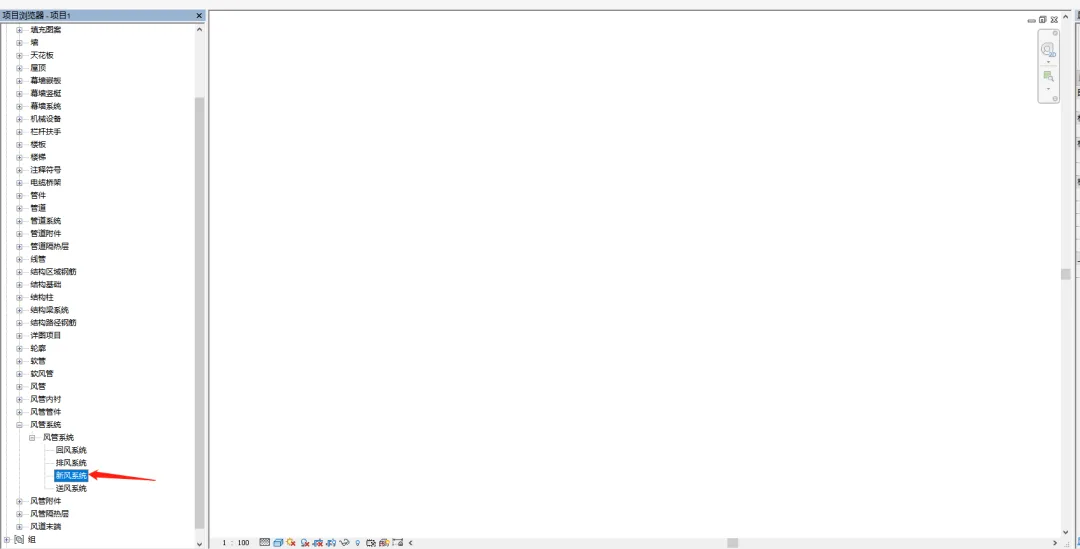
After adding the fresh air system, use the same method to create the smoke exhaust and any other duct systems you need.
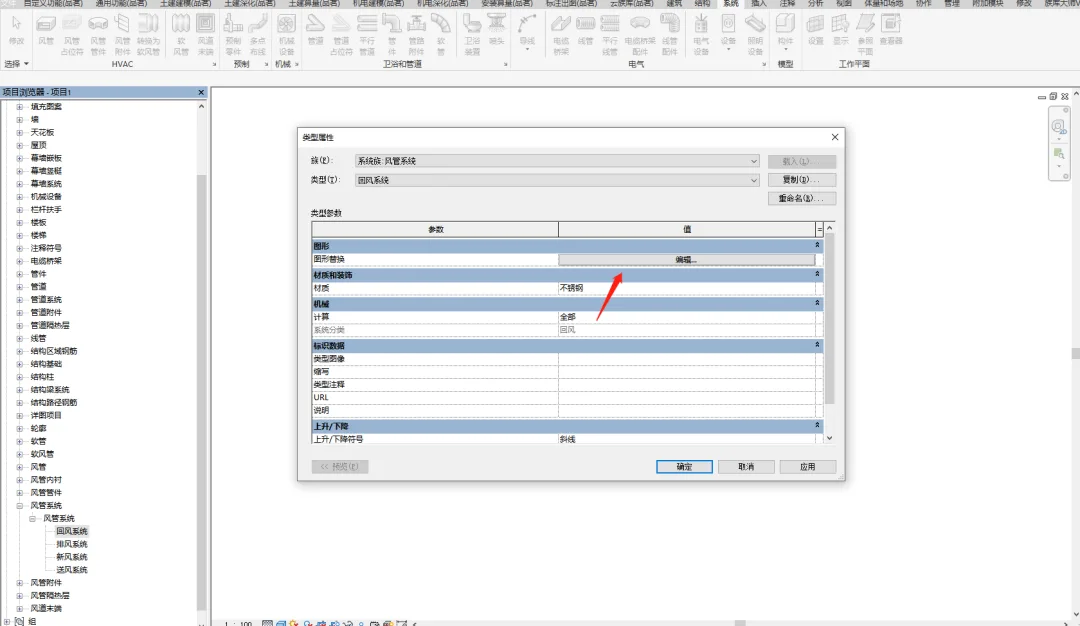
Step 4: Assign Colors to Duct Systems
To easily differentiate duct systems in a 3D view, assign distinct colors to each system’s ducts.
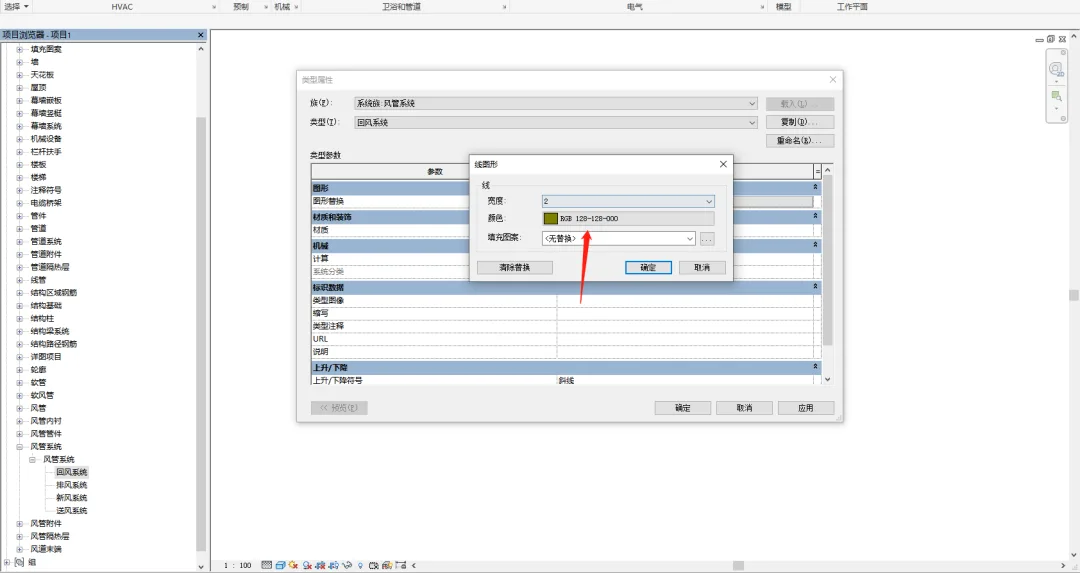
Start by double-clicking on the return air system. In the Type Properties dialog, locate the Graphic Overrides section and edit it. Choose the color you want from the color options, then confirm your selection. Repeat this process to assign colors to the other duct systems.


Must log in before commenting!
Sign Up