In Revit, the standard approach to classify and fill wall interfaces involves directly modifying the wall’s cross-sectional pattern within the Visibility/Graphics settings.
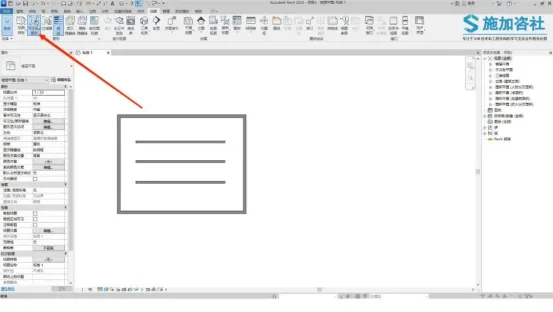
All wall types will be affected. Here, we have two types of walls: an exterior wall enclosing an interior wall. To clearly differentiate the exterior wall from the interior one, we need to change the cross-sectional fill color of the exterior wall. How can this be done? It only takes two simple steps.
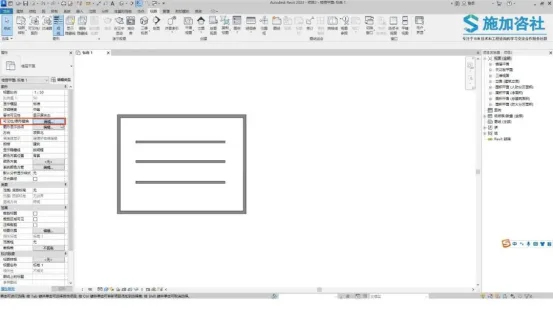
Step 1: Create a New Exterior Wall Filter
Begin by clicking the Edit button next to the Visibility/Graphics overrides in the Properties panel.
Next, select Filters and click on Edit or Create.
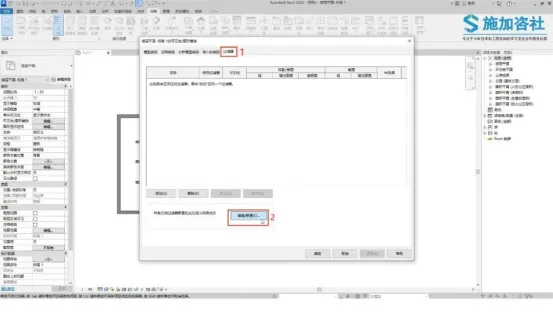
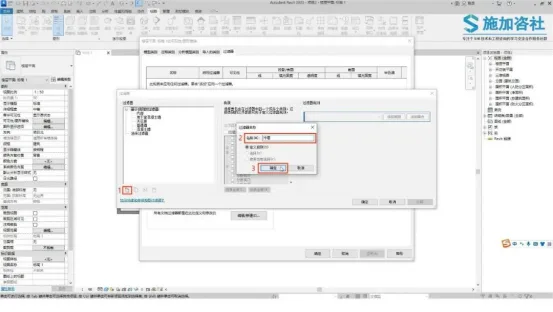
Click the New button and name the filter Exterior Wall.
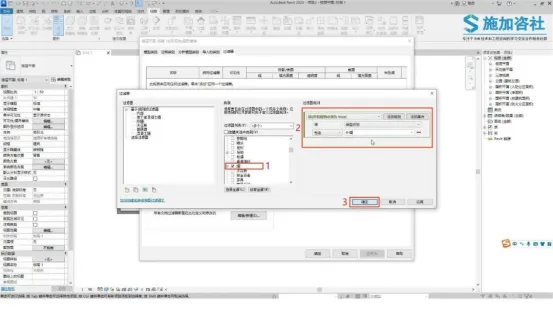
Find the walls by expanding the Family Category dropdown.
Change the selection from No selection to Type Name. In the first blank column of the second row, select Include, and in the second blank column, type Exterior Wall.
This filter will now select all walls classified as exterior walls. Click OK to confirm.
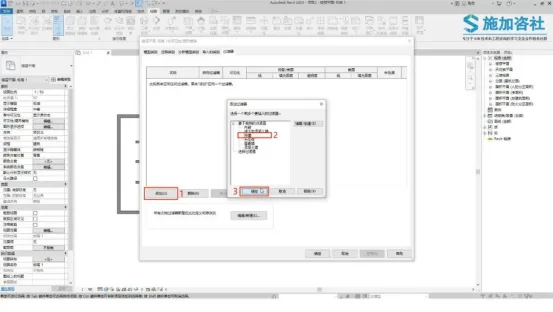
Click the Add button.
Add the filter you just created.
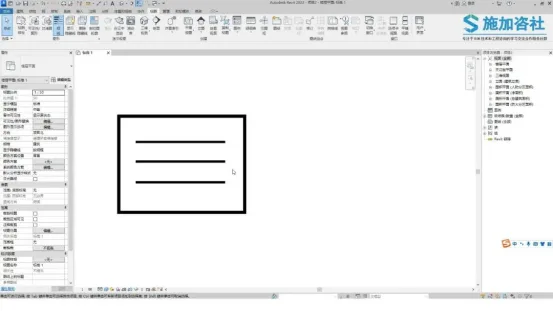
Step 2: Modify the Wall Section Fill
Under the section options bar, select the Replace button next to the fill pattern. Change the fill pattern to Solid Fill and set the color to red. Confirm by clicking OK.
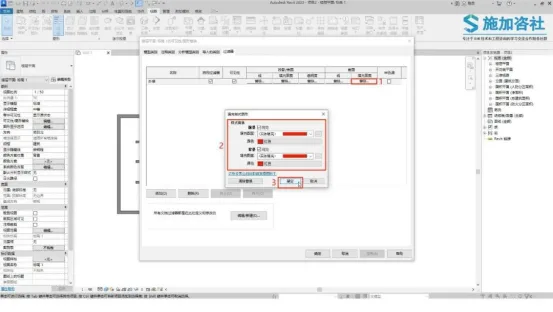
Apply the changes and confirm to complete the process.
Content source: Applied Consultation Society


Must log in before commenting!
Sign Up