This article is from the WeChat official account: Teacher A Xuan, author of the Rhino KeyShot Tribe.

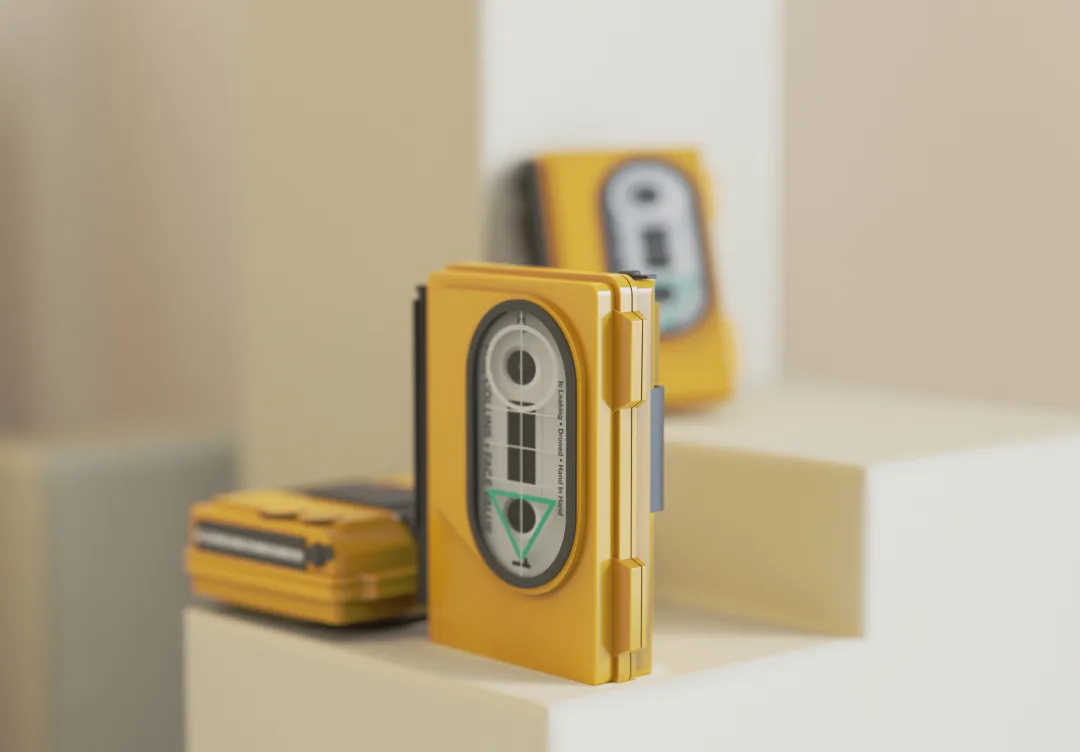
This rendering scene is quite straightforward, featuring simple materials and lighting. The overall atmosphere is mainly shaped by the lighting setup and depth of field. By following the rendering steps in order, you can easily achieve the desired effect.
Rendering Steps
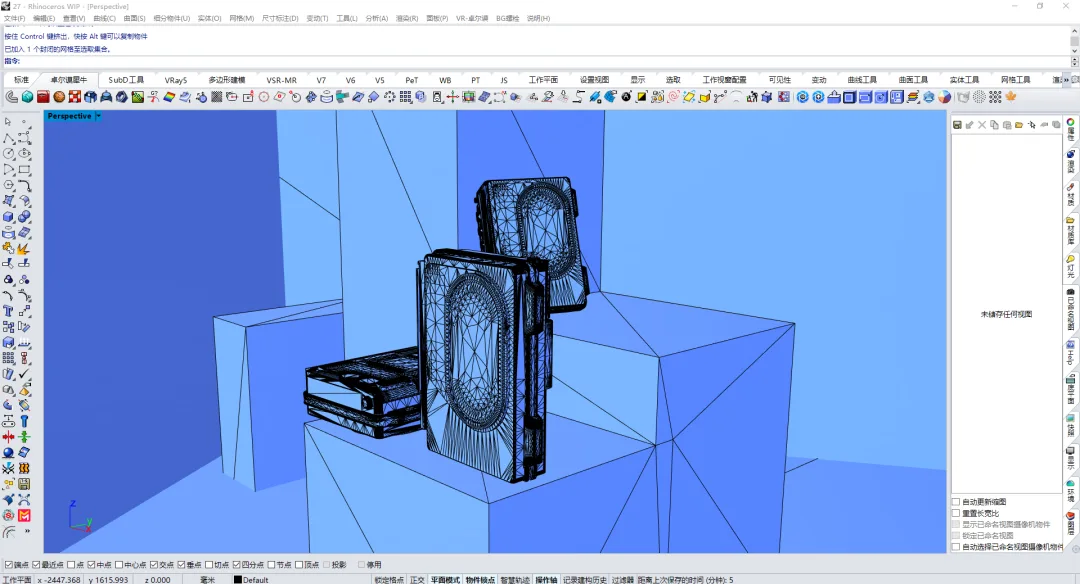
01. Build your scene files in Rhinoceros and organize them into layers.
02. Use the docking plugin to import the scene into KeyShot 11.
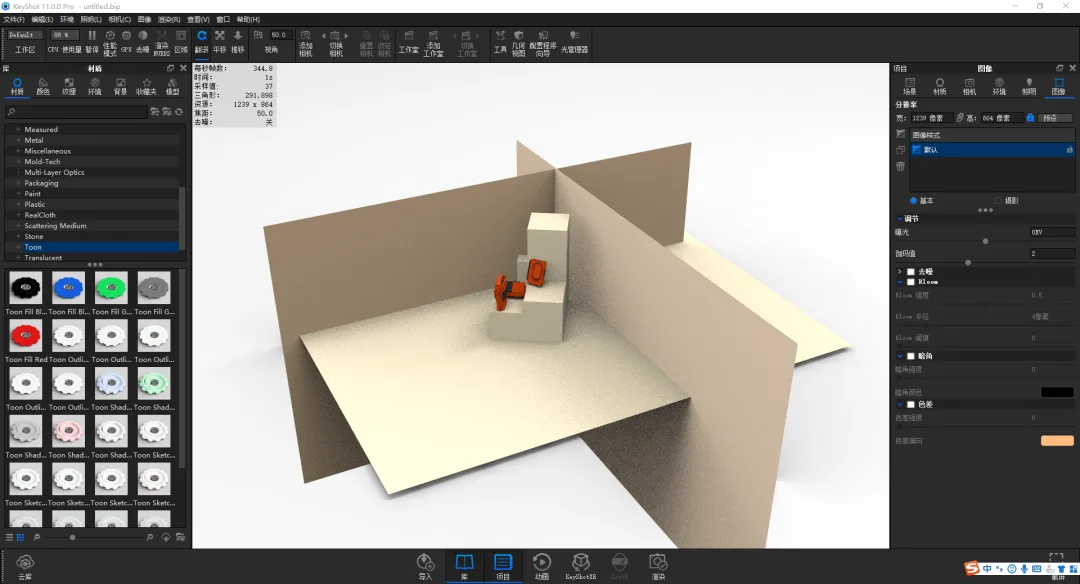
03. Adjust the perspective and camera angle, then save the camera view.
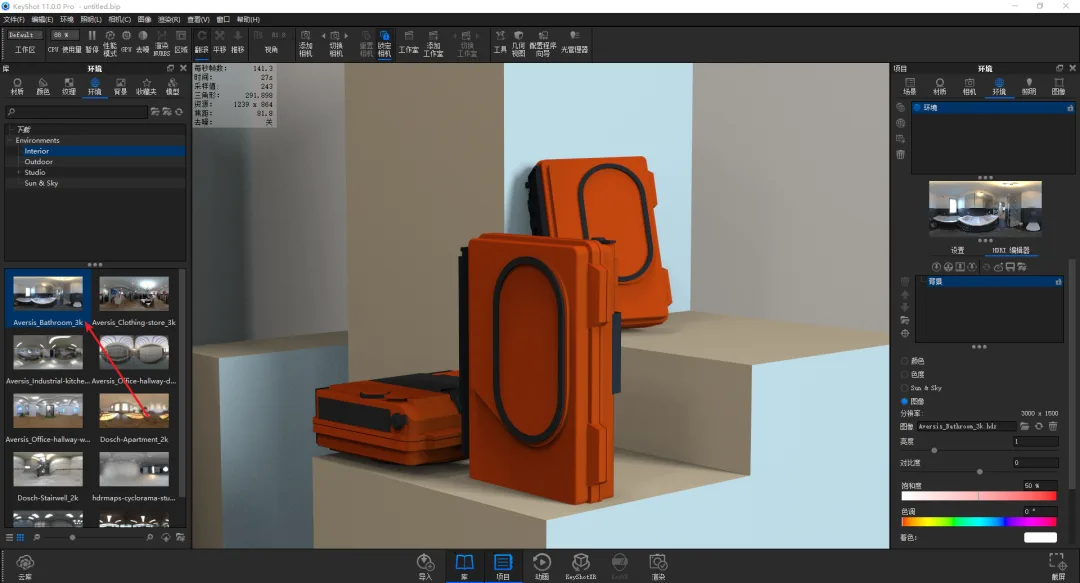
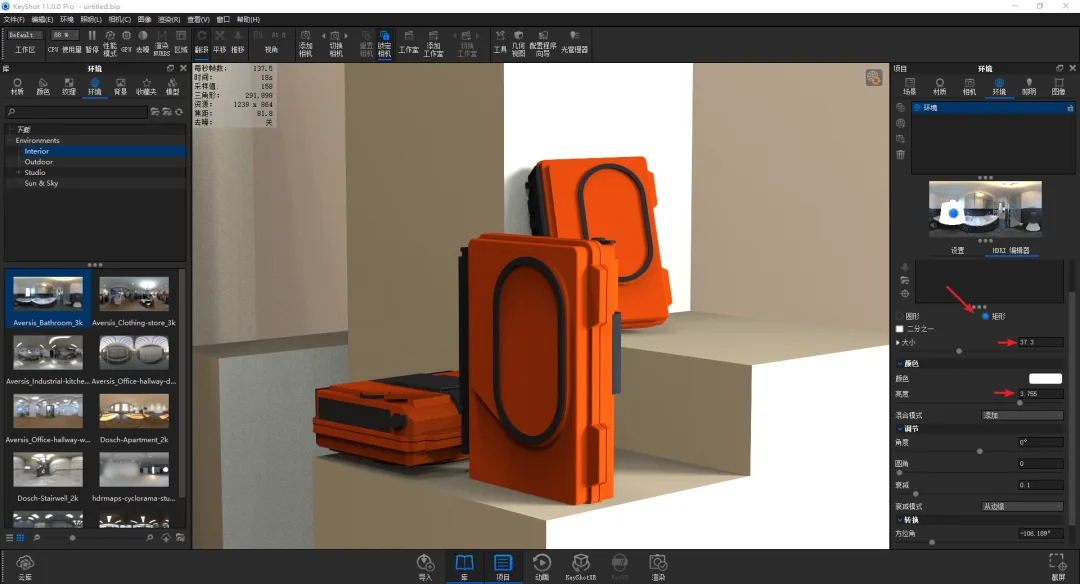
04. By default, HDR is applied. Drag an appropriate toilet light from the built-in resource library to use as the HDR environment.
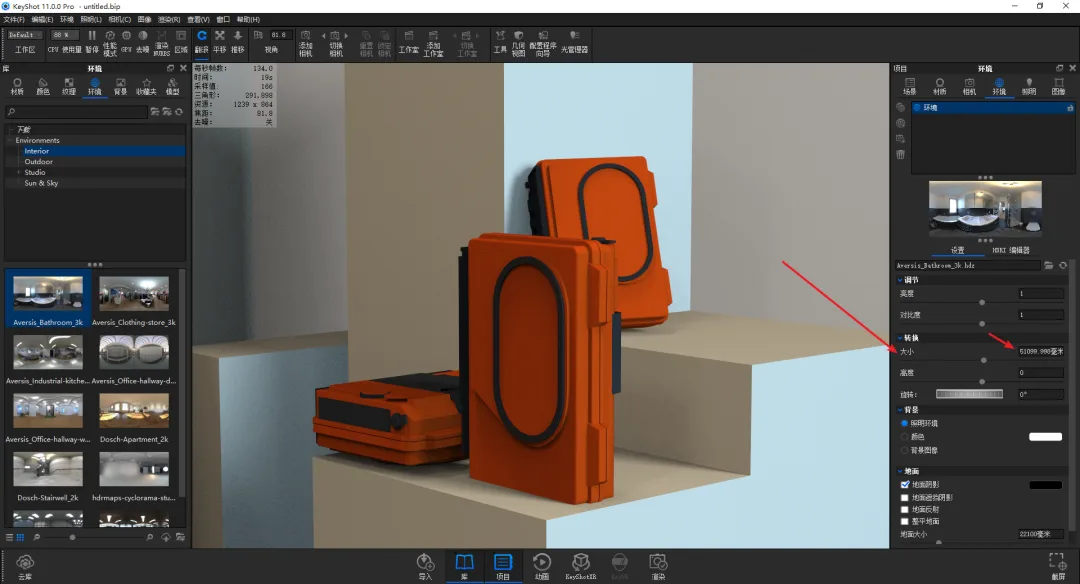
05. Increase the HDR size value within the environment settings.
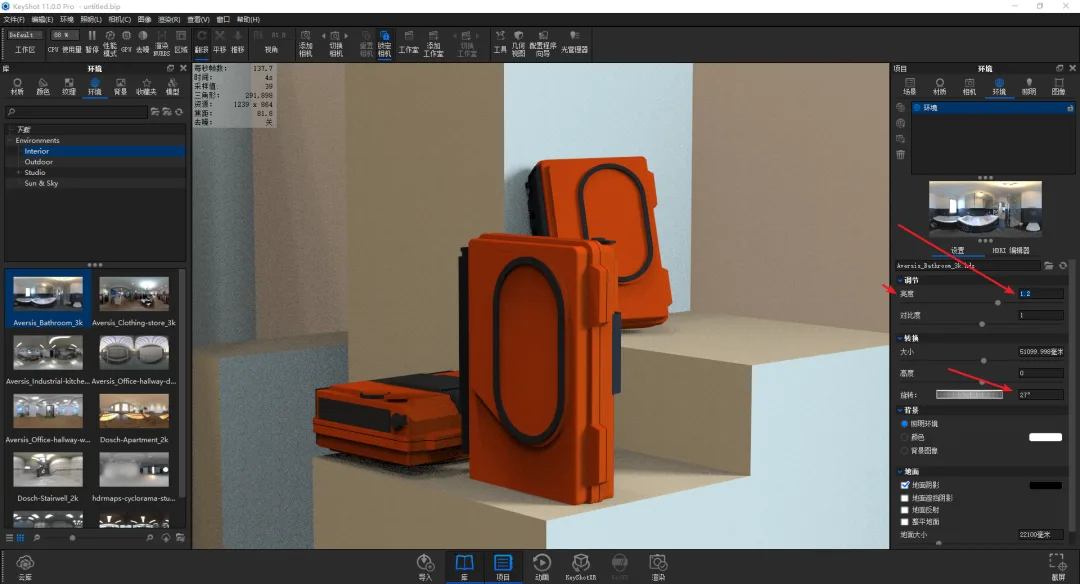
06. Adjust the brightness and angle of the HDR to define the direction of the main light source.
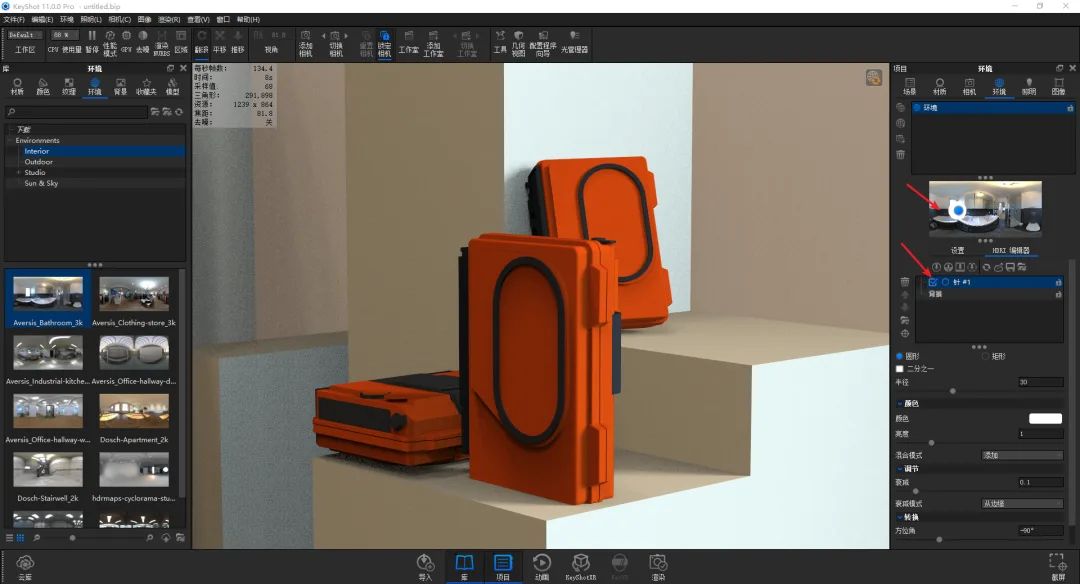
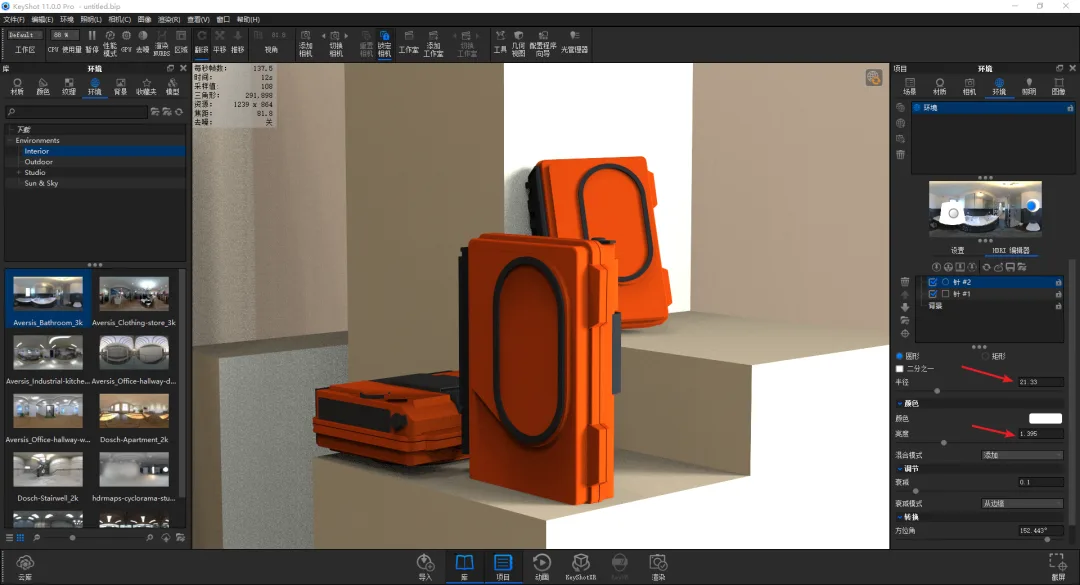
07. Add a “needle” in the HDR editor and position it to the light source direction to serve as the primary light.
08. Change the shape of this needle to a rectangle, then increase its size and brightness.
09. Add another needle as fill light and place it at the backlight position within the environment.

10. Adjust the brightness and size of this fill light to fit the scene.
11. If the base edges appear too sharp due to lighting and shadows, add circular edges in the scene properties to soften them.

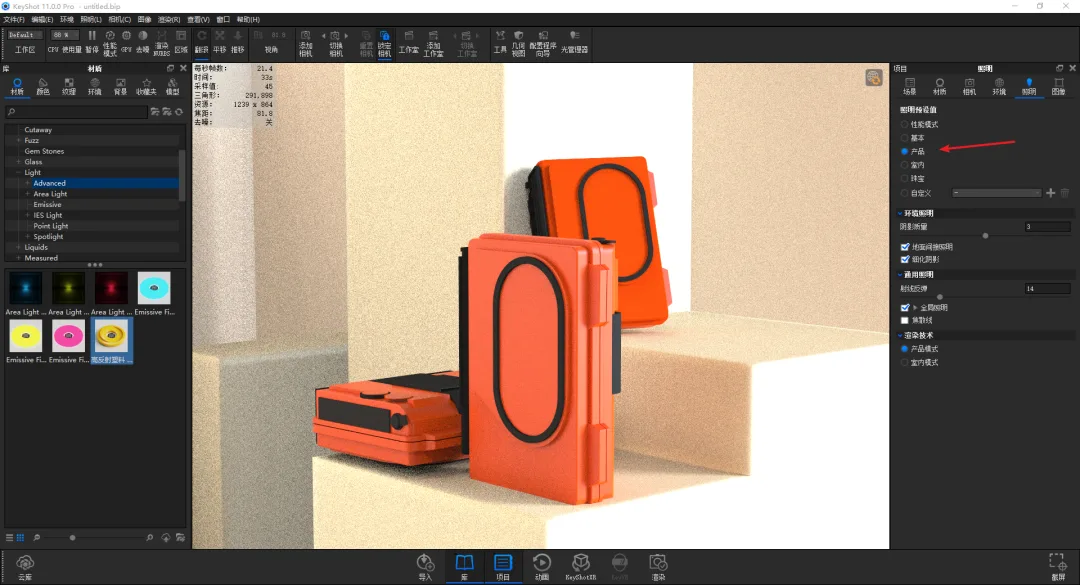
12. If the lighting effect isn’t optimal, switch the mode to either Product or Environment in the lighting settings.
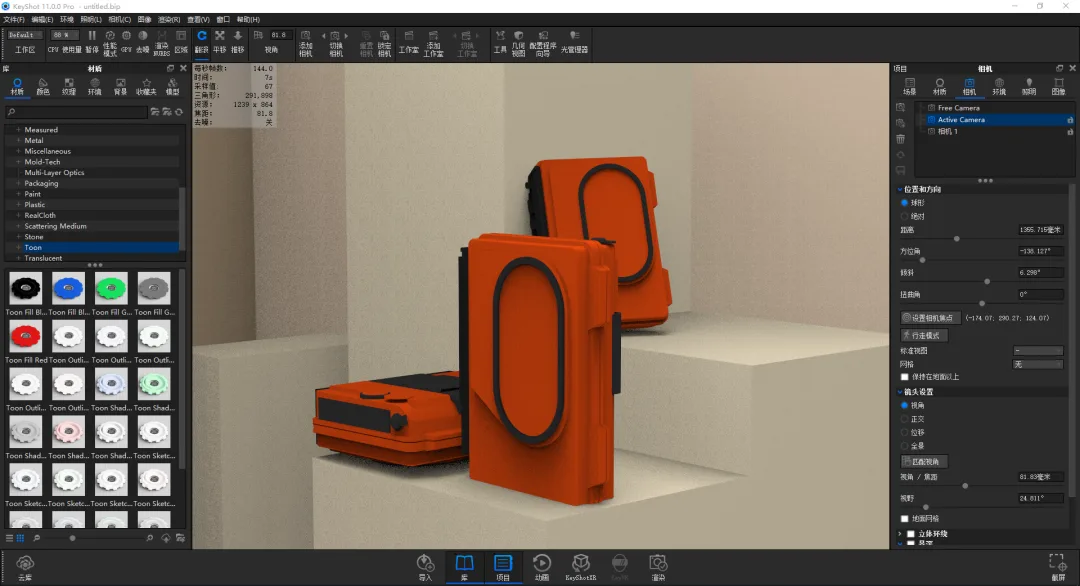
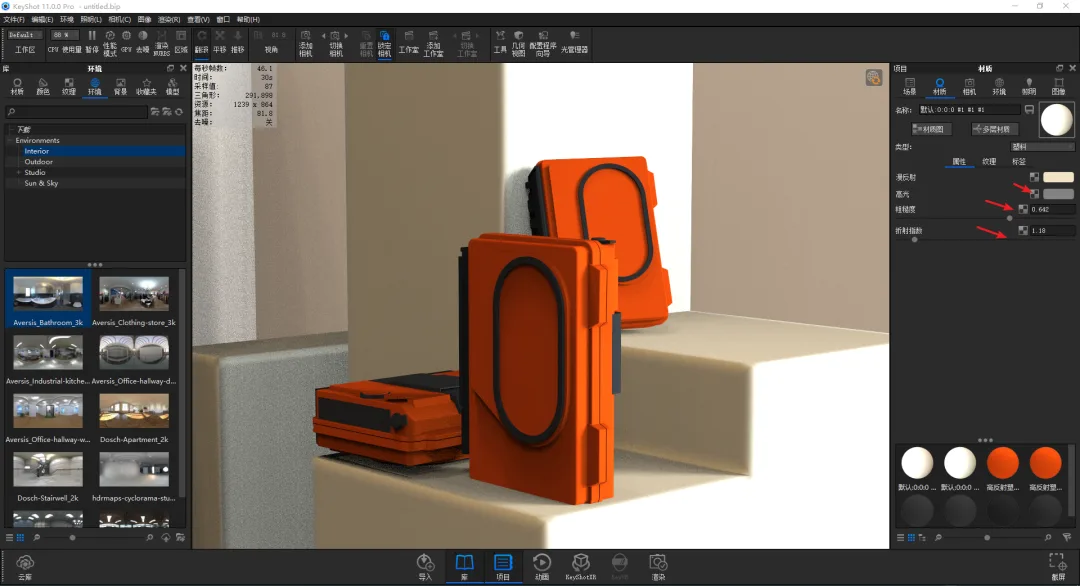
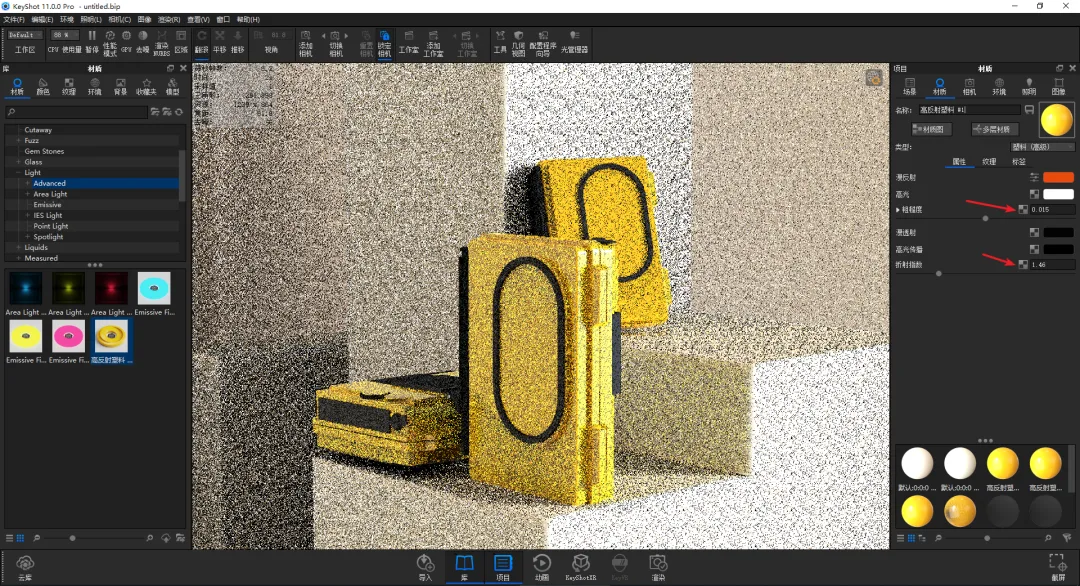
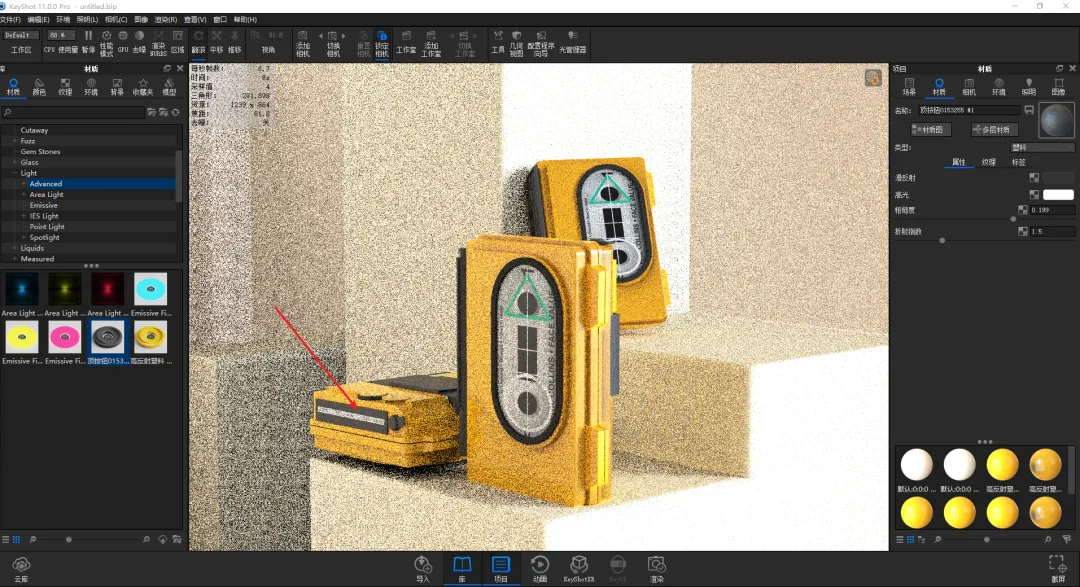
13. Next, adjust the materials. The materials in this scene are simple and can be modified individually. Start by applying standard plastic materials to the background board and base. Change the diffuse color to a yellowish tone, increase roughness, decrease the refractive index, and darken the exposure.
14. Now work on the yellow high-reflectivity plastic for the main body. Use an advanced plastic material and connect nodes, mainly adding occlusion nodes to enhance the material’s depth.
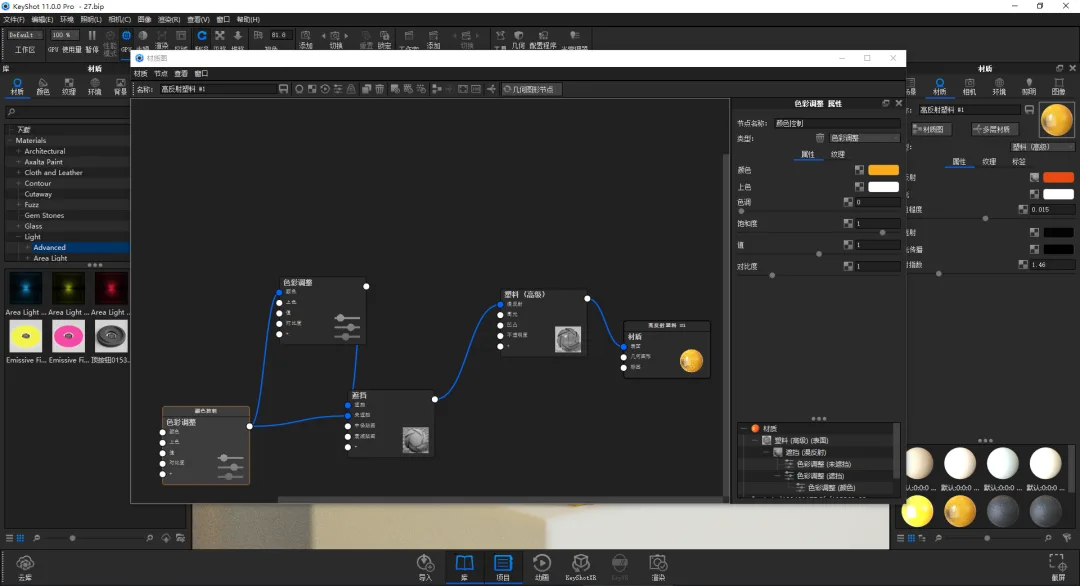
15. After connecting the nodes, fine-tune the roughness and refractive index slightly.
16. Add labels to the main material and apply content textures to the internal tape.
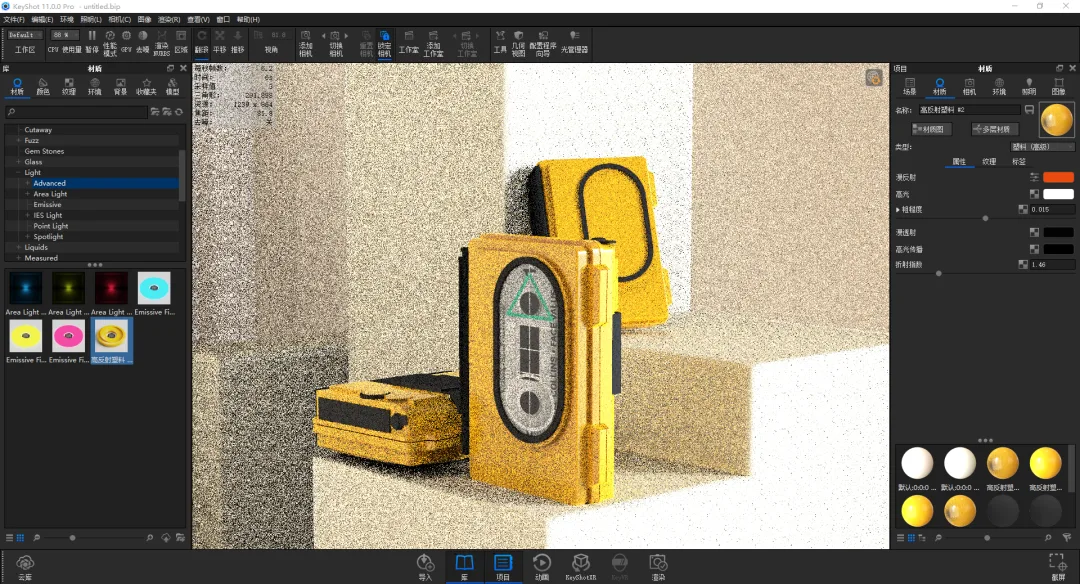
17. For the black plastic parts, adjust the roughness and refractive index of the plastic material slightly.
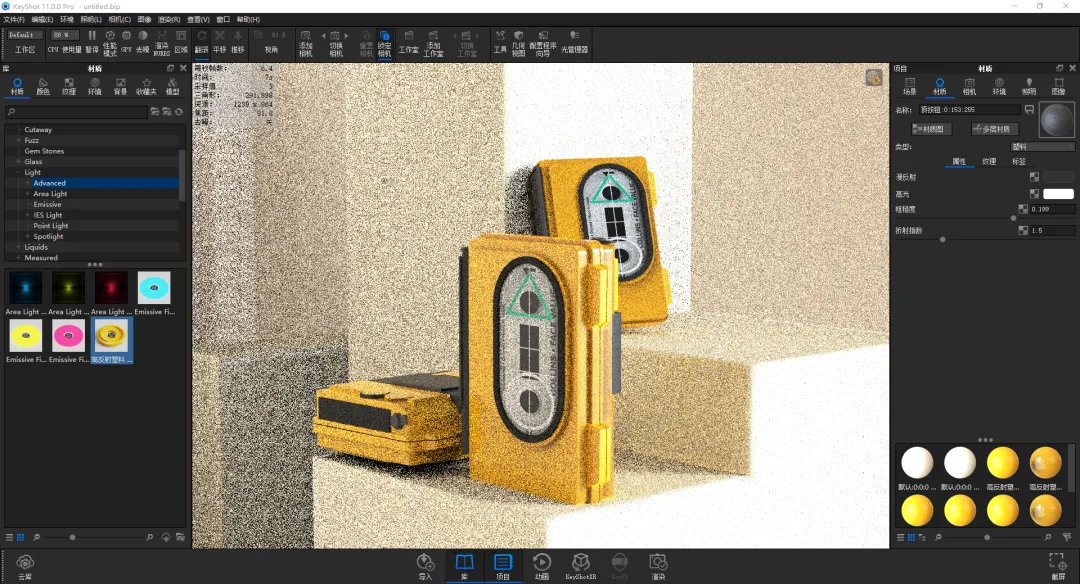
18. Add a label texture to the top plastic part.
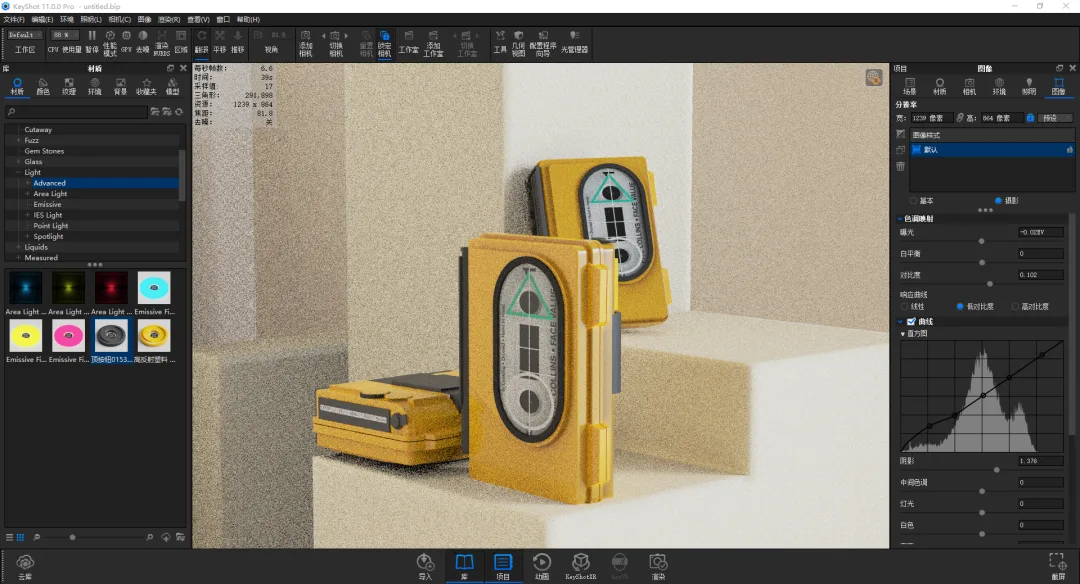
19. Switch the mode to Photography for both inside and outside the image to access more parameters.
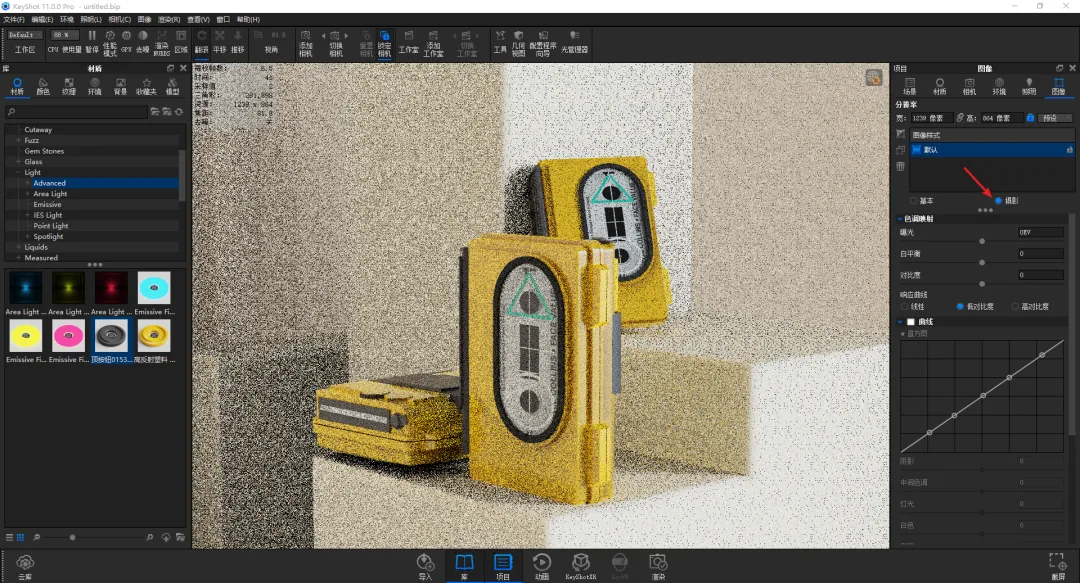
20. Adjust exposure, contrast, and shadows sequentially to refine the image.
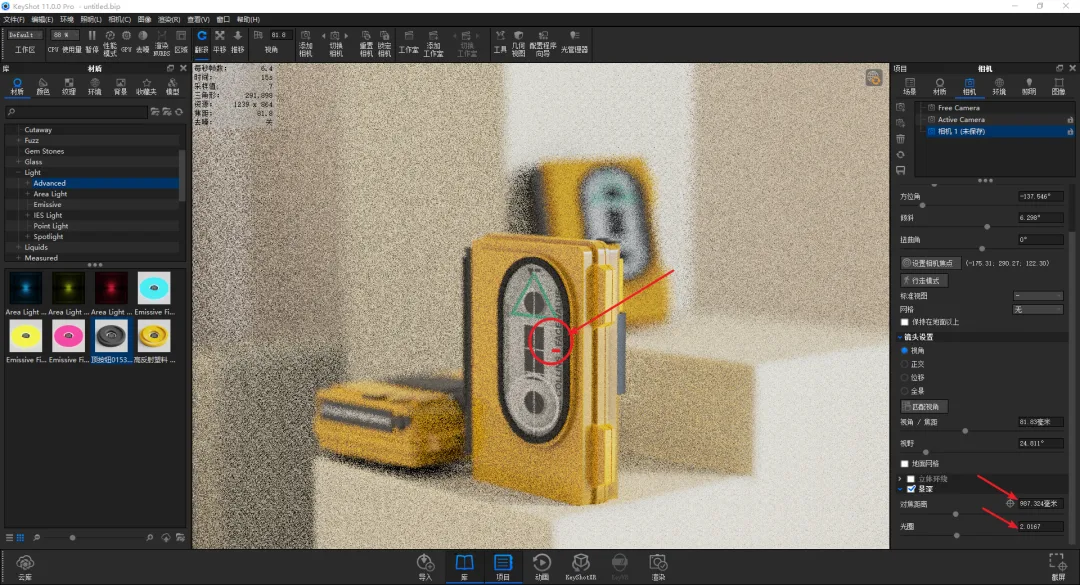
21. Enable depth of field in the saved camera, focus on the central subject, and adjust the aperture size to control the blur effect.
Once all necessary image parameters are set, you can proceed to render the final image.


Must log in before commenting!
Sign Up