Let’s dive into some practical Revit tips. When installing mechanical and electrical equipment, it’s essential to reserve maintenance space for future servicing and repairs. Here’s how you can set maintenance space for equipment within your Revit model.
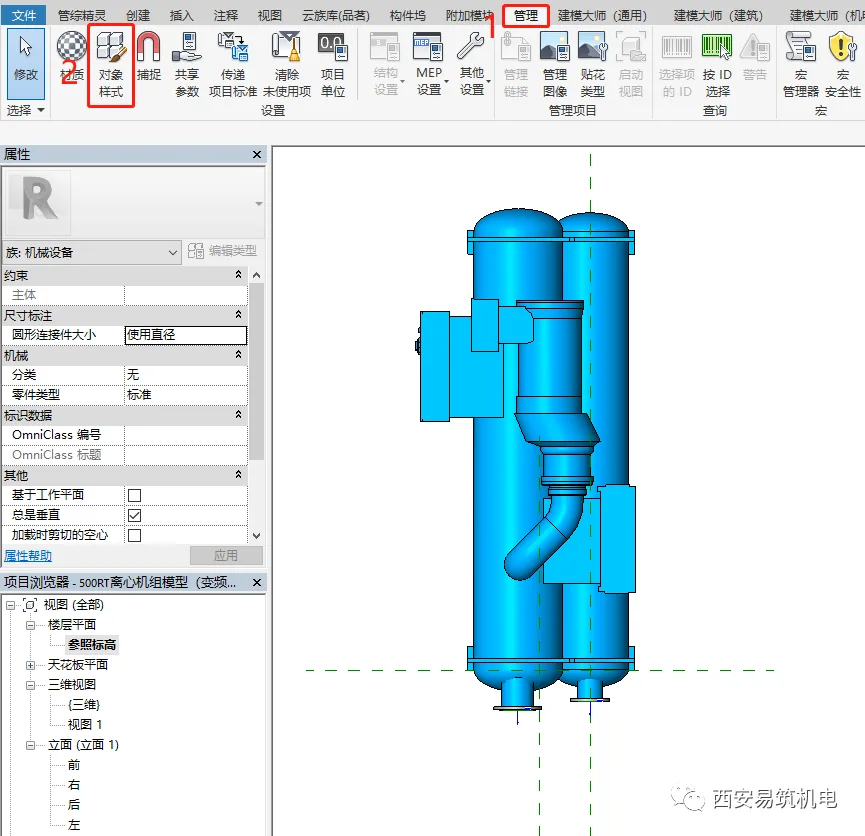
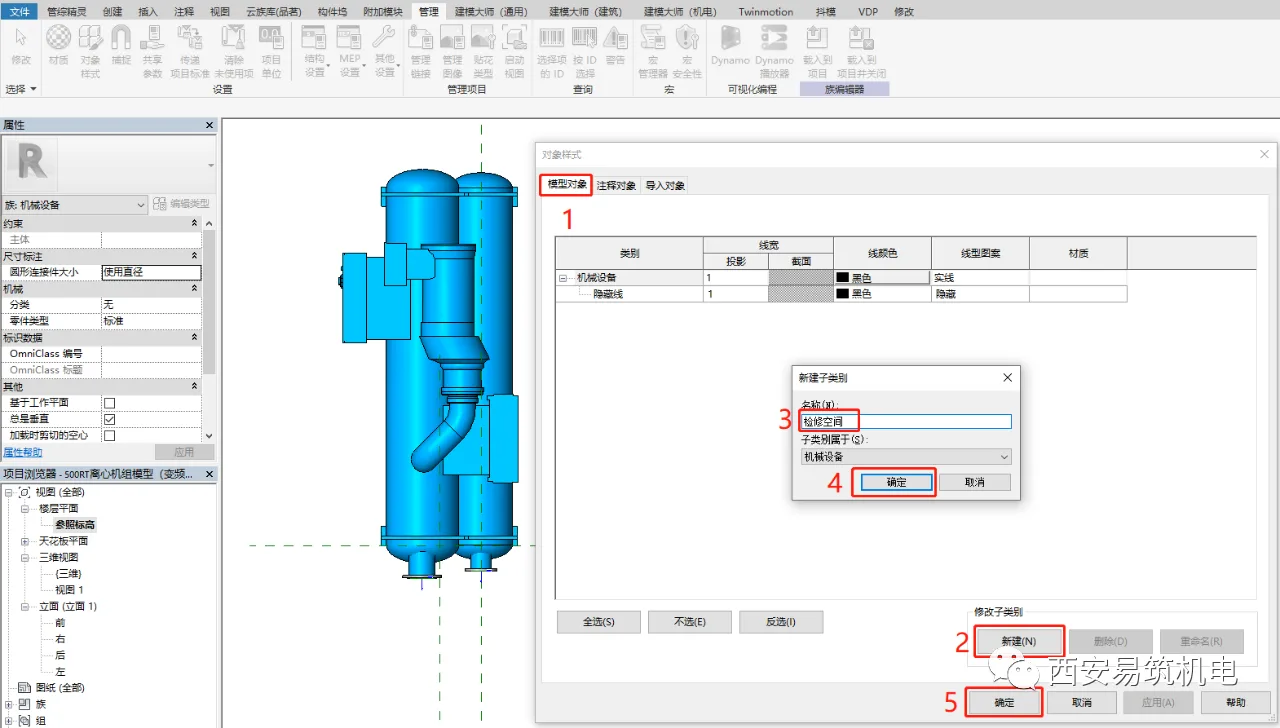
Start by clicking on “Object Styles” under the “Manage” tab.
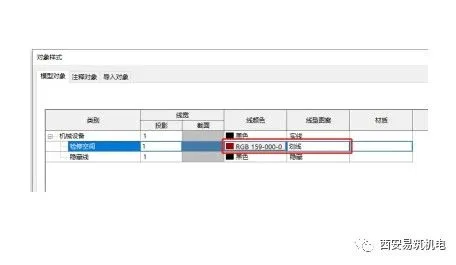
Next, in the pop-up Object Styles dialog box, click the “New” command under “Modify Subcategory”. Create a new subcategory named “Maintenance Space”. Then, assign a line color and line pattern to this subcategory to distinguish it clearly.
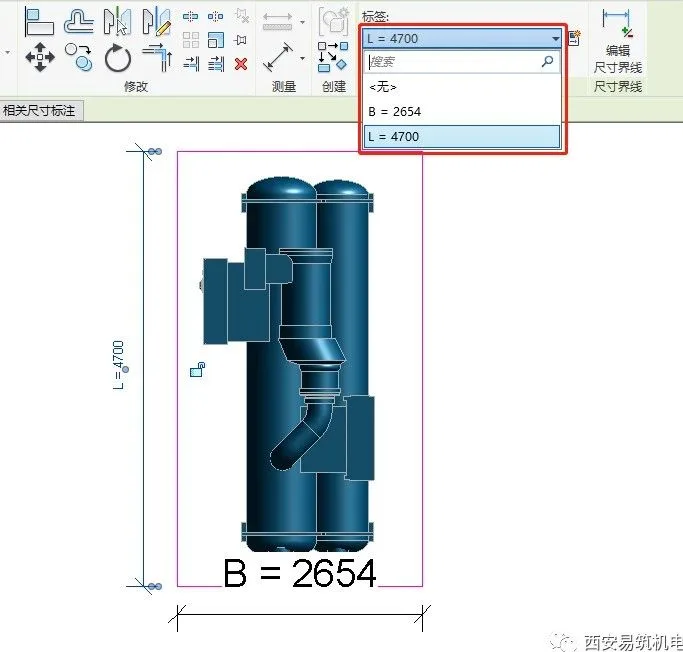
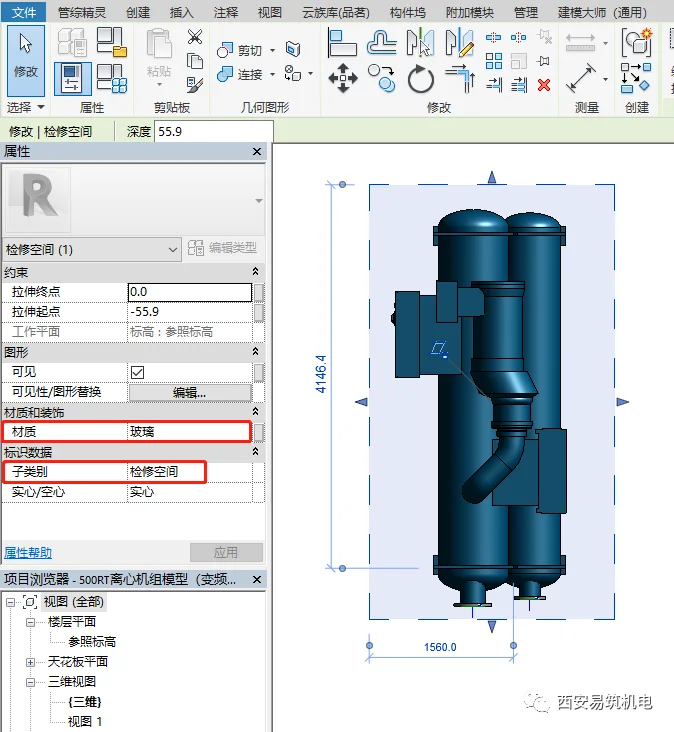
Open the “Reference Elevation” in the floor plan view. Then, use the “Stretch” command under the “Create” tab to generate the maintenance space entity. Dimension the physical size of this space, and add parameters to control its dimensions.
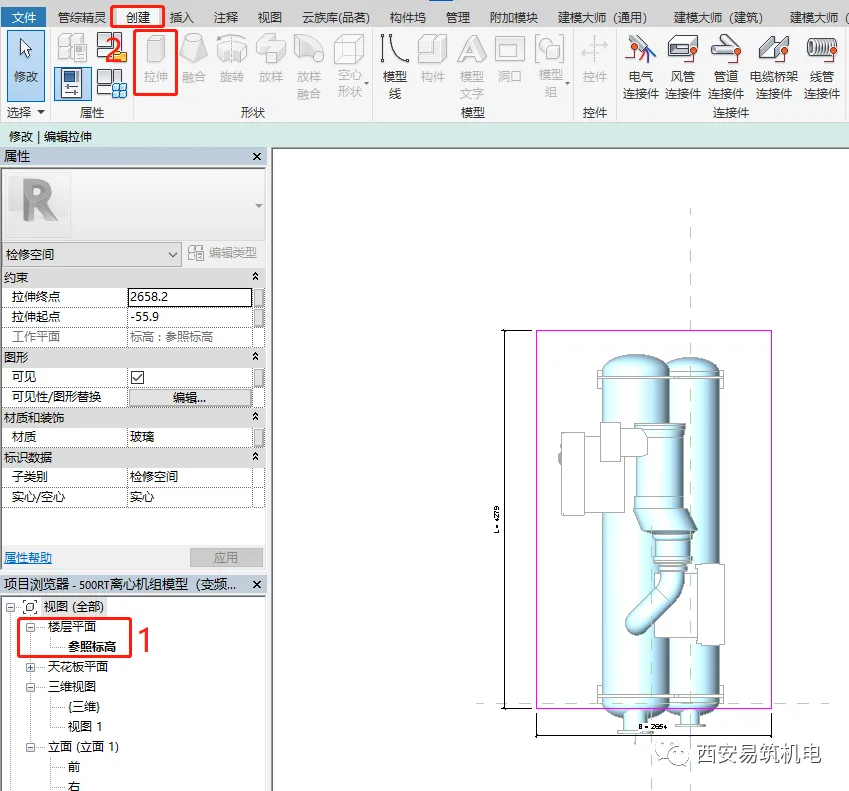
Select the created entity and, in the Properties panel, change the “Subcategory” to “Maintenance Space”. To improve visibility of the equipment within the model, set the material of this entity to a transparent one.
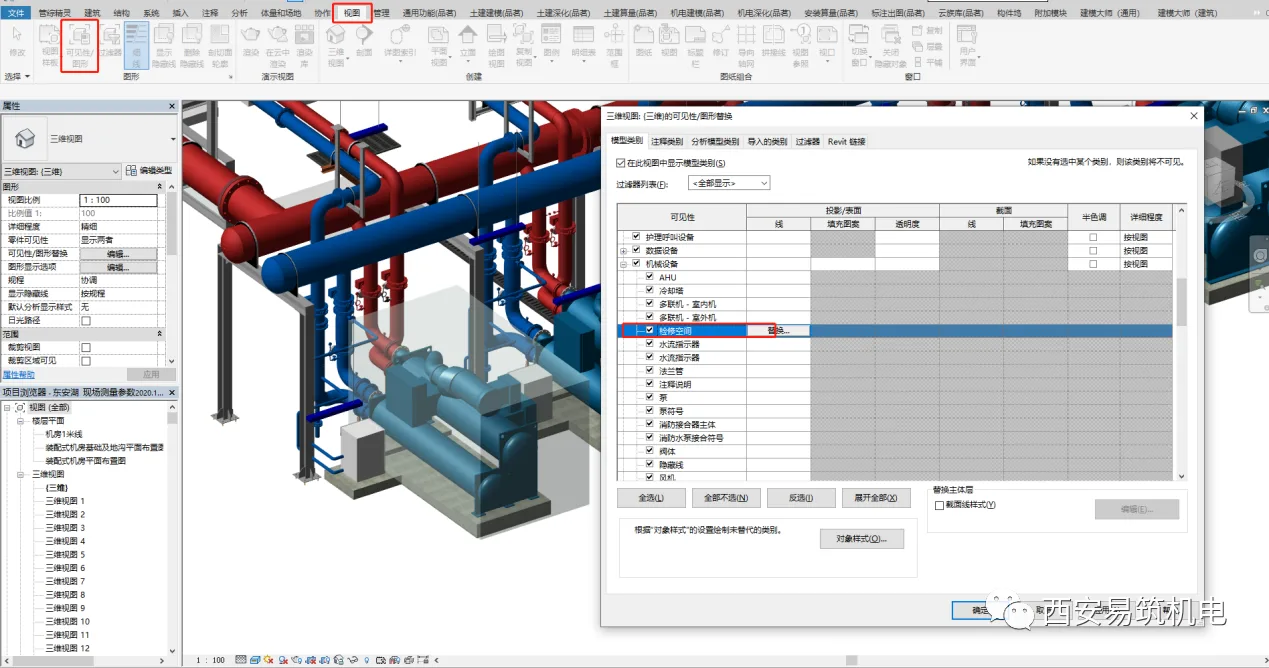
After loading the equipment family into your project, you will be able to visualize the physical shape of the maintenance space. If you prefer not to display this shape, go to “Visibility/Graphics” (shortcut VV) under the “View” tab and uncheck the maintenance space option within the mechanical equipment category. Hiding the physical shape does not affect the maintenance space settings.


Must log in before commenting!
Sign Up