This article is from the WeChat official account: Rhinoceros KeyShot Tribal, authored by teacher Ling Hu.

Rendering Analysis
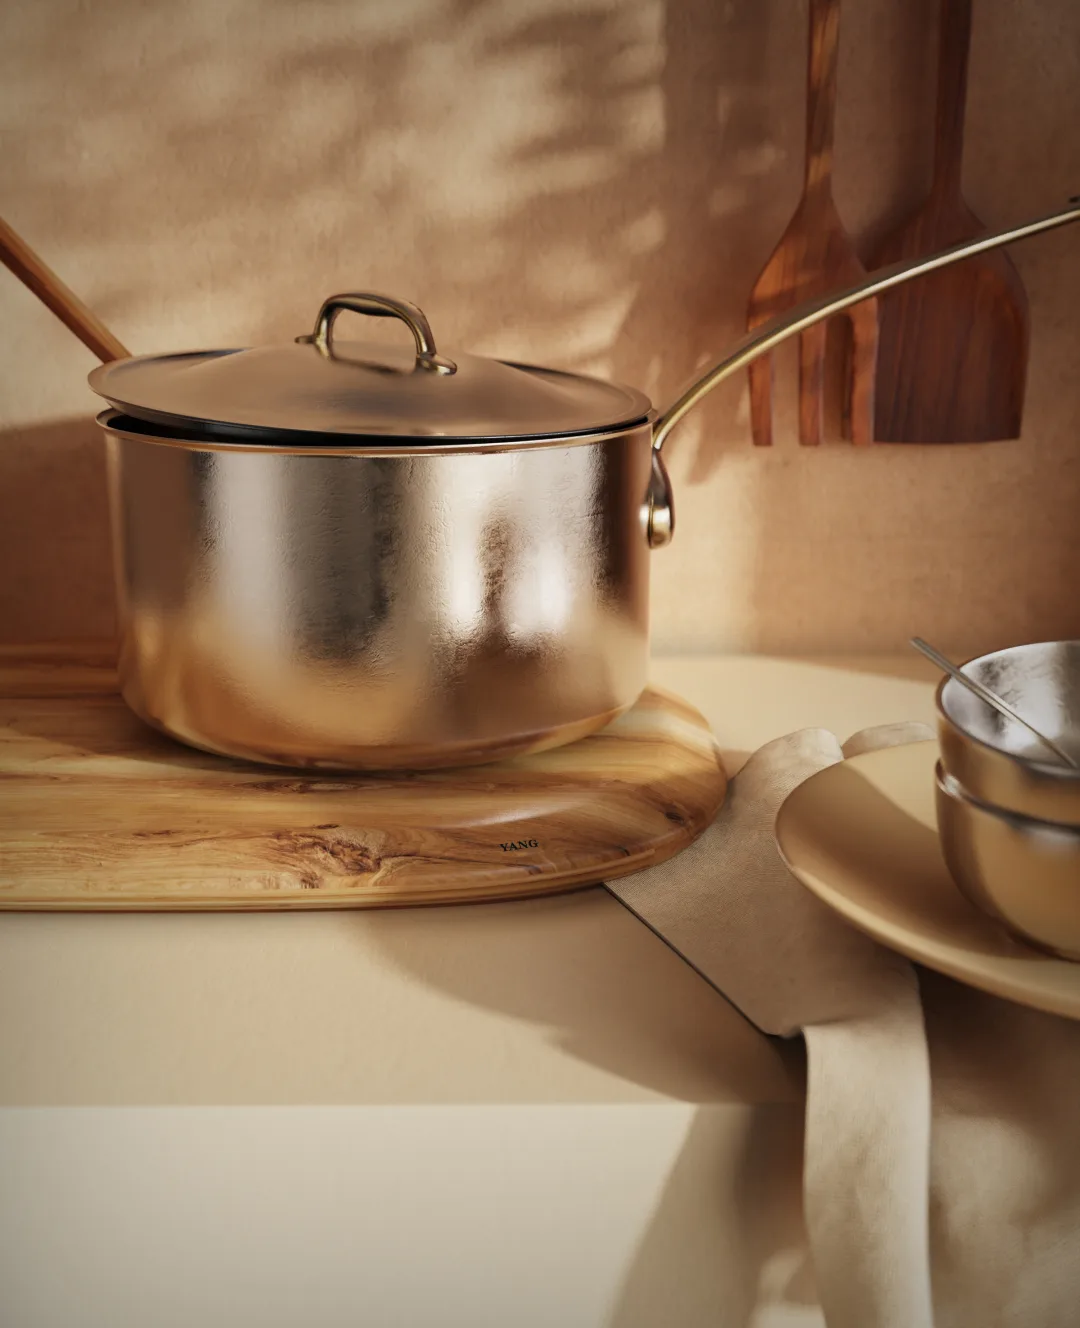
Today, we present a tutorial on rendering kitchen scenes using KeyShot 11. This guide covers creating metal and wood grain materials, adjusting material colors and scene coordination, and methods for producing tree shadows. Let’s dive right into the tutorial! (Click below to watch high-definition instructional videos)
Rendering Steps
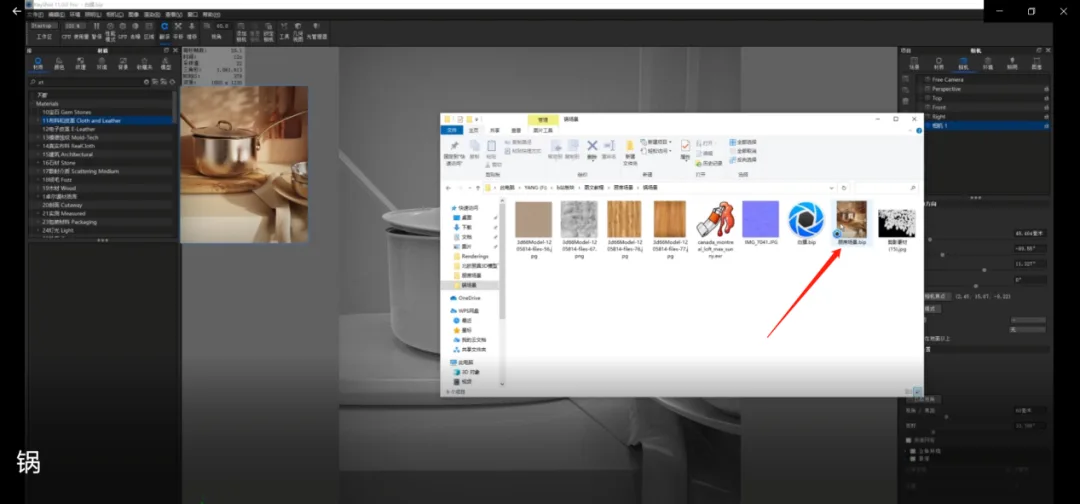
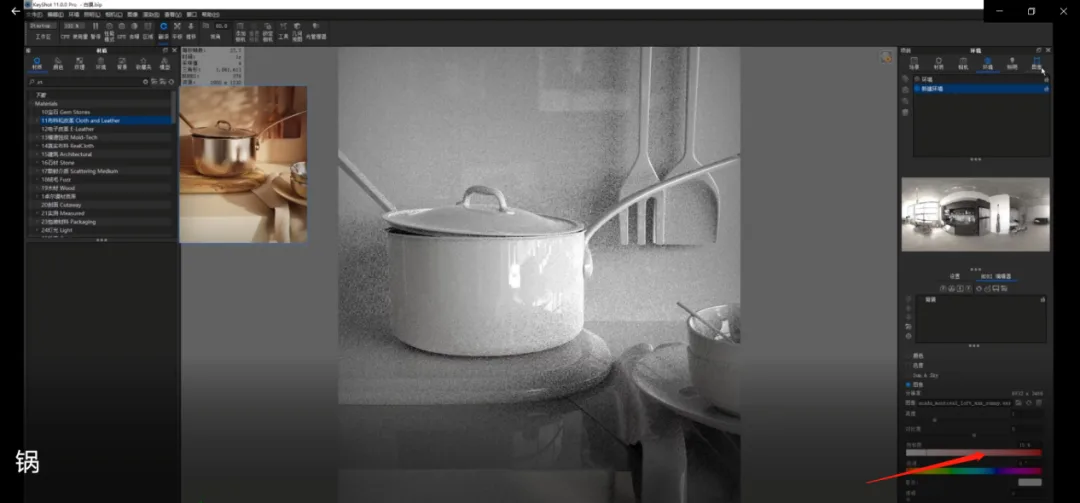
01. Begin by adjusting the composition and saving the camera angle to avoid losing your setup. Next, apply an HDR environment suited for a kitchen to fill the scene with ambient light. Then, position the view at a suitable angle with lighting coming from the right.
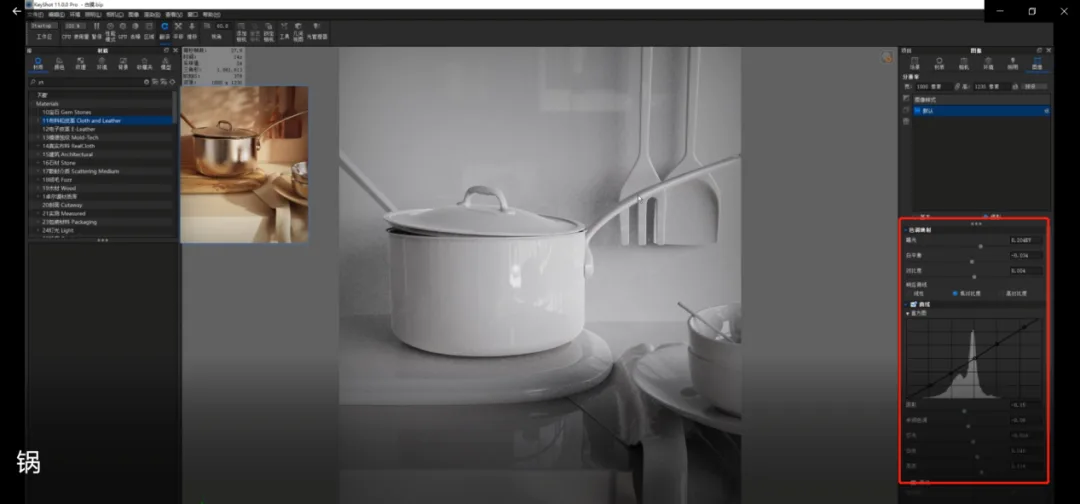
02. To correct the slight color cast in the environment, reduce the saturation and switch the image to photography mode.
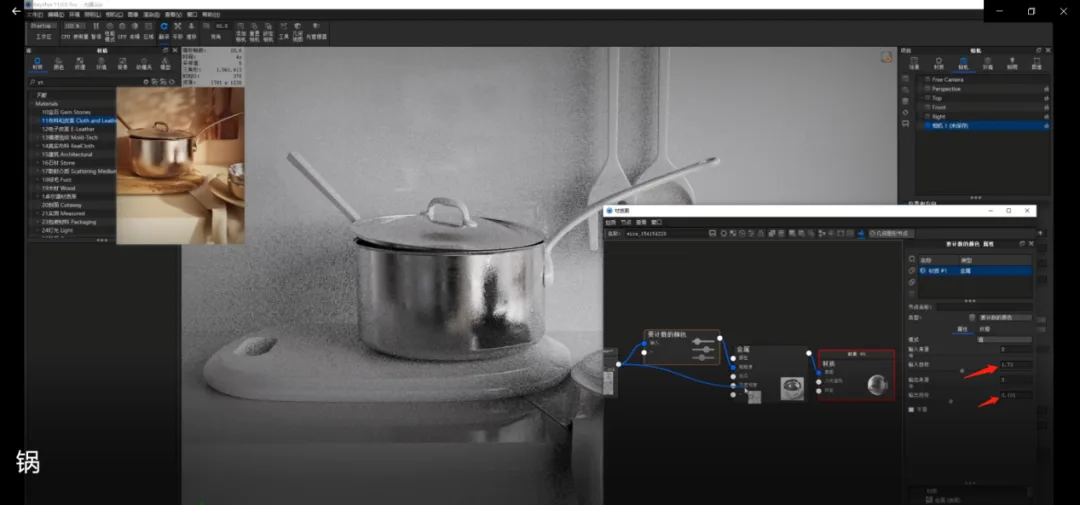
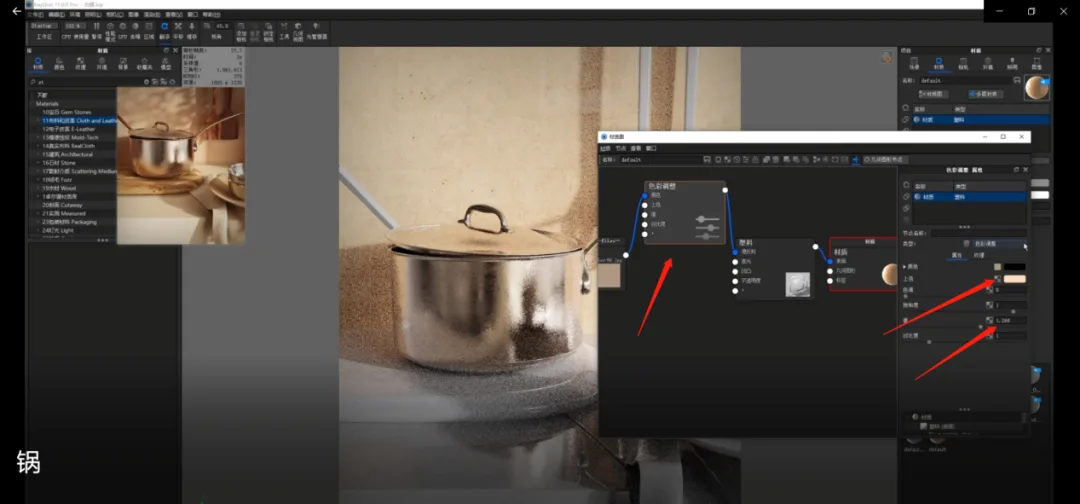
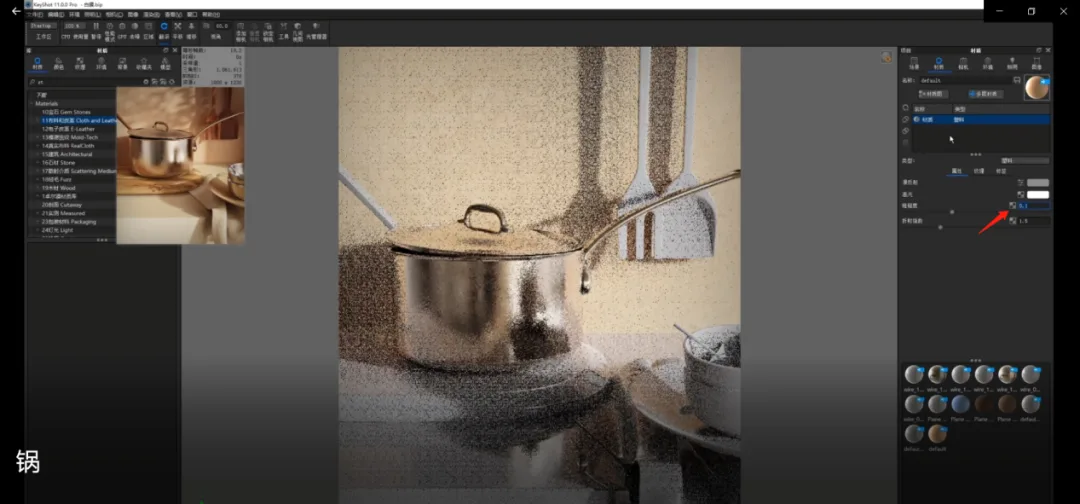
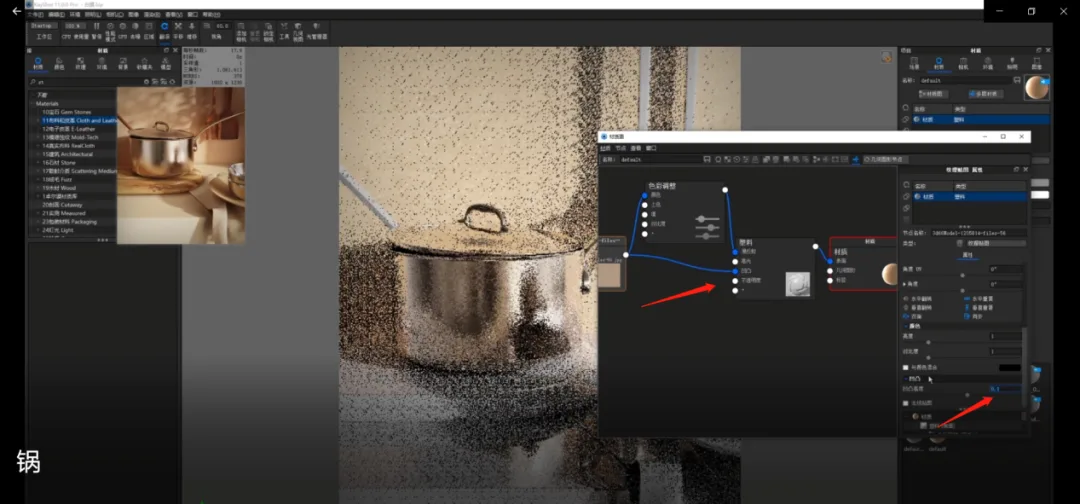
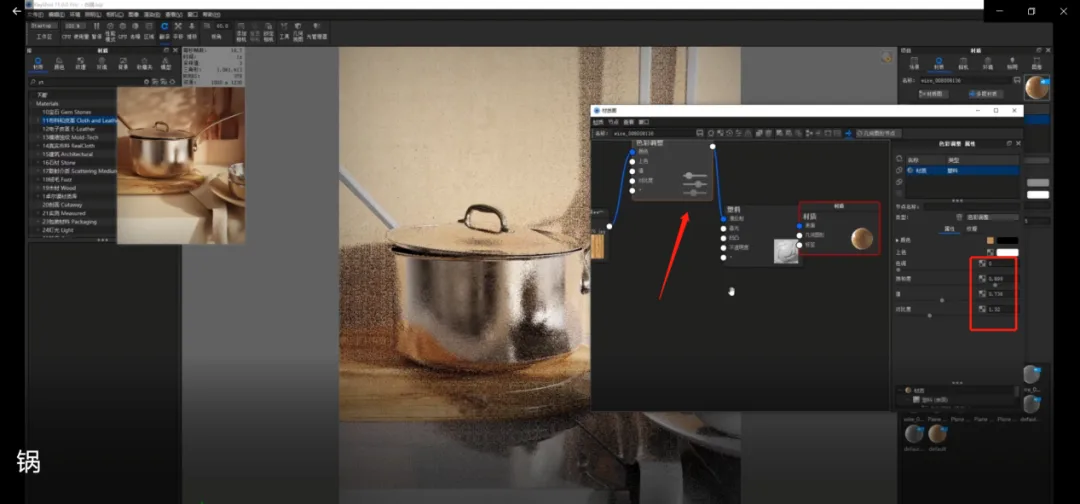
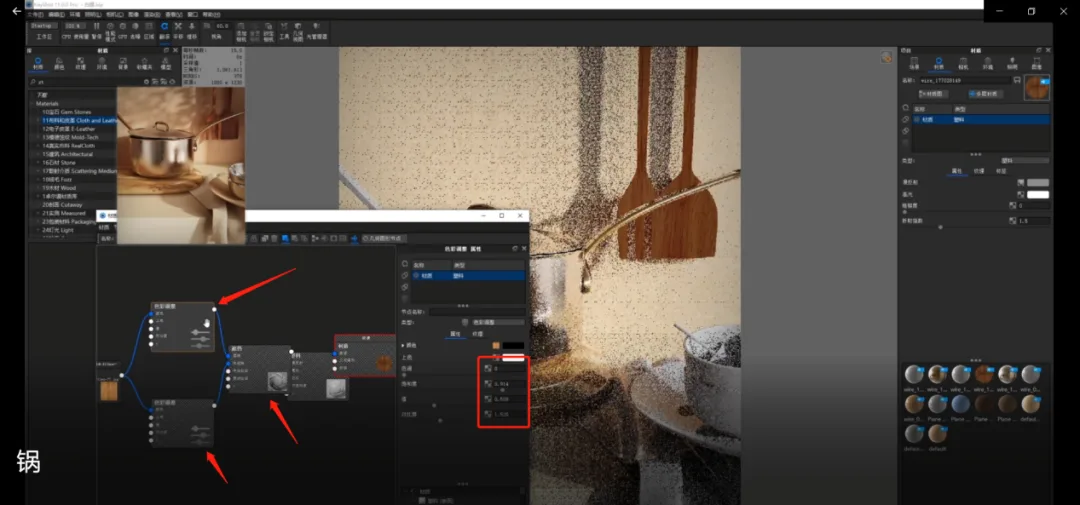
03. Start by applying a metal material to the pot, the main object. Use the black-and-white texture map to create scratches on its surface by applying it to roughness and setting the mapping type to flat. Adjust the color to control roughness levels. Connect the texture to the bump node to add subtle surface irregularities, reducing the bump height to around 0.01 for a delicate effect.
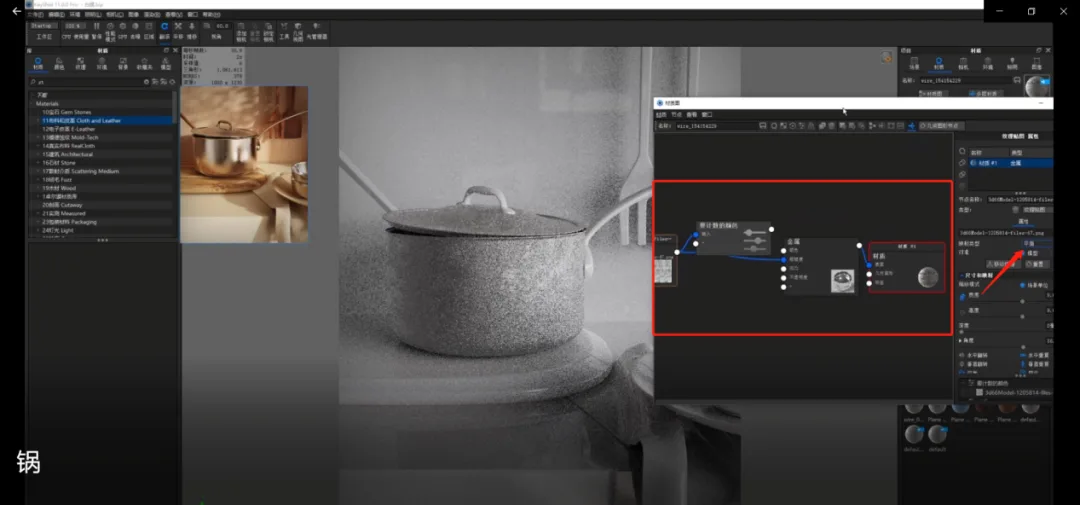
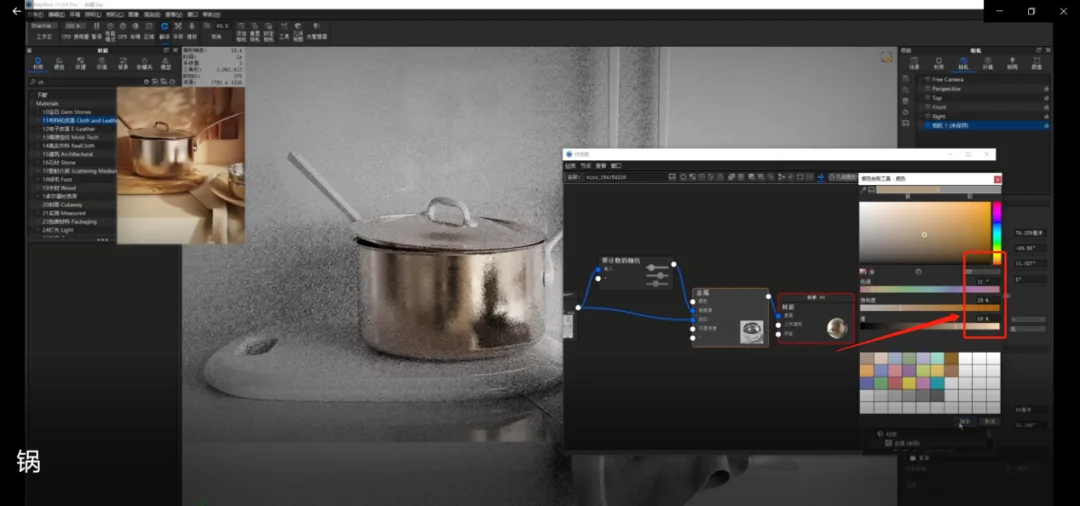
To evoke a dusk atmosphere, adjust the pot’s color to a slight yellow tint, giving the reflected light a warm, yellowish glow.
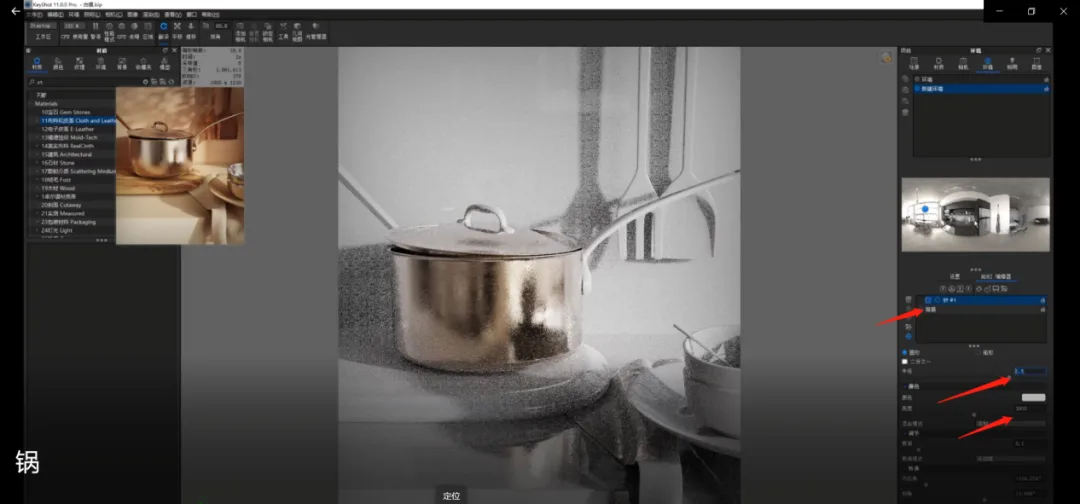
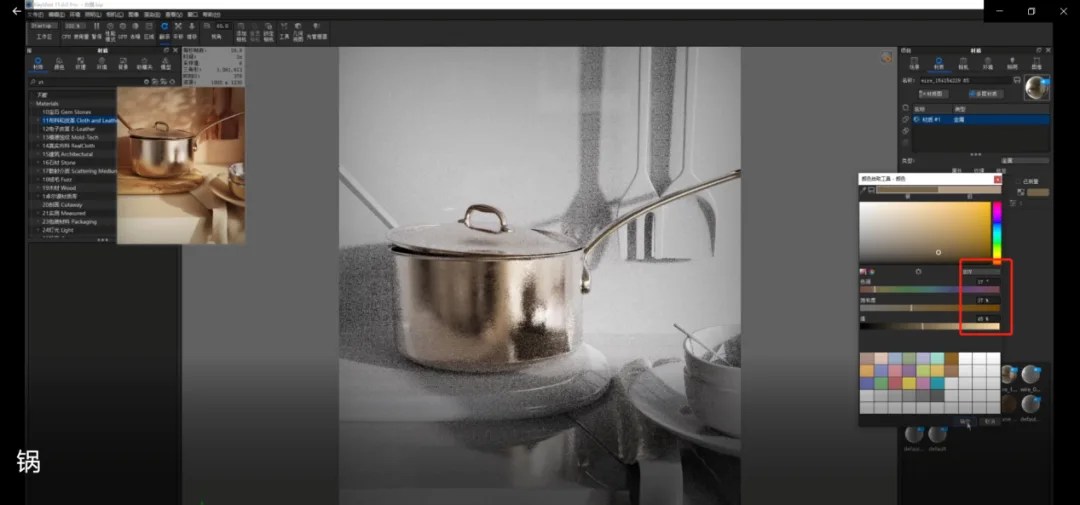
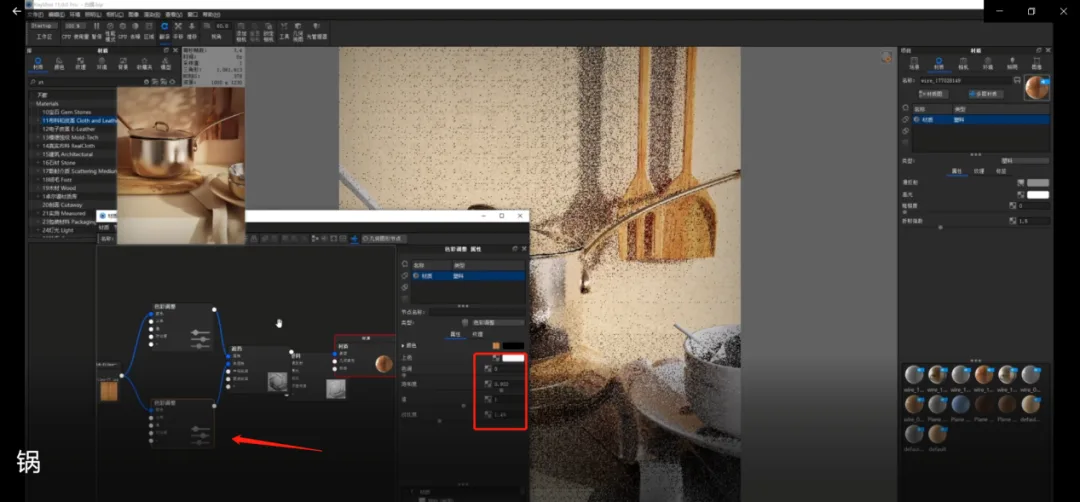
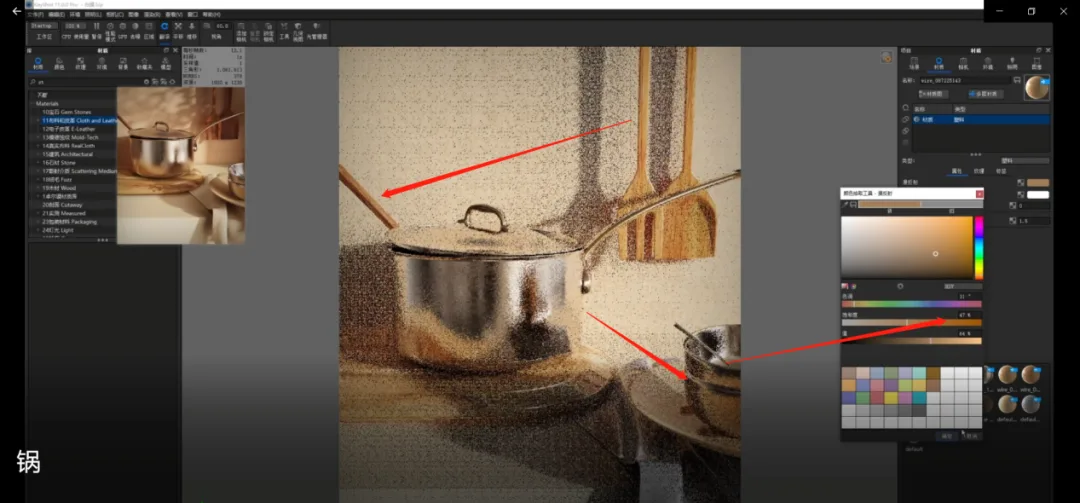
05. Add sunlight with brightness set to 3000 and a small radius to cast shadows appropriately. Position the light at the desired angle. Then, duplicate the pot’s material onto the handle. Since the handle should appear slightly more yellow, unlink the material and adjust the color manually according to your judgment.
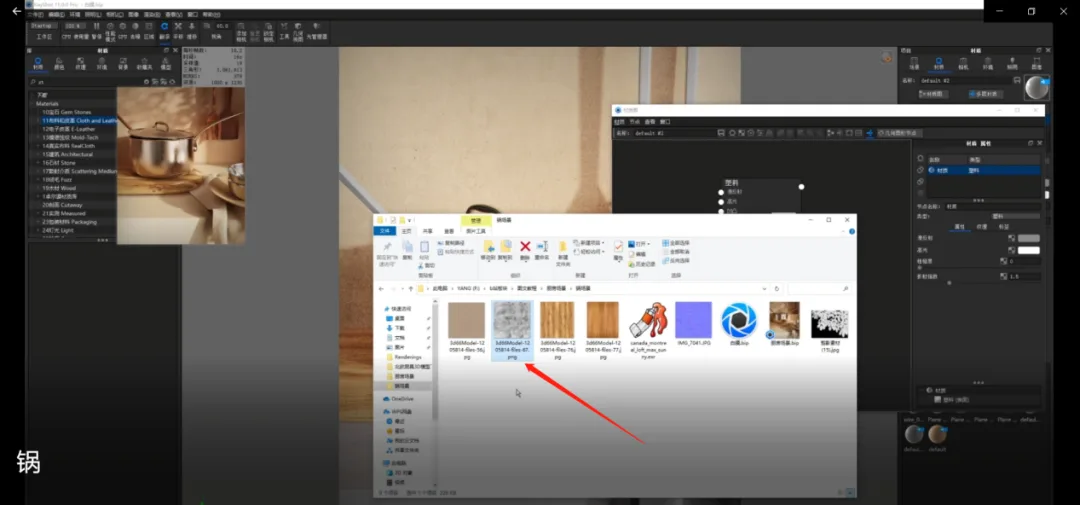
Next, create the wall material by applying a yellow wall texture and adjusting its scale. Use color correction tools to increase brightness and shift the color toward a warmer yellow, enhancing the scene’s responsiveness. Slightly boost the value parameter for added effect.
07. Since the wall has some reflective qualities, add a slight roughness and unevenness to introduce texture and depth.
08. For the cutting board, apply a wood grain texture with the mapping set to UV. Then, use color adjustments to darken the wood and tweak parameters to achieve a realistic appearance.
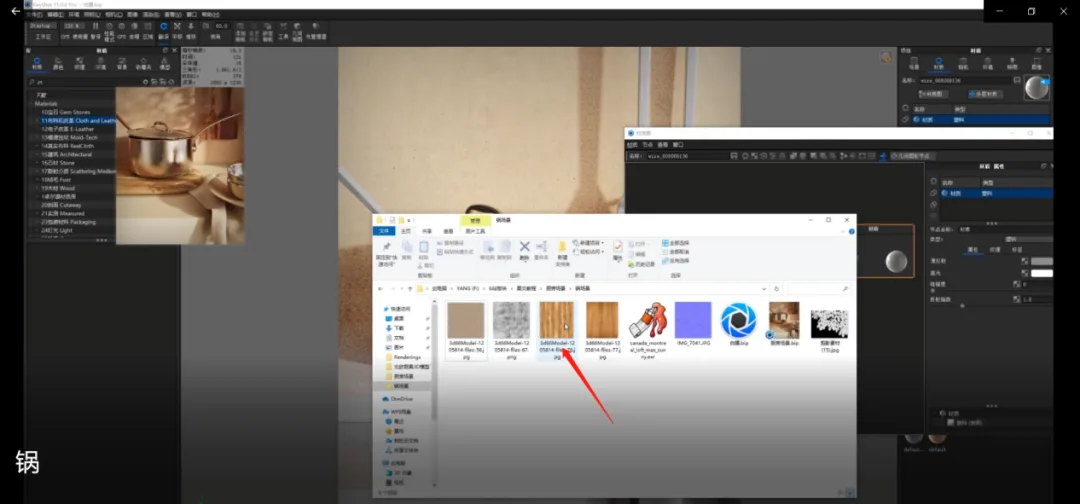
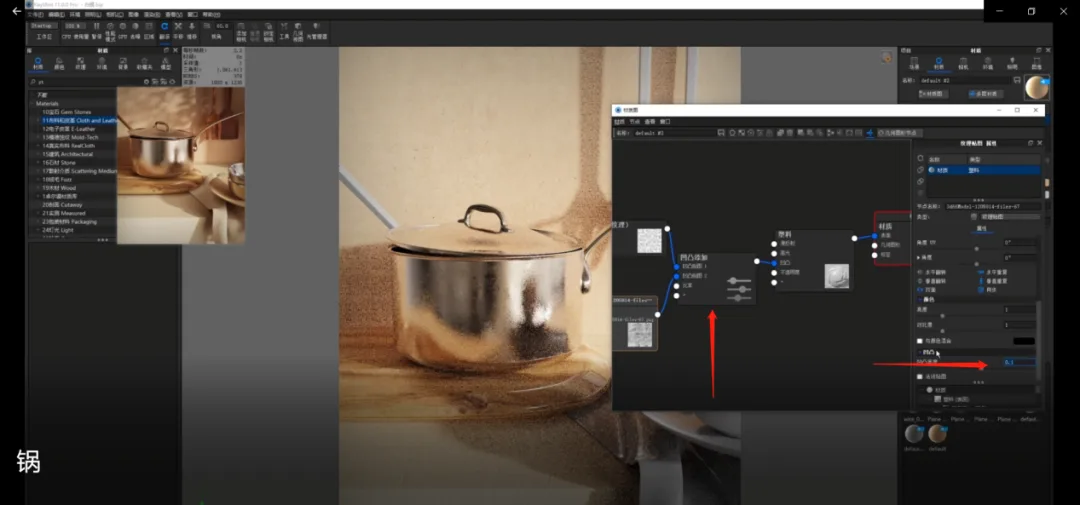
Then, adjust the countertop material by applying a new texture, increasing surface unevenness for richness, and shifting its color to a slightly yellowish tone to maintain consistency across the scene. Be sure to fine-tune the texture scale accordingly.

10. Combine two bump maps by connecting them to a single bump node to achieve layered surface details.
11. Adjust the shovel’s material using texture mapping and color correction. Unlike before, add a shading node to differentiate the wood grain color between light-facing and backlit surfaces, resulting in a more realistic layered effect. Carefully tweak parameters for both surfaces.
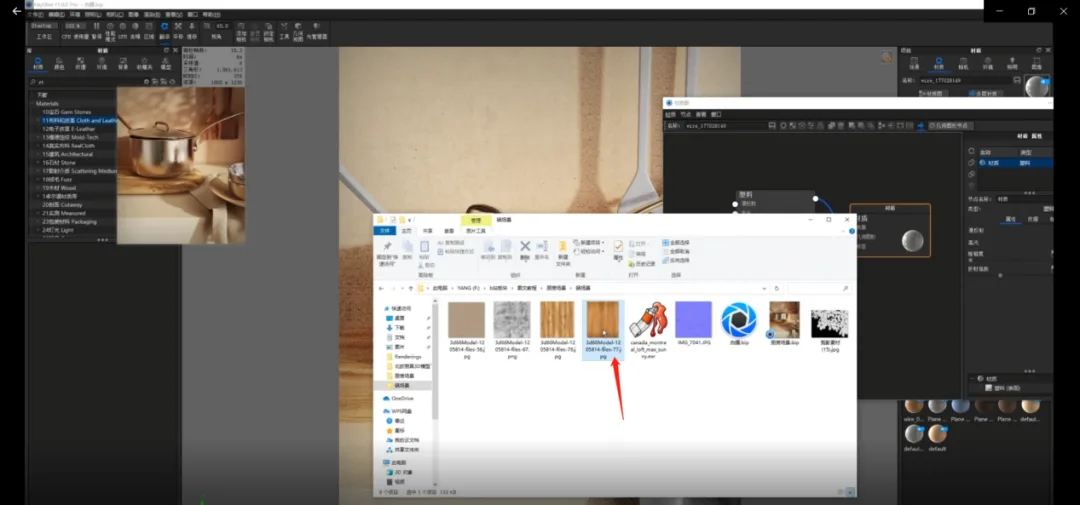
12. Copy the adjusted material onto the corresponding component and slightly modify the color to fit.
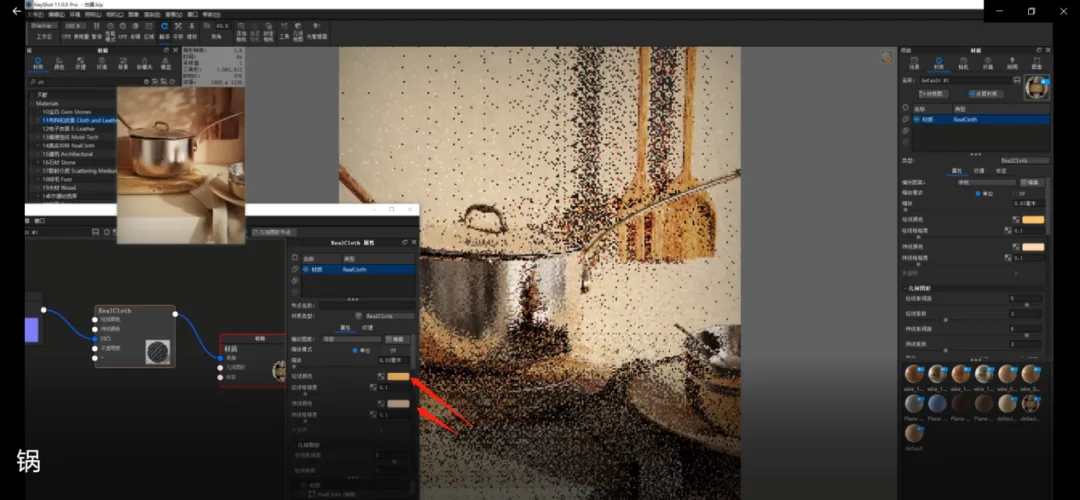
13. For the fabric, apply a texture map connected with a normal map to create a wrinkled effect. Use UV mapping to avoid seams. Then, adjust the color of the pattern lines to better match the environment.

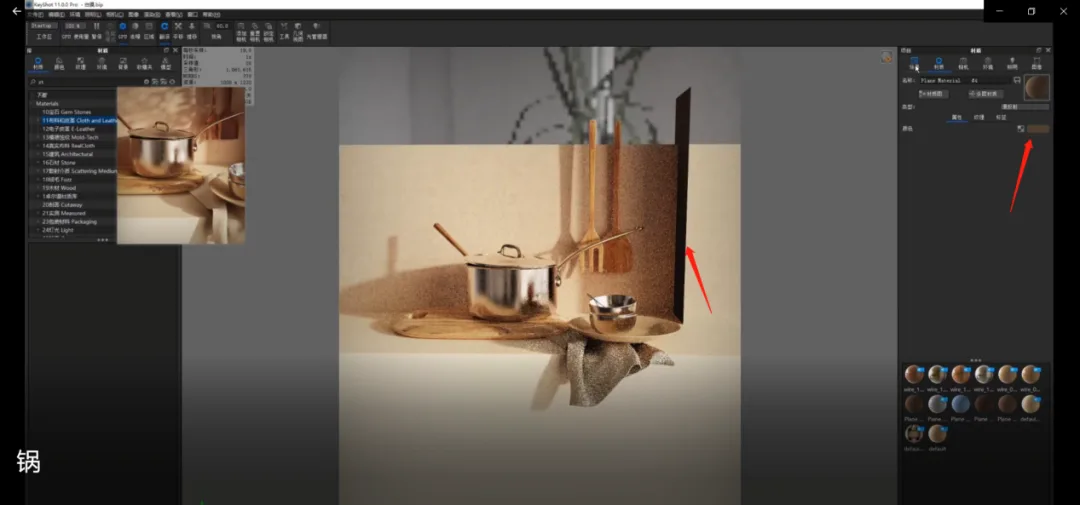
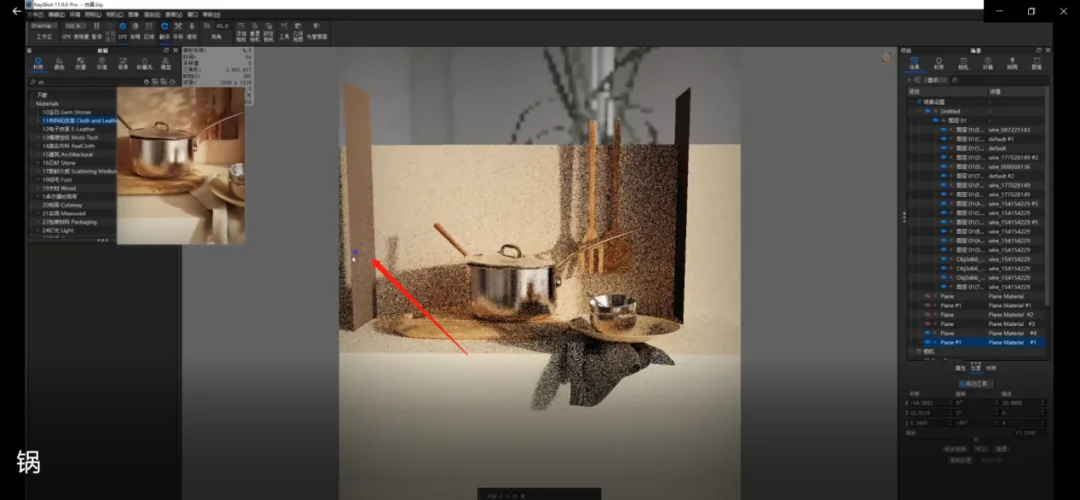
14. Add a flat surface on the right side to act as a light blocker, adjusting its length and color to blend naturally with the scene. Then, duplicate this plane and place it on the left side for additional occlusion.
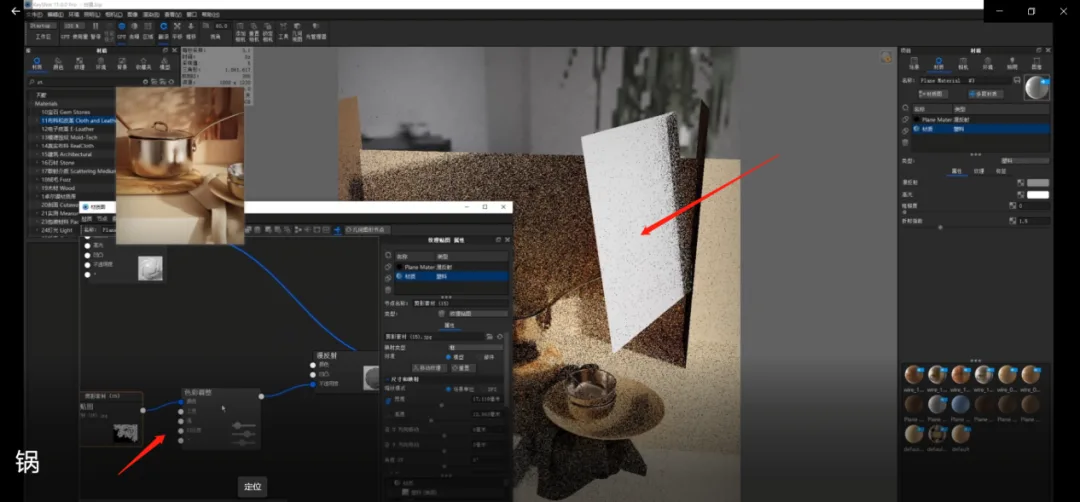
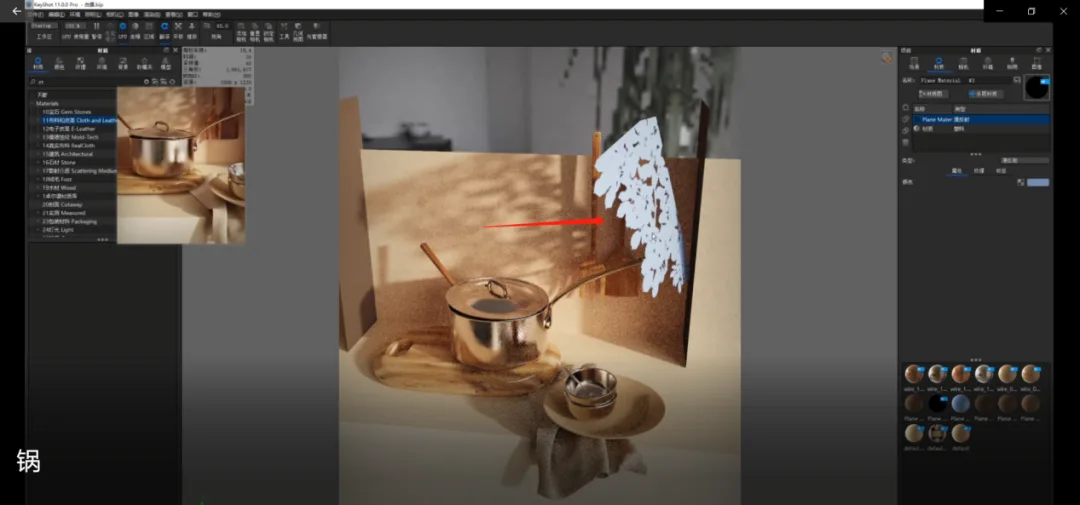
15. Finally, enrich the blank wall by adding leaf silhouettes. Connect the silhouette material to a color adjustment node, assign a base color, then link it to opacity to create a hollow leaf effect. Review the overall composition, and your rendering is complete!
Text and image editing by Crescent Moon / Text and image review by Random.


Must log in before commenting!
Sign Up