This article is from the WeChat official account: Rhinoceros KeyShot tribal author, teacher Xi Qing.

Rendering Analysis
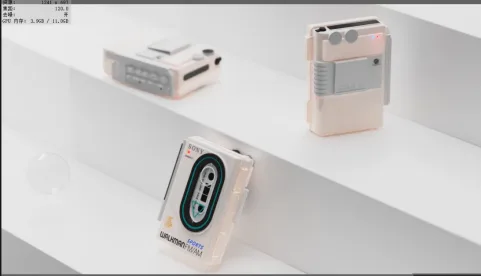
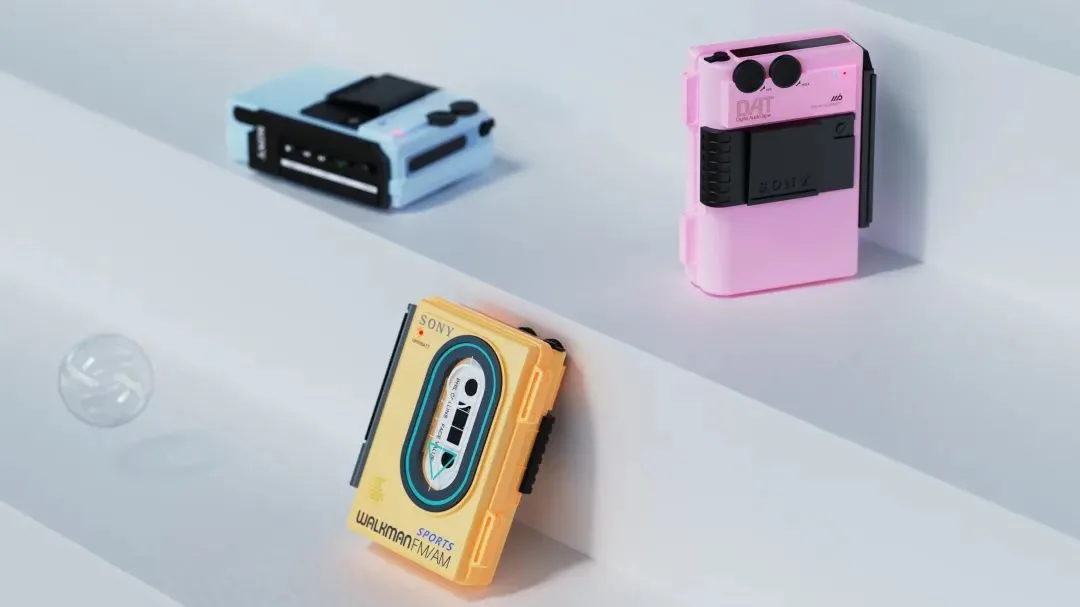
Today, we will create a rendering of a portable music player. The first step is to properly structure the image. Before composing, it’s helpful to find a similar, high-quality rendering to guide the process—this makes achieving better results easier.
Rendering Steps
Start by adjusting the perspective from the upper left corner, following the principle of small to large perspectives.
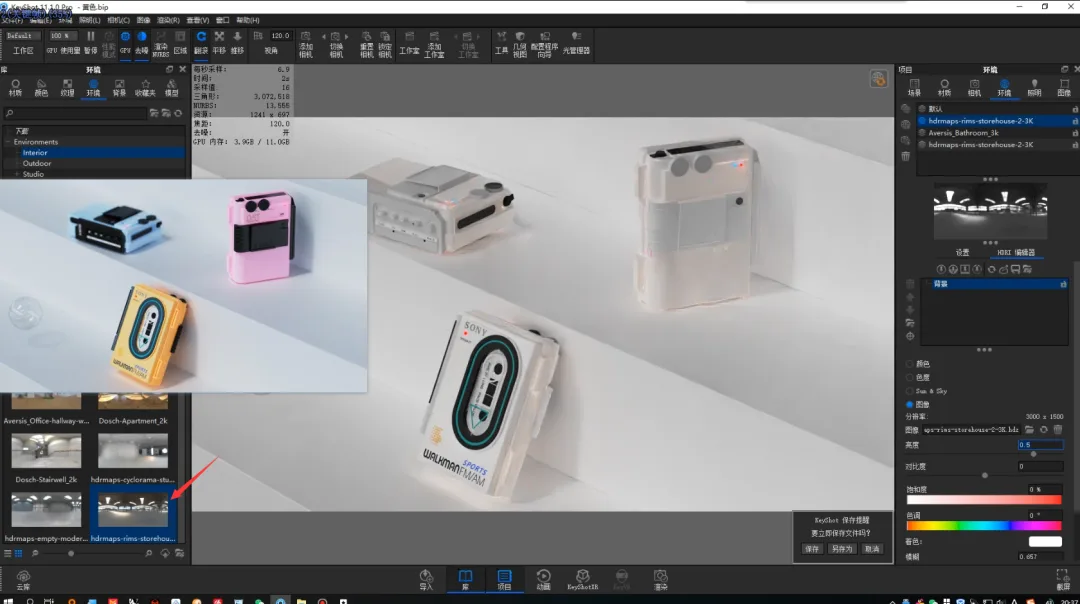
Next, begin setting up the lighting. Use an ambient light and rotate it until the shadows fall in a suitable position.
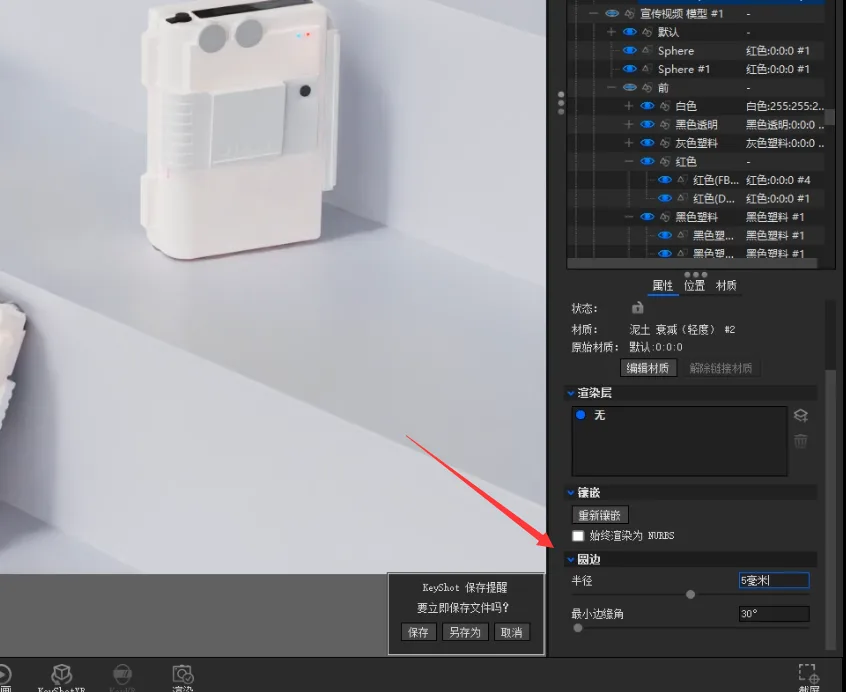
After lighting, apply rounded corners to objects in the scene that lack chamfers by adjusting the properties.
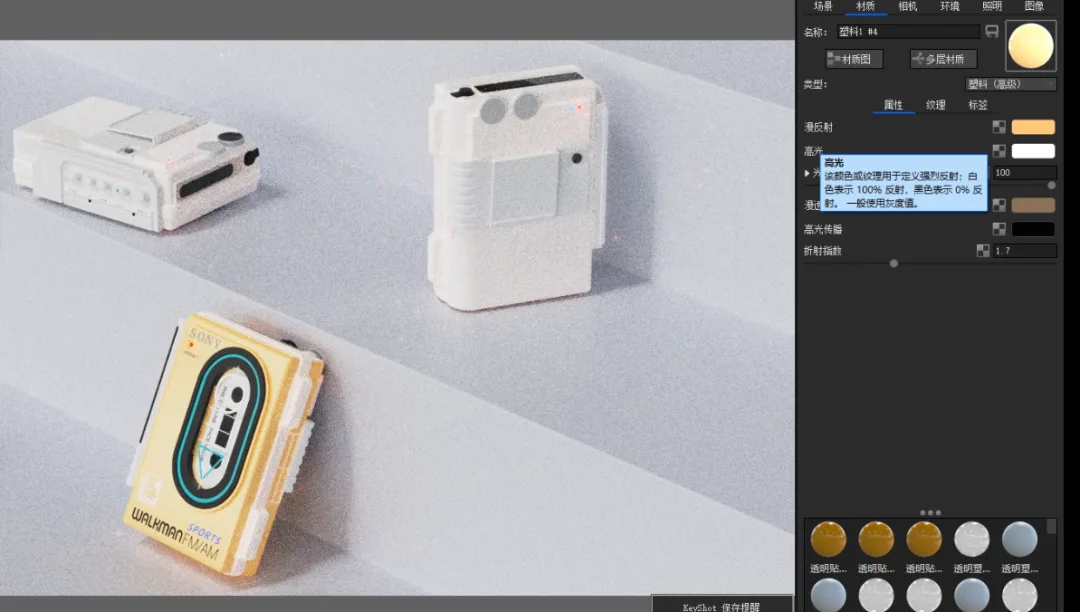
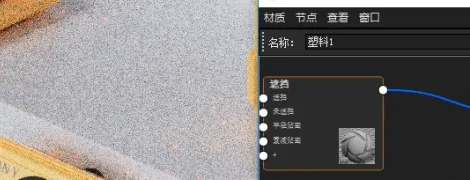
Step 4: Increase the noise on the main material.
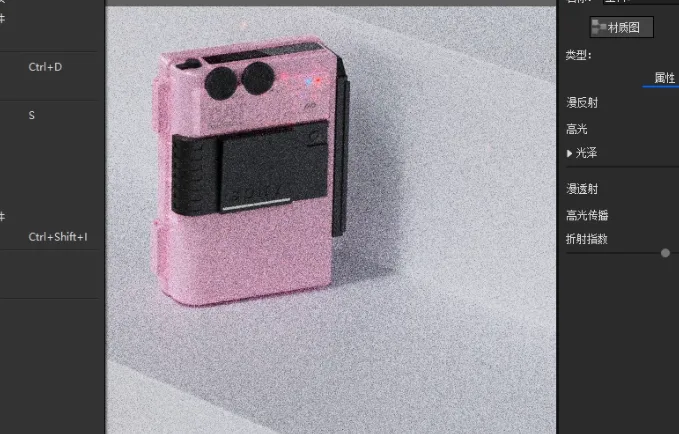
Step 5: Change the main material to ‘Plastic Advanced’ and adjust the diffuse color accordingly.
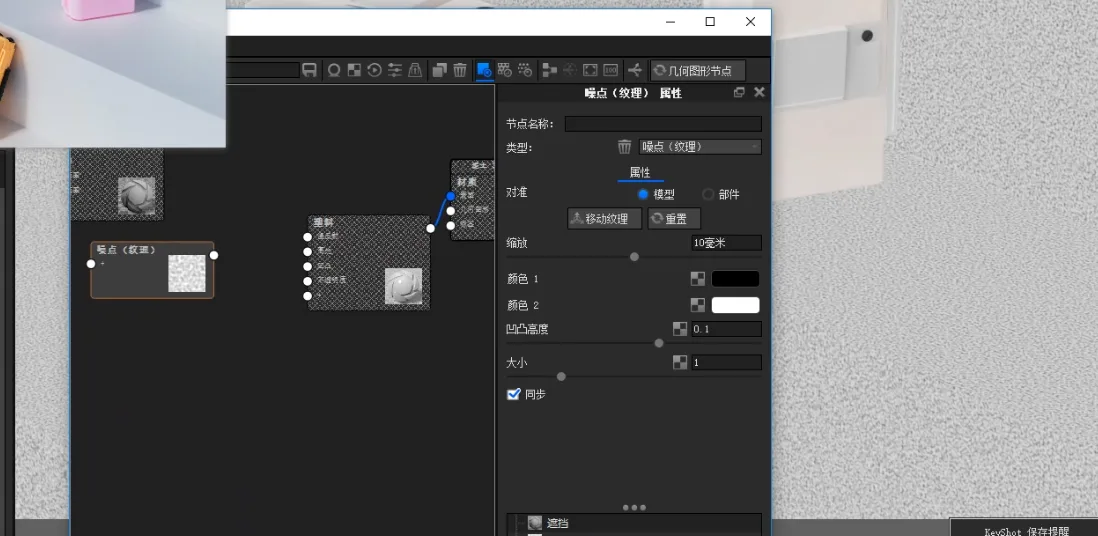
Step 6: Add a noise texture to the main material.
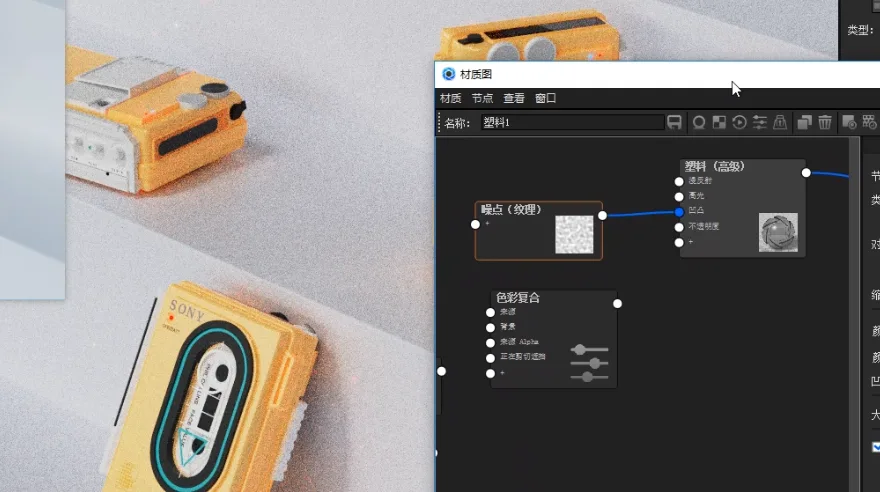
Step 7: Add occlusion to this node to emphasize details and make subtle adjustments to the material.
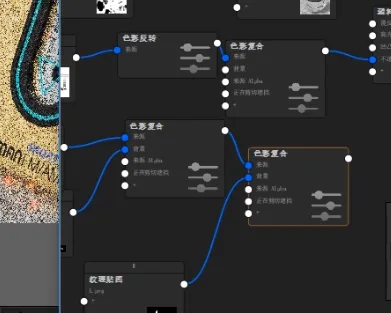
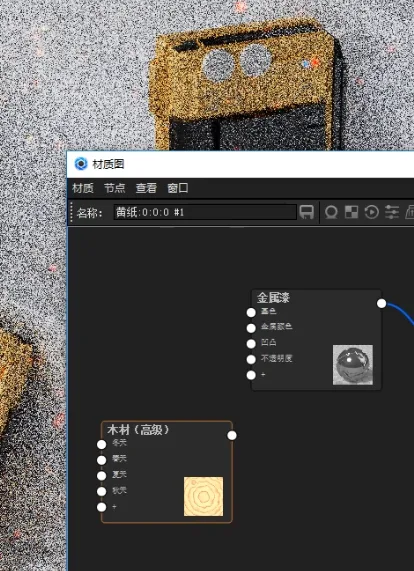
Step 8: Apply a metallic effect to the label. Adjust the metal’s color and opacity using stains to enrich the material’s appearance.

Step 9: Adjust the texture by inverting the black-and-white information for opacity. Add a color inversion node connected to opacity. Initially, the entire product appeared metallic except for the texture area, so color compositing was necessary to turn the background black before linking it to opacity. Finally, combine all textures and connect them to opacity.
Step 10: Adjust the CD pattern effect by using KeyShot’s advanced wood texture and connect it to the bump map.
Step 11: Adjust the pink color tone.
Step 12: Next, refine the blue color.
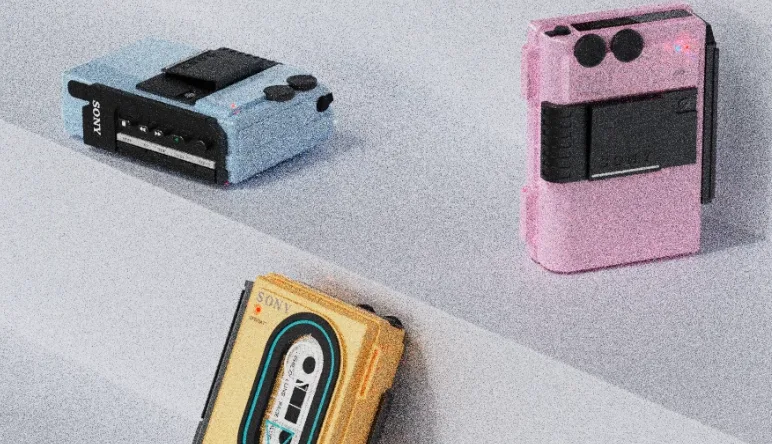
Step 13: Finally, adjust the film material.
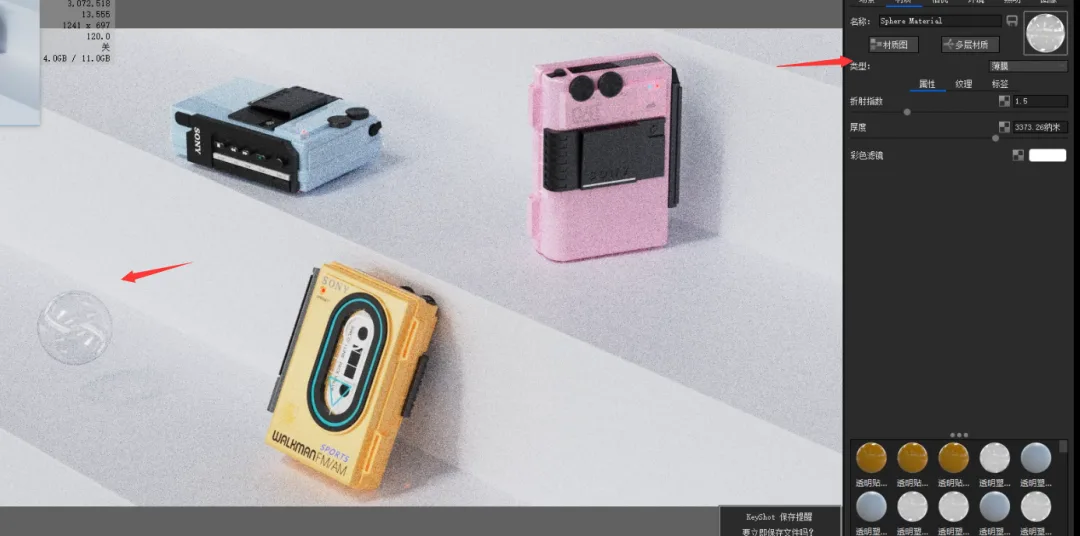
Step 14: Set the ambient light intensity to 1, and your image will be ready!
Text and image editing by Crescent Moon / Review by Random


Must log in before commenting!
Sign Up