This article is sourced from the WeChat official account: Revit Decoration.
Creating curved surfaces and bends in Revit can be challenging, which is often seen as a limitation of the software. In practical workflows, other programs like Rhino are commonly used to complement Revit’s capabilities.
Here, I will share several methods to create bends and surface shapes directly within Revit.
Method 1: Using Walls, Floors, or Roofs
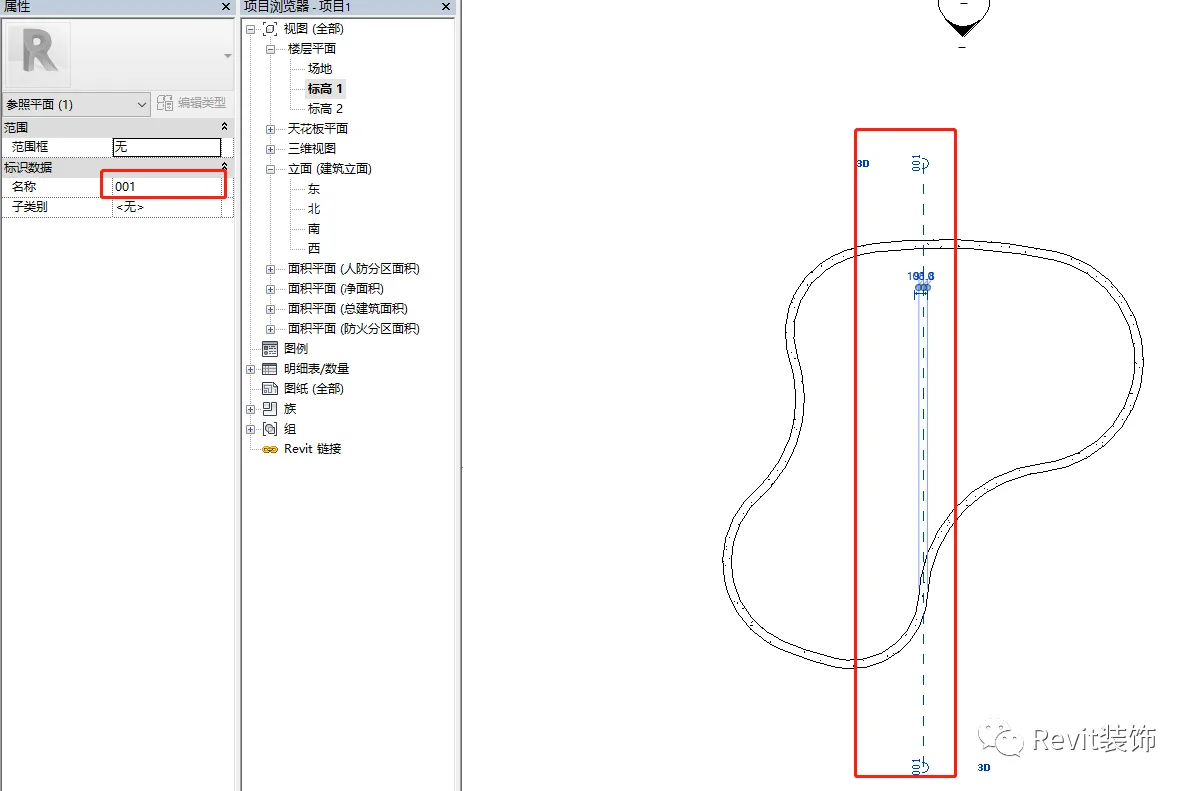
Start by drawing an irregular shape using a wall (WA), as shown below:
Next, switch to the elevation view and create a reference plane (RP), then assign it a name.
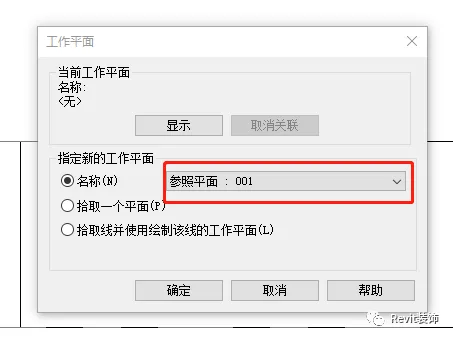
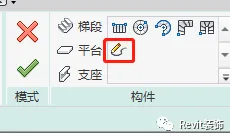
Return to the facade view, select the roof, and use the “Stretch Roof” tool. Then, select the previously created work plane.
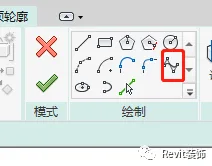
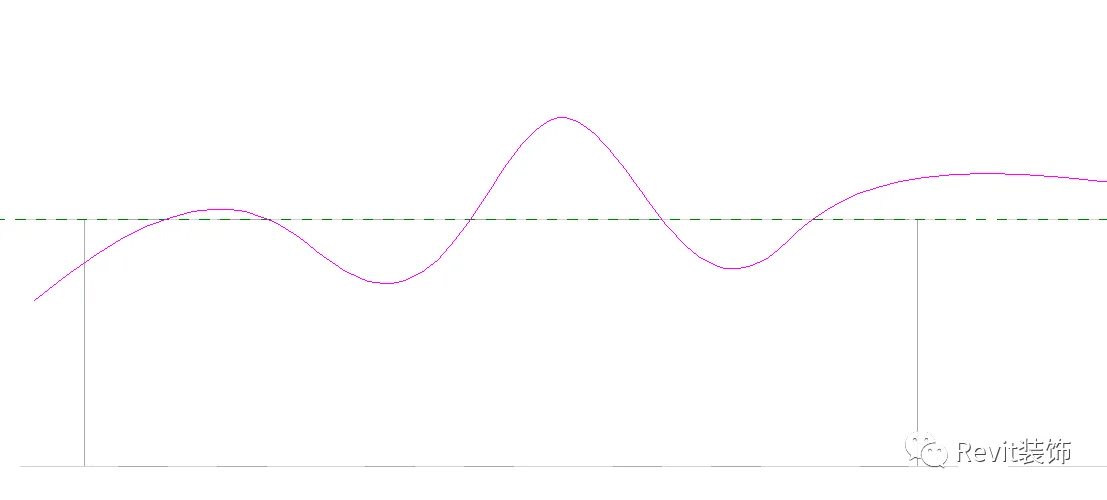
Select the spline curve tool to freely draw curves, then click the checkmark to confirm.
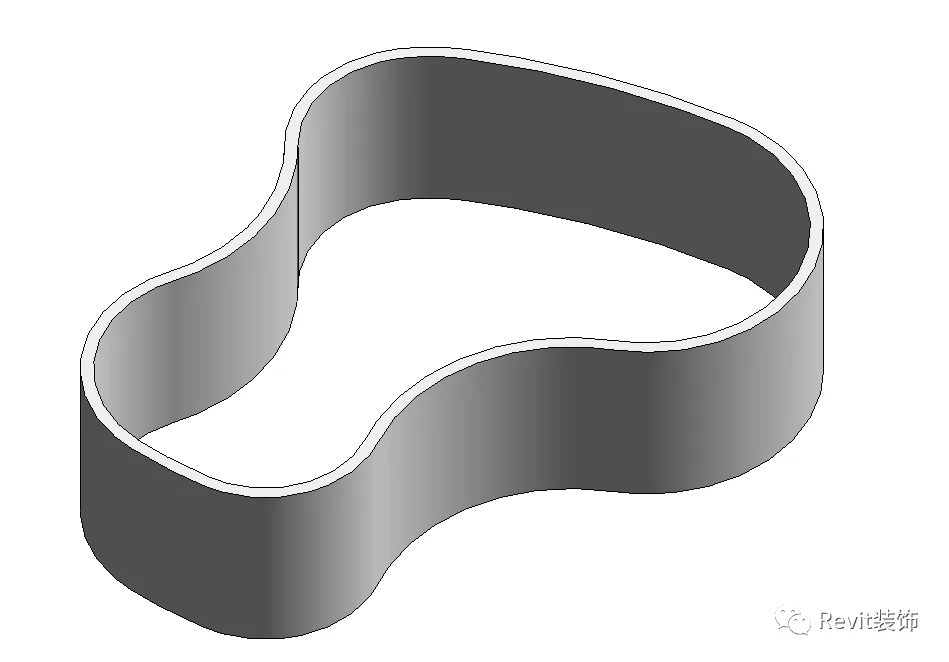
Afterwards, select the wall and use the “Attach Top/Bottom” command, resulting in the image below:
Finally, hide the roof above (using EH) without deleting it.
Method 2: Editing Stair Sketches
Draw the boundaries and risers, then sketch the path of the stairs.
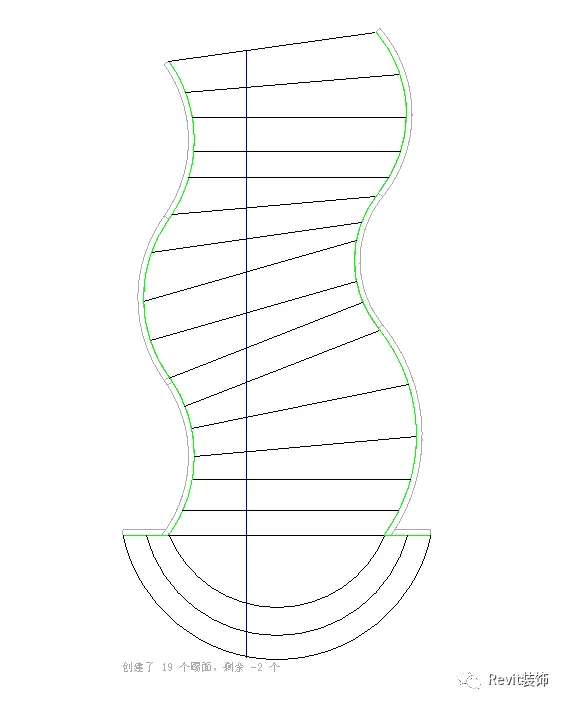
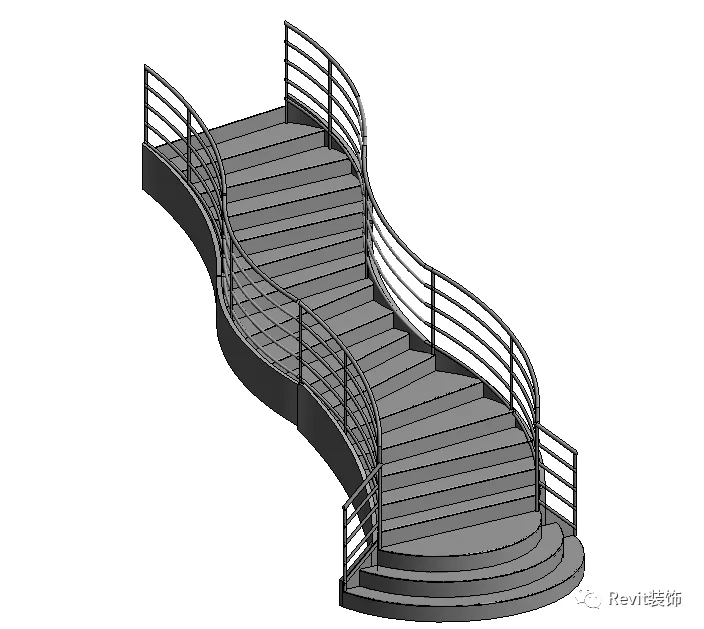
Click the checkmark to finish. Note that railings can be edited afterward.
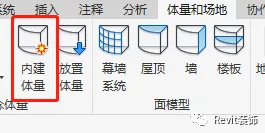
Method 3: Creating Surfaces Using Massing
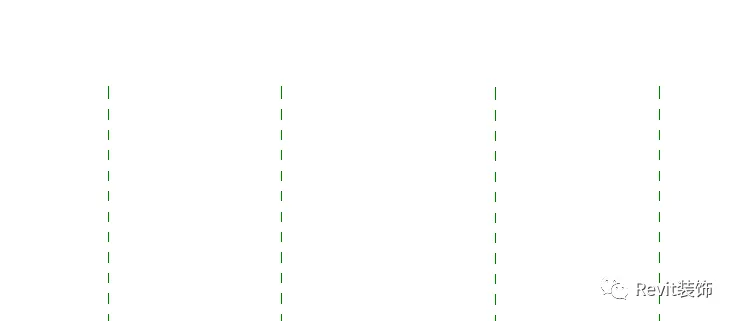
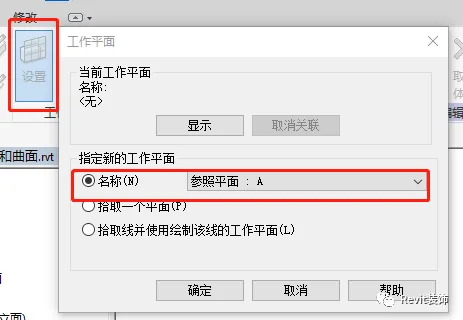
First, create several reference planes within the project and assign unique names to each.
Go to Massing & Site, then select “In-Place Mass”.
Switch to an elevation view, set a work plane, and draw various curves on different reference planes.
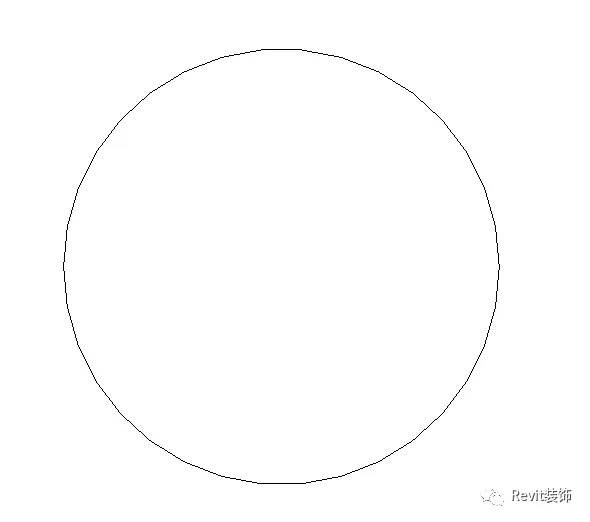
Continue adding the remaining reference planes as needed.

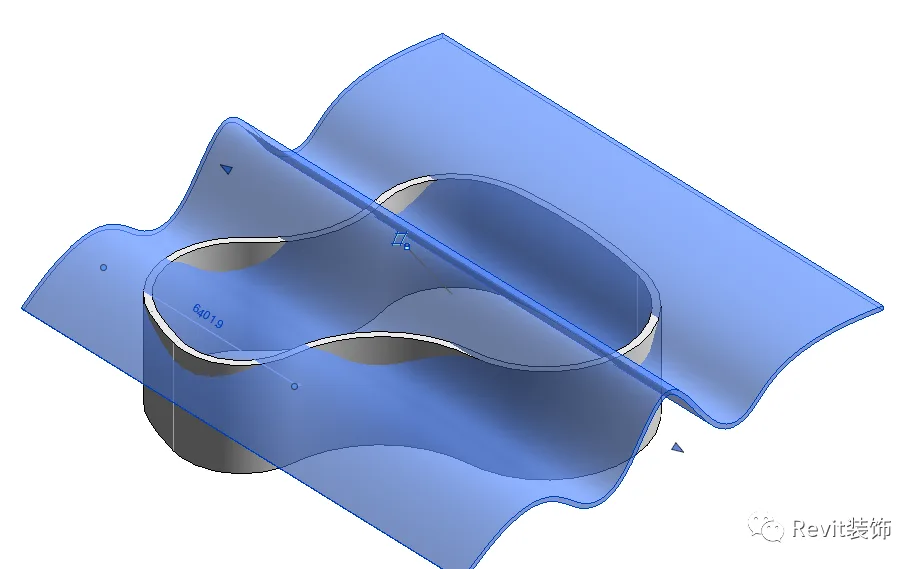
Select your curves and create the mass form to complete the volume.
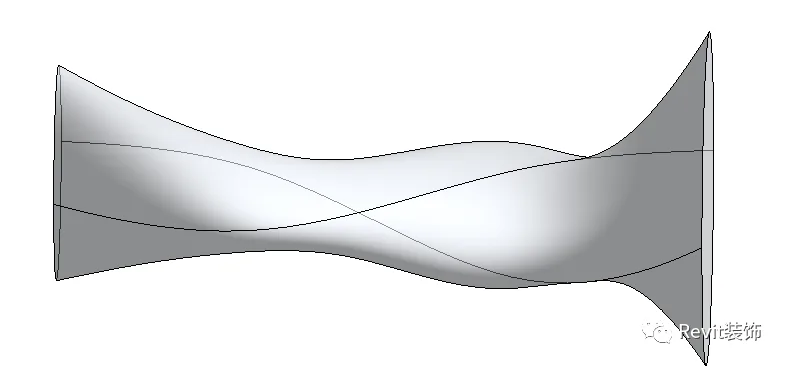
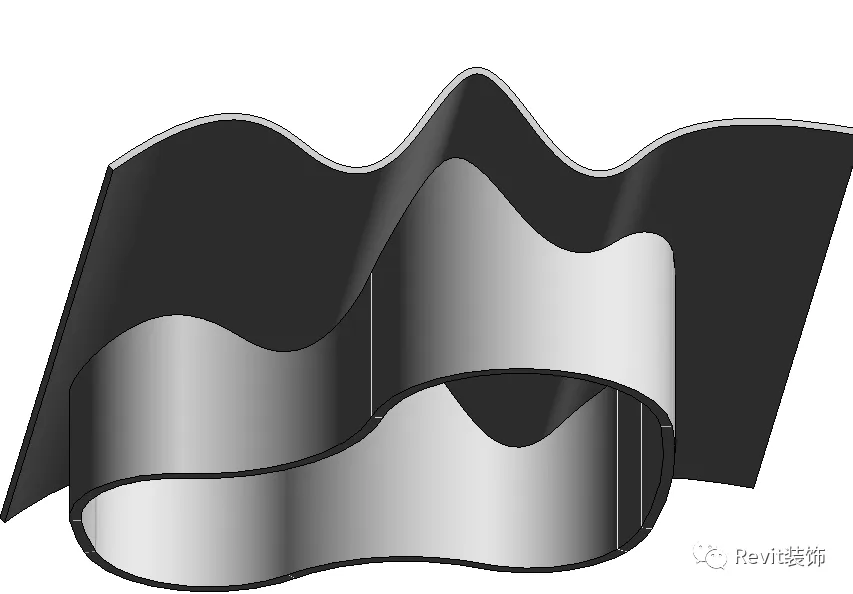
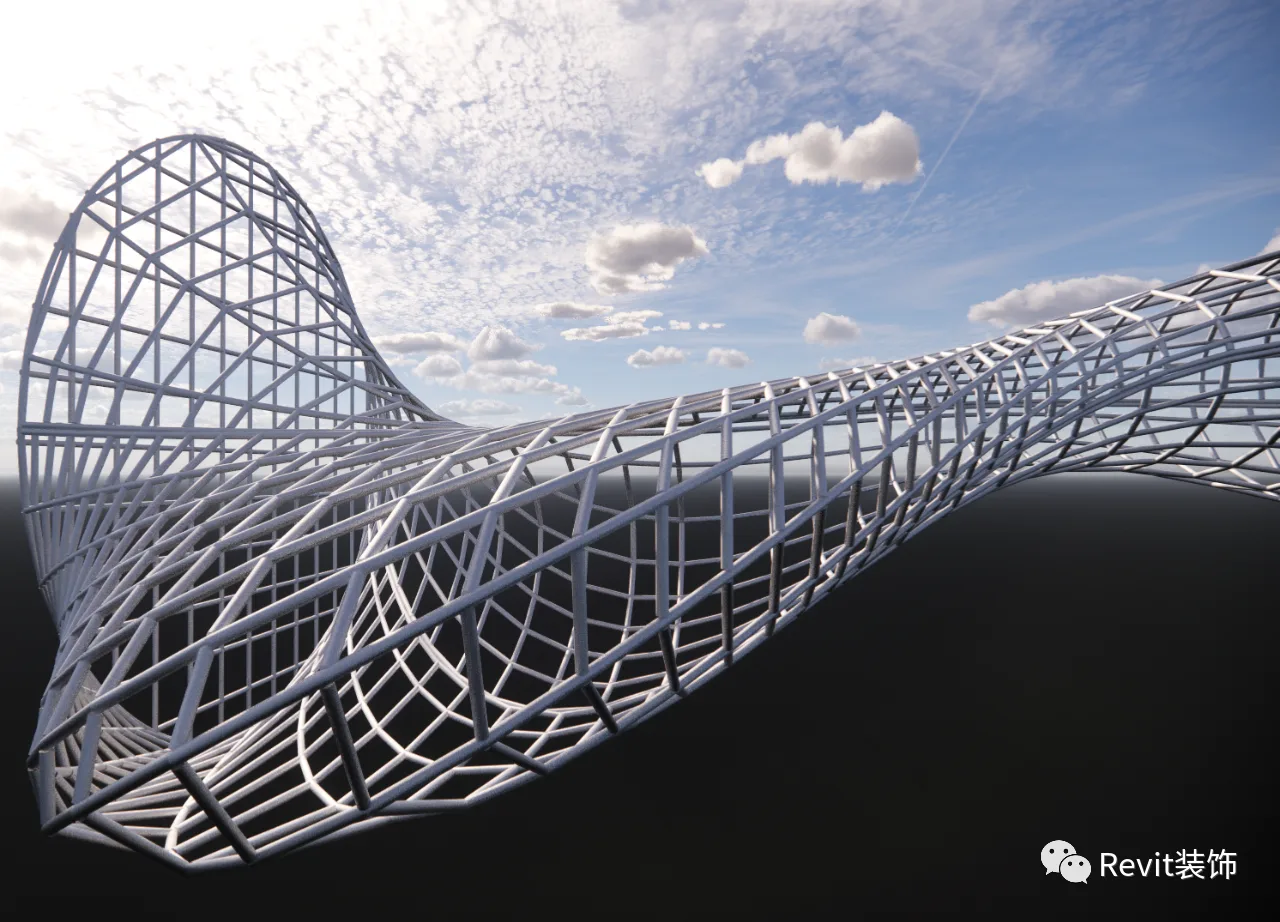
Next, select a curtain wall system to pick the surface, hide the massing volume, and you will see the following result:
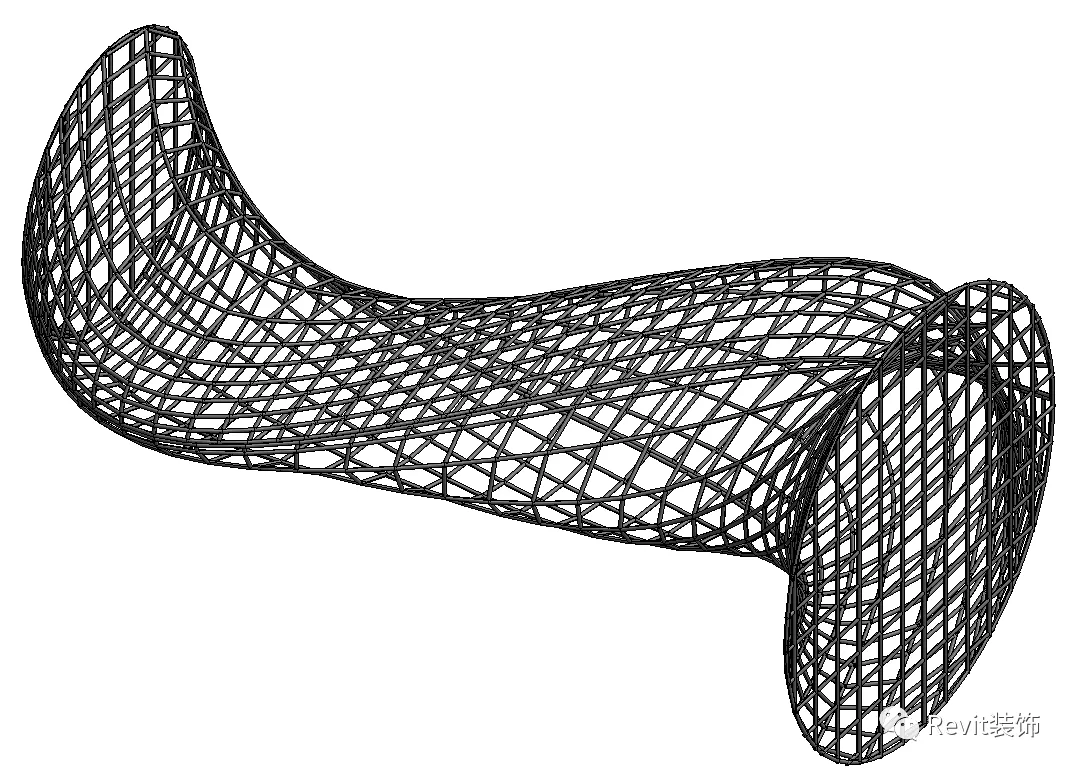
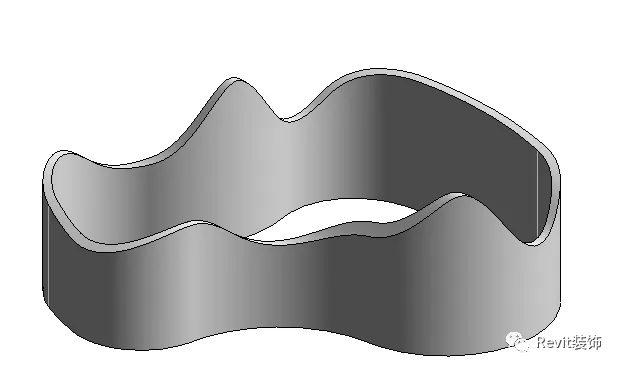
Finally, apply materials and render the model.


Must log in before commenting!
Sign Up