There are two primary methods for drawing stairs in Revit. Let’s explore both!
① Drawing by Component ② Drawing by Sketch
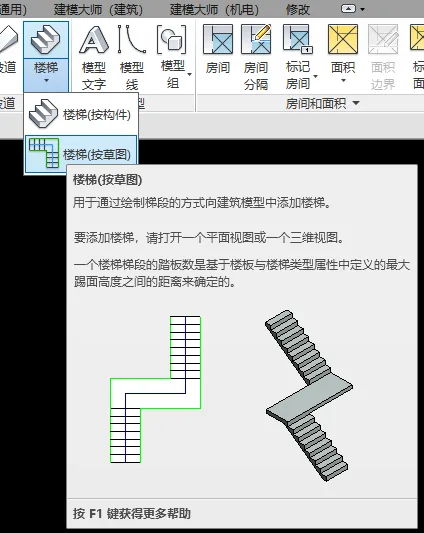
To start, go to the Ribbon: select the Architecture tab, then locate the Stair & Ramp panel. From the Stairs dropdown menu, choose either Stairs (by component) or Stairs (by sketch).

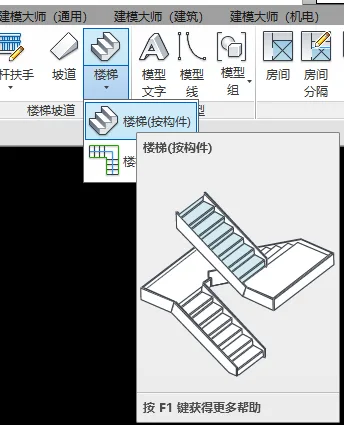
Drawing Stairs by Component
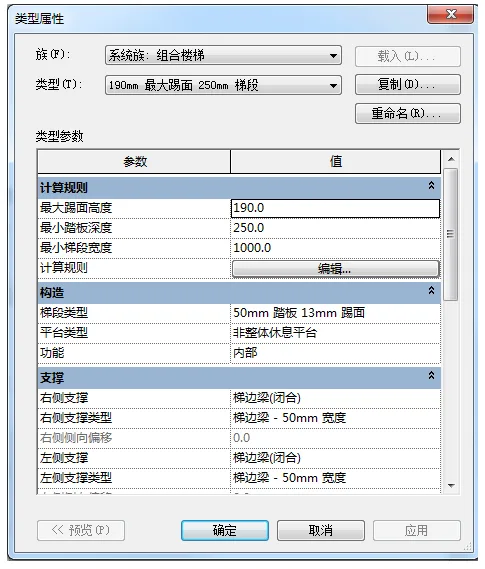
Step 1: Set Stair Properties
Configure the stair properties according to your project requirements, as shown in the images below.

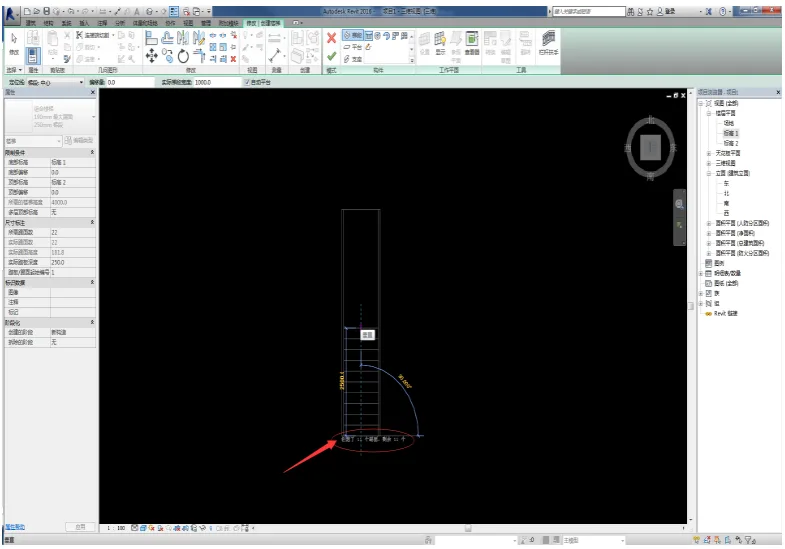
Step 2: Draw the Staircase
Once your parameters are set, move your mouse to the plan view in the drawing area. Click to set the starting point of the staircase, then drag the mouse. The software will display the number of risers created and those remaining, as illustrated below.
Continue dragging and click again to set the end point of this flight, completing it.
After finishing one flight, proceed to draw the next. Continue until the software indicates that all risers have been created, with zero remaining, as shown below.
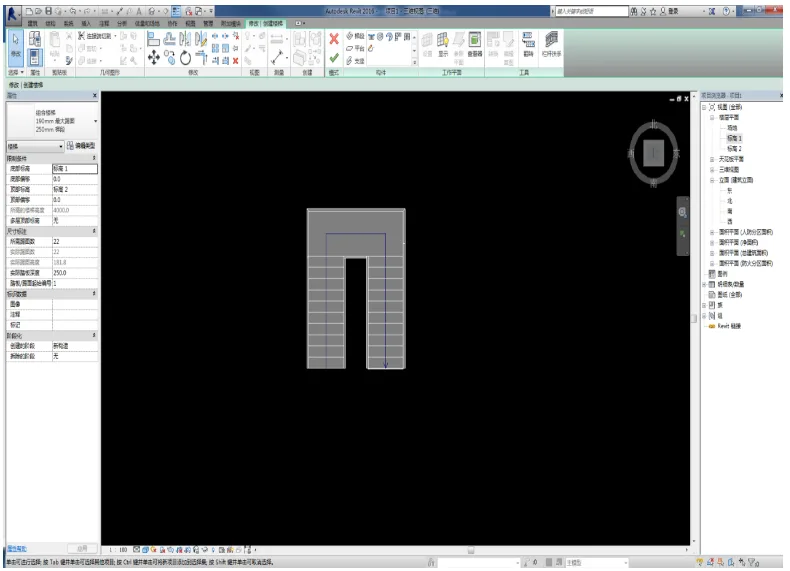
At this stage, the staircase consists of flight and landing components.
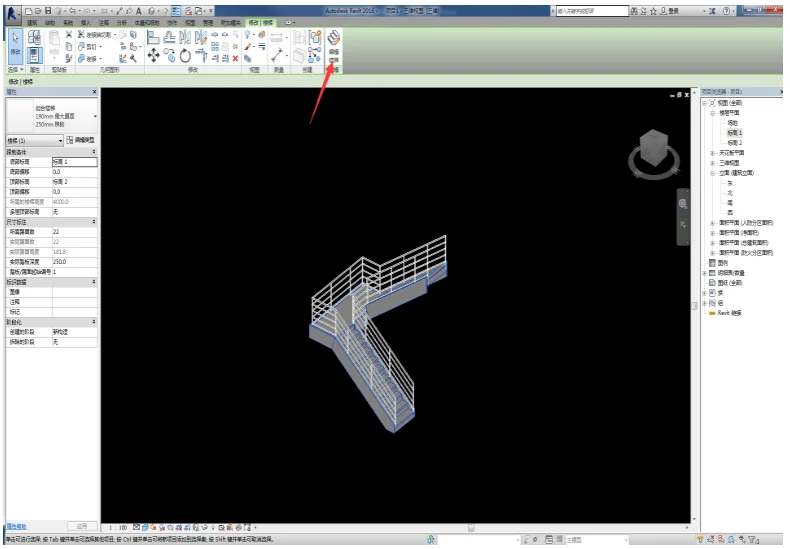
Click to exit sketch editing mode to complete the staircase drawing. Switch to the 3D view to inspect your work. If modifications are needed, select the stairs and click Edit Stairs to return to sketch mode for adjustments, as shown below.
Drawing Stairs by Sketch
Now, let’s explore drawing stairs by sketching, which is especially useful for creating irregular stair shapes.
Step 1: Set Stair Properties
Set the stair properties similarly to the component method.
Step 2: Draw the Staircase
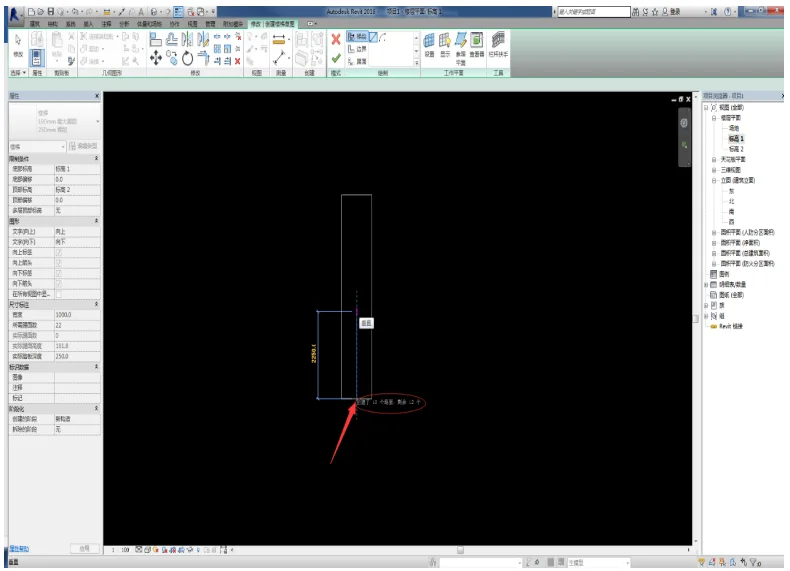
With your parameters set, move to the plan view. Click the starting point of the staircase and drag the mouse. The software will again show the number of risers created and remaining.
Continue dragging and click to complete the flight. Keep adding flights until all risers have been created, with none left remaining, as shown below.
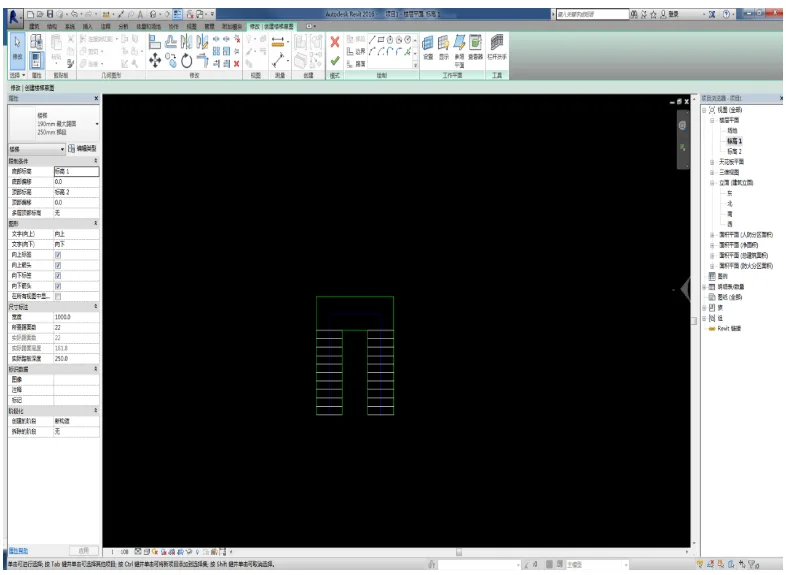
At this point, the stair sketch consists of riser and boundary lines, all editable.
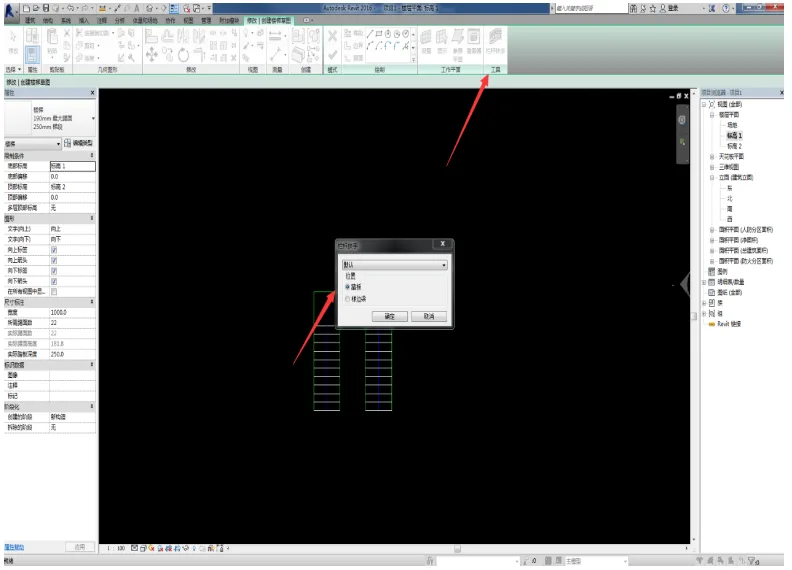
To add railings, click the Stair Railing button in the Modify panel. In the pop-up Railing Properties dialog box, choose the railing type and placement, as demonstrated below.
Click to exit sketch editing mode to finalize the staircase creation. Switch to 3D view to review your model.
If you need to make further changes, select the stairs and click Edit Stairs to enter sketch mode again.
These are the detailed steps for drawing stairs using the two main methods in Revit. With practice, you’ll be comfortable using both techniques.


Must log in before commenting!
Sign Up