In the 13th issue of the Graphic Society, we focus on drawing monuments. This article will guide you through the process of creating monuments using Revit.
Step-by-Step Guide
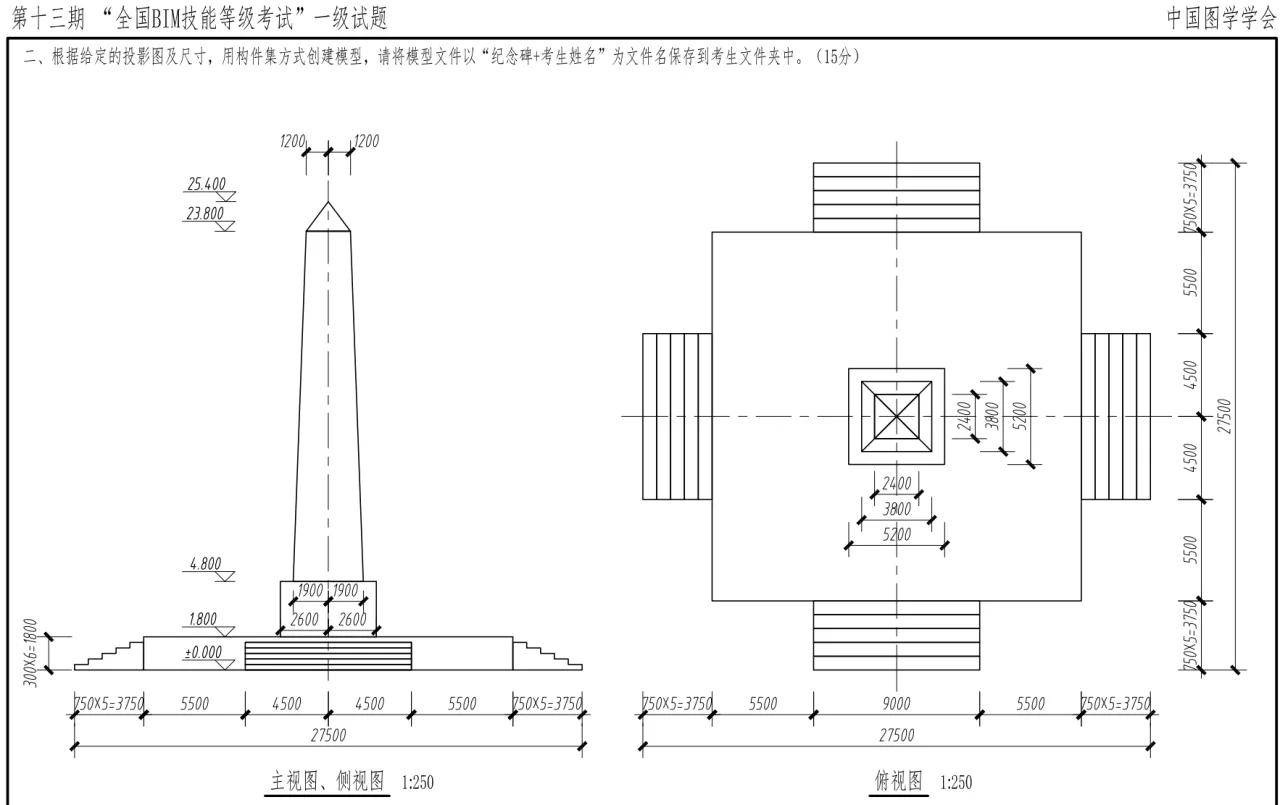
Start by creating a model based on the project requirements. We use the “metric conventional model” approach and begin by drawing the pedestal at the “reference elevation”.
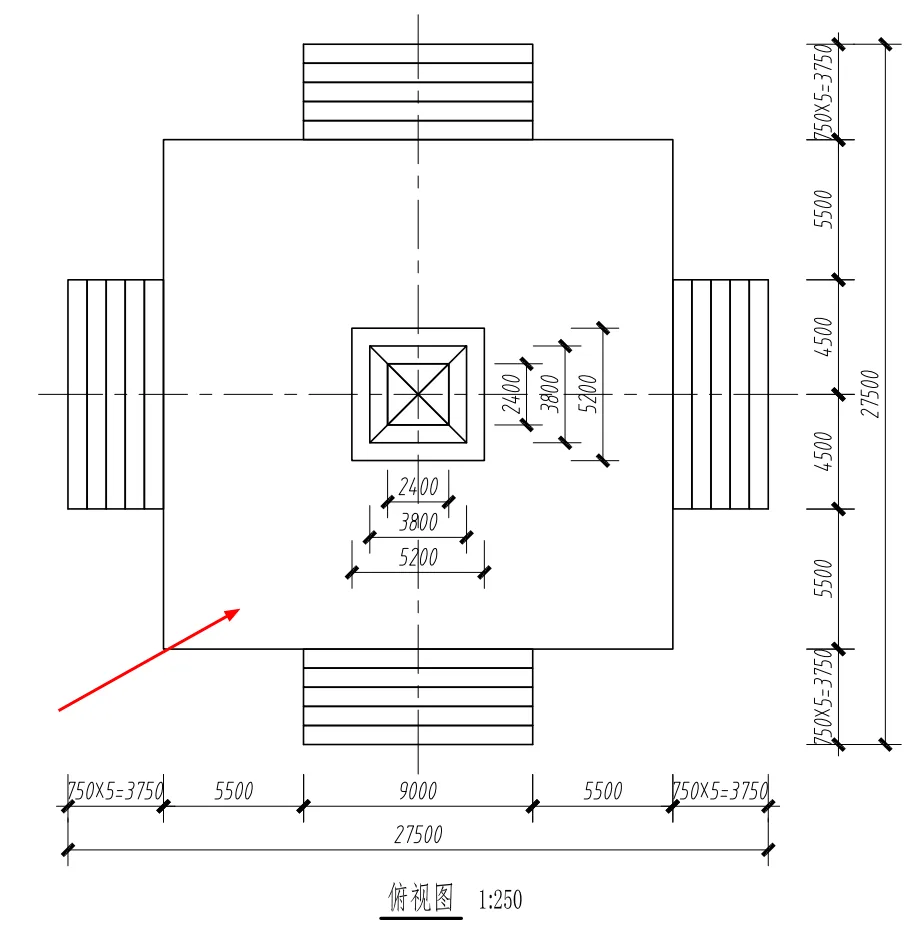
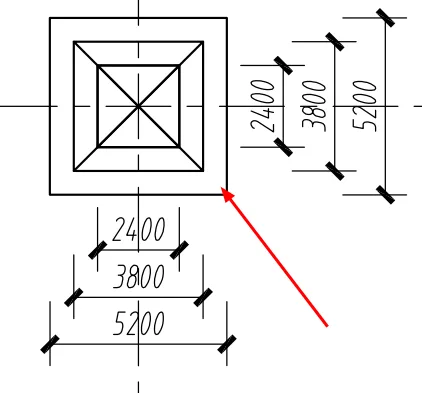
1. Use the Stretch command to create the central square pedestal.
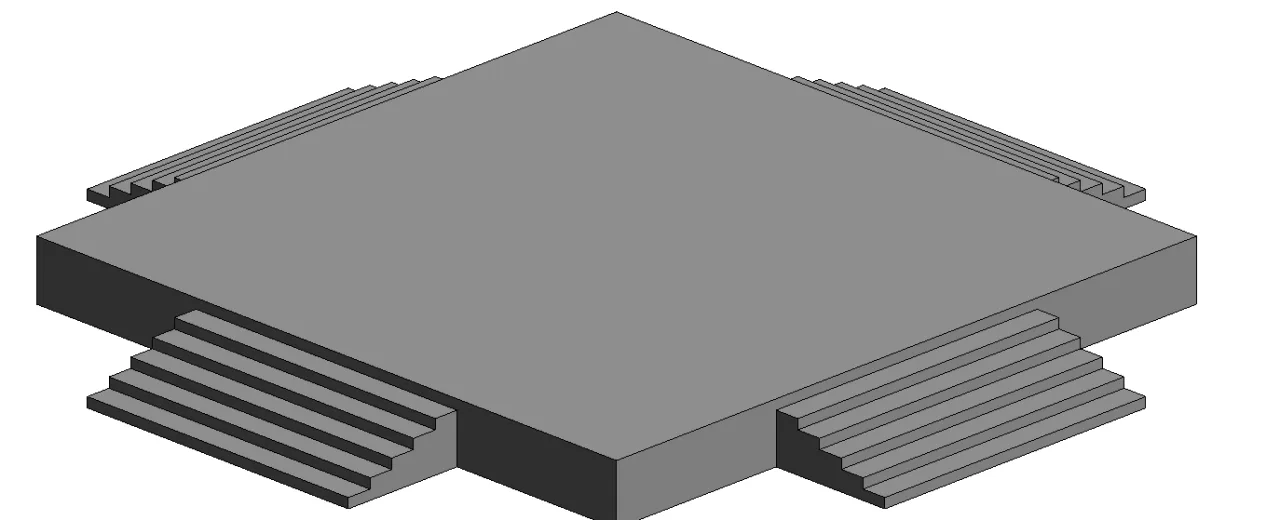
2. Apply the Stretch command to draw the steps surrounding the central pedestal.
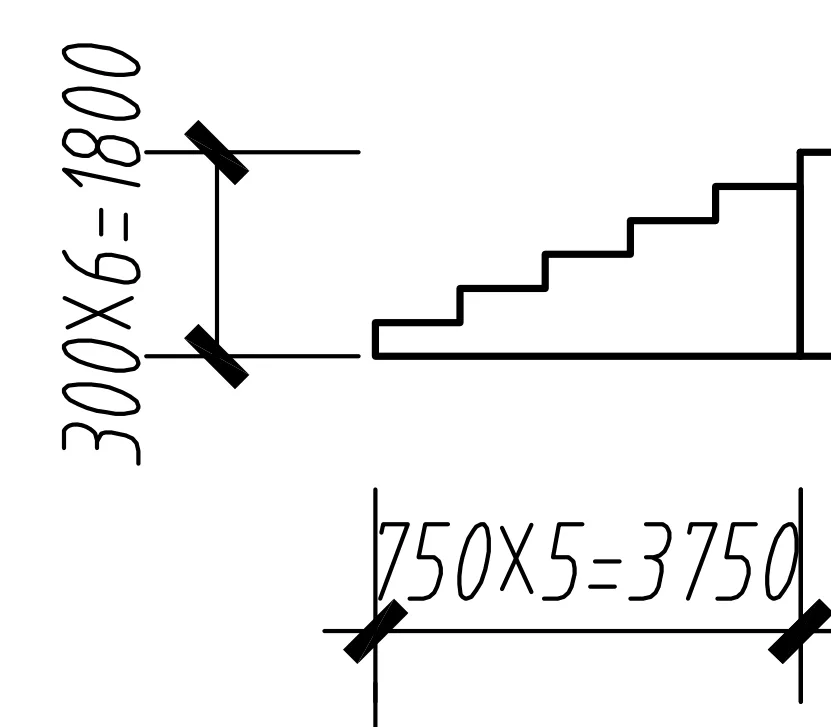
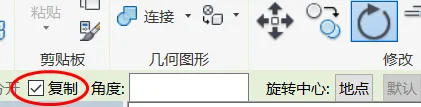
3. Draw one side of the steps, then use the Mirror and Rotate Copy commands to complete the rest.
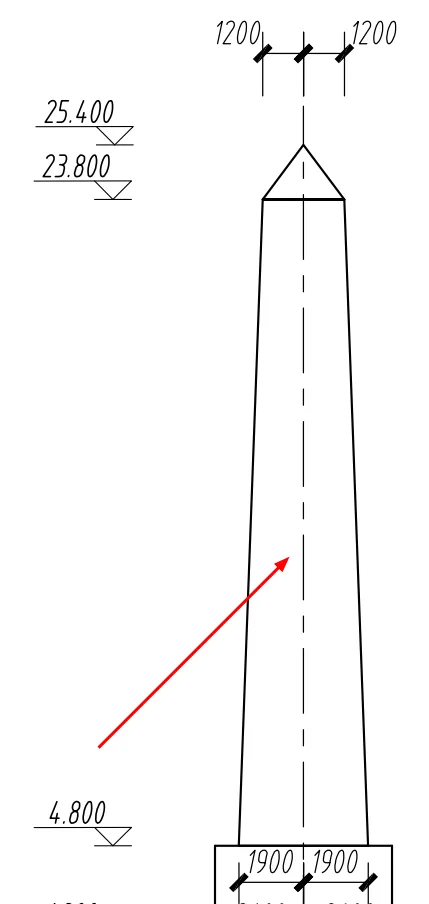
Next, use the Stretch command to create the square pedestal section as specified.
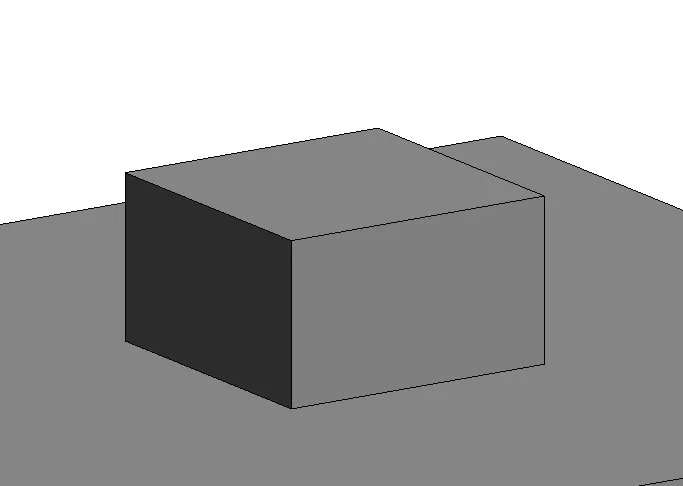
Then, use the Layout command to draft the monument’s body.
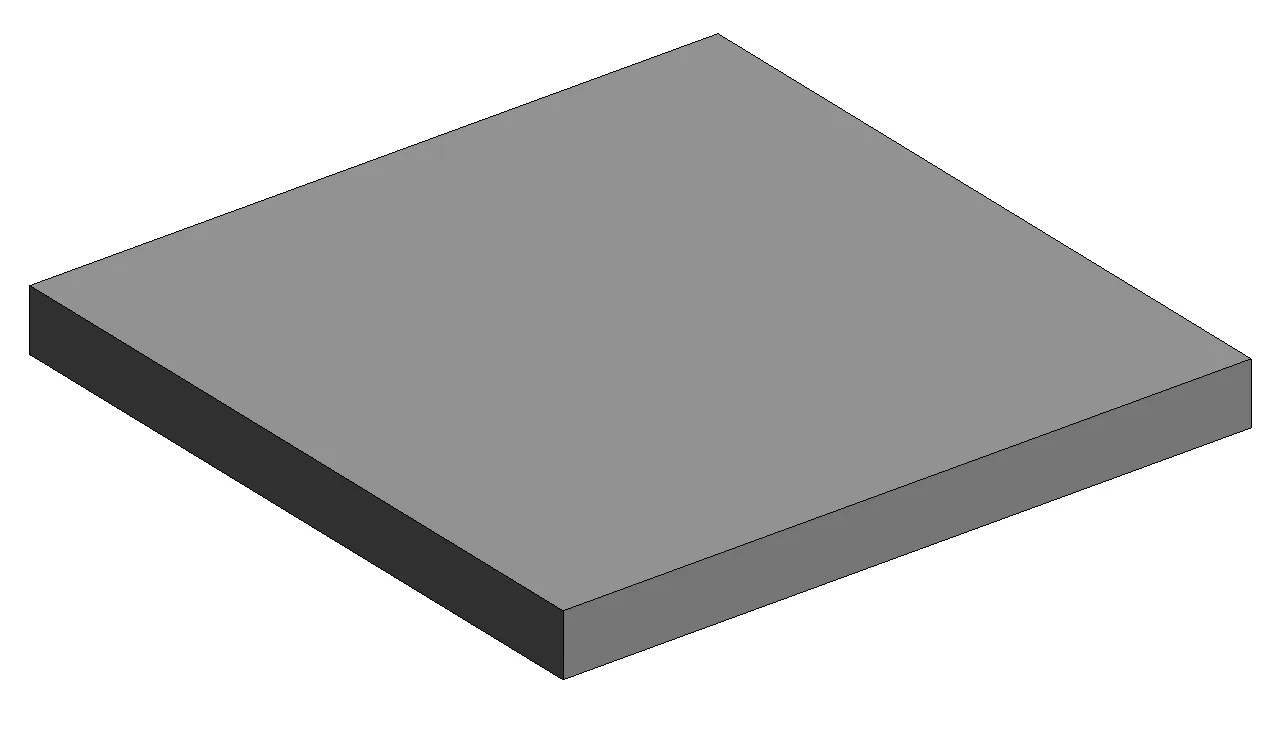
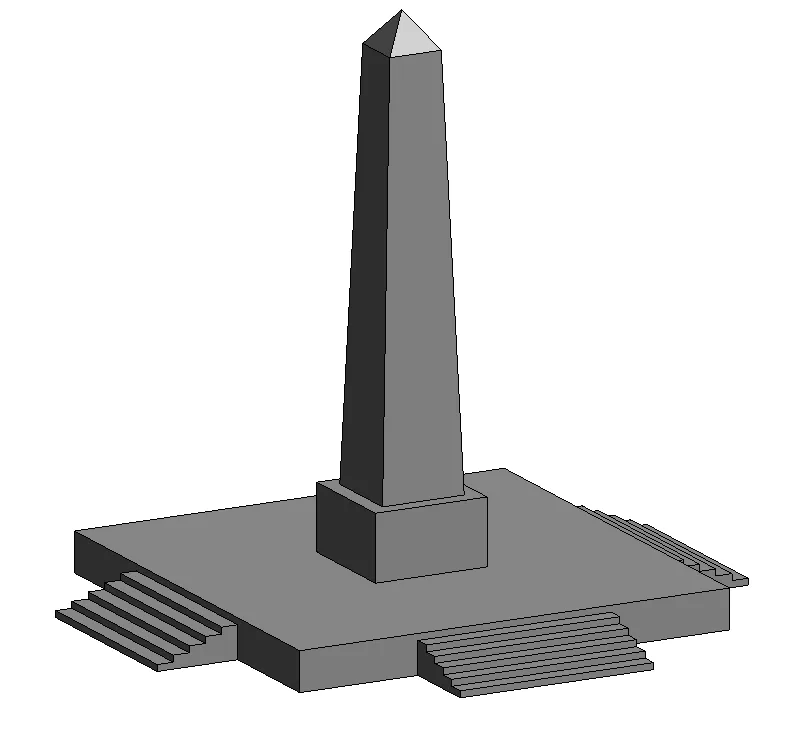
Final Result

xuebim
Follow the latest BIM developments in the architecture industry, explore innovative building technologies, and discover cutting-edge industry insights.
← Scan with WeChat


Must log in before commenting!
Sign Up