This article is from the official account TopsBIM.
Although ARCHICAD includes many built-in surface materials, there are times when you need to add custom materials. In this tutorial, we’ll demonstrate how to create a new surface material, using decorative stone for exterior walls as an example.
We will cover three key aspects: creating surface materials, adjusting rendering settings, and arranging 3D materials.
1. Creating a New Surface Material
1. Prepare the necessary surface material images.
You can download surface texture images from the internet. For this example, we use the following material map. Save the image on your computer and remember its location.
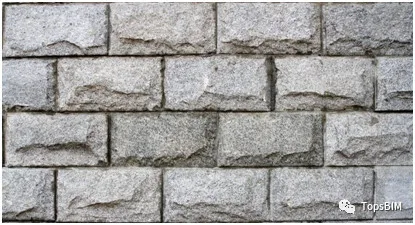
Figure 1.1: Stone Wall Finish
2. Open the Surface Material dialog box.
Navigate to Options > Element Properties > Surface Material. This will open the Surface Material dialog box.
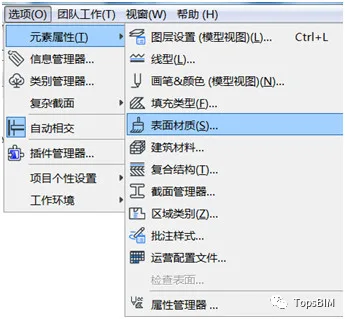
Figure 1.2: Opening the Surface Material Dialog Box
3. Select an existing surface material similar to your target material.
In the dialog box, choose a surface material closest in purpose, location, and color to what you want to create. For this example, we select “Stone Granite Gray.”
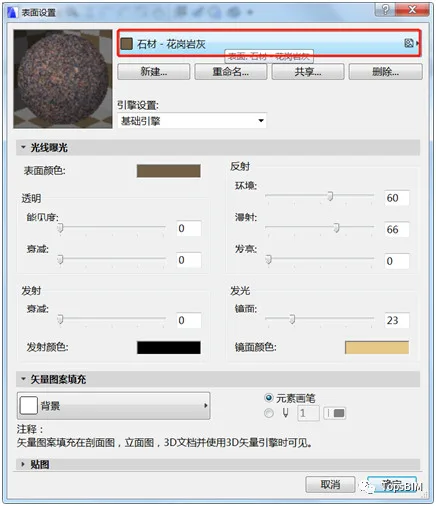
Figure 1.3: Selecting a Similar Surface Material
Note: The parameters of the surface material strongly influence its final appearance. Selecting a material with similar characteristics can minimize adjustment efforts and may yield good results without modification.
4. Create a new surface material.
Click the New button to open the “New Surface” dialog. Choose the copy method, enter a name for your new material, and click OK.
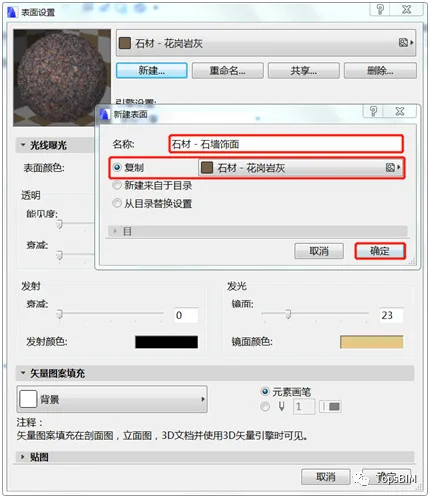
Figure 1.4: Creating a New Surface Material
5. Replace the texture image.
Expand the Texture dropdown, then click Search to open the “Load Image from Library” dialog. Click Add to browse for your downloaded texture.
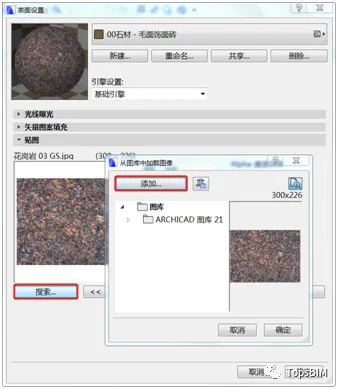
Figure 1.5-1: Opening the Image Replacement Dialog
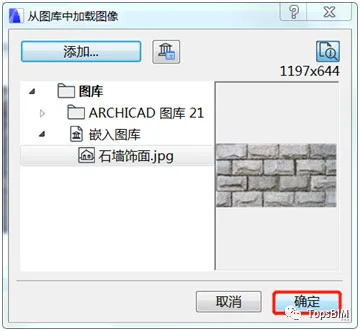
Select the saved texture image in the file browser, click Open, then confirm with OK in the library dialog.
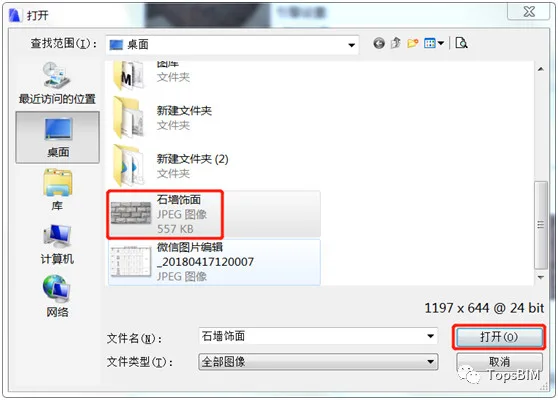
Figure 1.5-2: Loading the Texture Image
6. Maintain the original aspect ratio and confirm.
Check the box labeled Maintain initial proportional relationship and click OK.
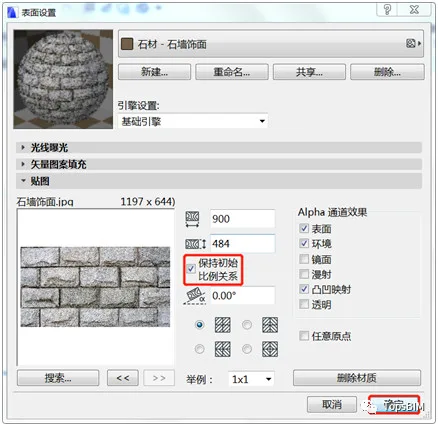
Figure 1.6: Surface Material Creation Completed
7. Apply the new surface material.
Open the wall’s default settings dialog, expand the Model panel, and click the icon beside the overlay surface bar to enable surface overlay settings.
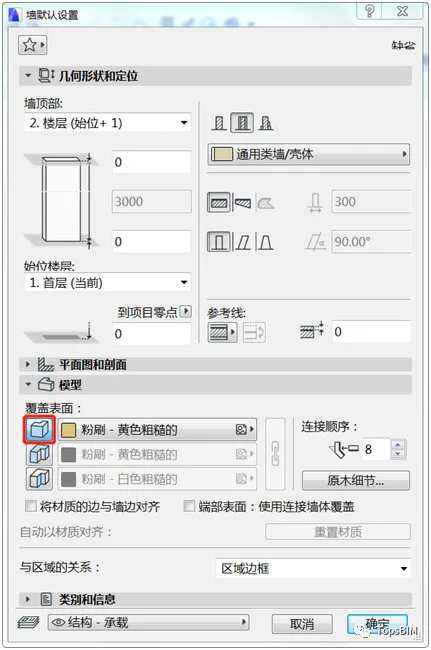
Figure 1.7-1: Activating Surface Overlay
Click the material name next to the overlay, choose the newly created material “Stone Wall Finish,” then click OK.
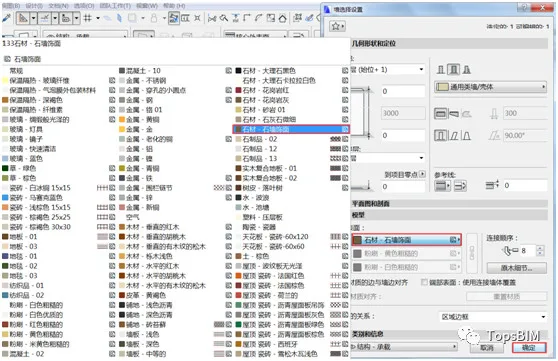
Figure 1.7-2: Selecting the Surface Material
Draw a section of wall and view it in 3D.
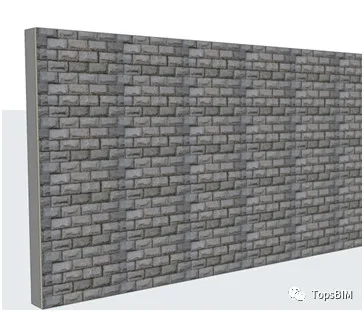
Figure 1.7-3: Drawing a Wall Section
2. Rendering and Adjustment
1. Adjust parameters.
Go to Options > Element Properties > Surface Material to open the Surface Material Settings dialog. Find the “Stone – Stone Wall Finisher” material and adjust parameters under the Light Exposure section. In this tutorial, we mainly adjust the surface color. When finished, click OK to apply changes.
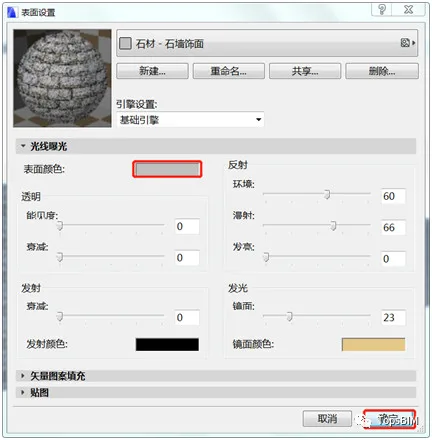
Figure 2.1: Adjusting Surface Material
Click the color block to open the color editor, select the desired color, and confirm with OK.
The Light Exposure panel includes four areas:
- Transparent area: Controls material transparency;
- Emission area: Controls light emission; usually set to black as most surfaces do not emit light;
- Reflection area: Controls surface reflection;
- Luminous area: Controls specular reflection.
2. Rendering results.
After defining the new surface material, render the model. The rendering settings and results are shown below.

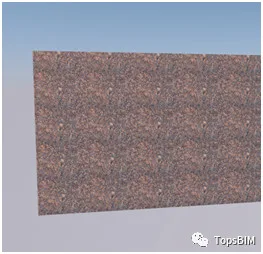
Figure 2.2-1: Rendering Settings Figure 2.2-2: Rendering Results
When using the CineRender engine, new materials created in the base engine still render with the original copied material’s surface effect, which is not the desired outcome.
To fix this, open the Surface Settings dialog, switch the base engine to CineRender under engine settings, then click Match Settings > Update Cine Renderer settings (from basic) and confirm with OK.
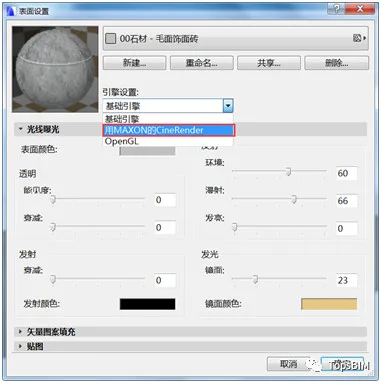
Figure 2.2-3: Switching Rendering Engines
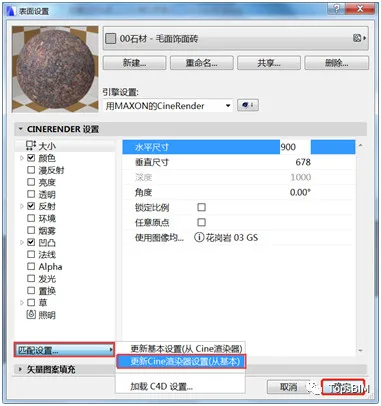
Figure 2.2-4: Updating CineRender Settings
Rendering again with the same settings produces the following results.

Figure 2.2-5: Improved Rendering Result
3. Arranging 3D Materials
Examining the wall ends reveals incomplete bricks, which is unrealistic. You can fix this by resetting the material origin.
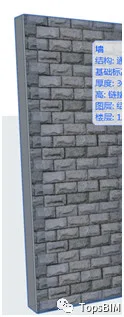
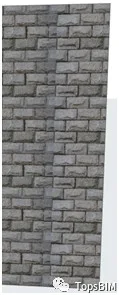
Figure 2.3-1: Left Wall End Figure 2.3-2: Right Wall End
Select the wall, then go to Document > Create Image > Arrange 3D Materials > Set Origin. Click at the start point of the texture, usually the lower-left corner of the wall.

Figure 2.3-3: Setting the Texture Origin
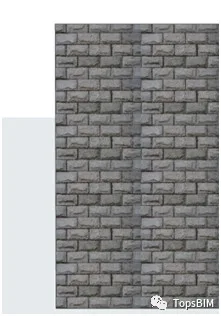
Figure 2.3-4: Adjusted Material Layout
You can also adjust the material’s direction using the Set Direction command. Use the Reset command to restore the material arrangement to its original state.


Must log in before commenting!
Sign Up