This article is from the official account TopsBIM.
In engineering projects, IDs are commonly used to label doors and windows in conjunction with annotation tools. However, projects often include multiple doors and windows of the same type, making it necessary to batch modify element IDs after they are created. This tutorial demonstrates two methods for batch modifying element IDs, using door ID modification as an example.
1. Search & Select Method
1. Open the “Edit Find & Select” menu command (shortcut Ctrl+F) to access the Find & Select panel.
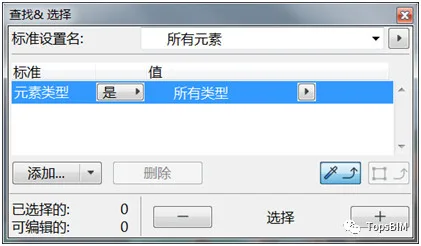
2. Click the “Add” button in the standard column to add filtering criteria. To remove a criterion, select it and click the “Delete” button. Set the filtering criteria as shown in the image above.
Tip: After adding filtering criteria, you don’t need to manually input parameter values. Use the “Find & Select” eyedropper tool along with the Alt key on the “Select” panel to pick an example element. The selected element’s value will automatically populate the filter criteria.
3. Click the “+” icon in the panel to select all project elements that match the filtering criteria.
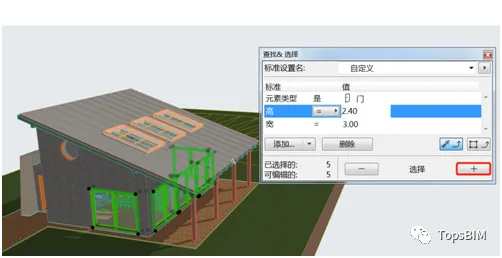
Tip: The area next to the “-” and “+” buttons displays the number of selected and editable elements in the current window.
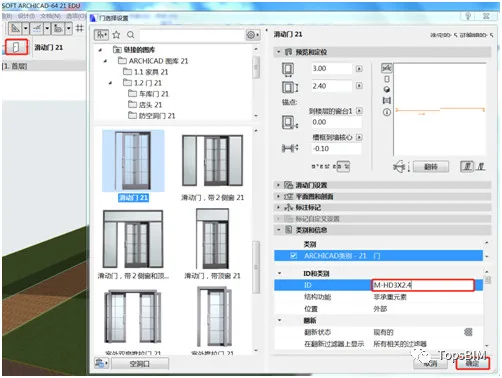
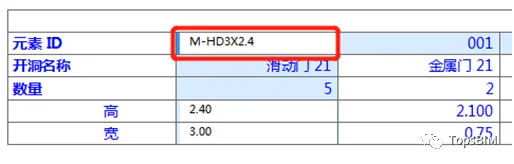
4. Double-click the door info box (or press shortcut Ctrl+T) to open the door selection settings dialog. Change the ID to “M-HD3X2.4” under the category and information scroll bar, then click OK. All selected door IDs will now be updated to M-HD3X2.4.
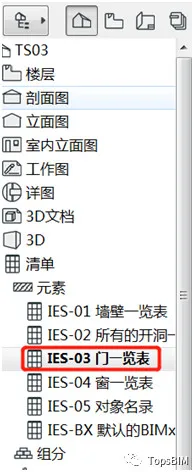
2. Using Element ID Manager and Inventory List
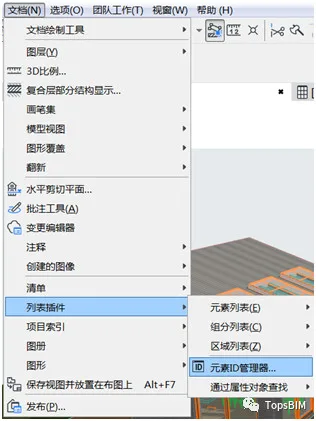
1. Launch the Element ID Manager dialog by selecting the menu command “Document List Plugin > Element ID Manager”.
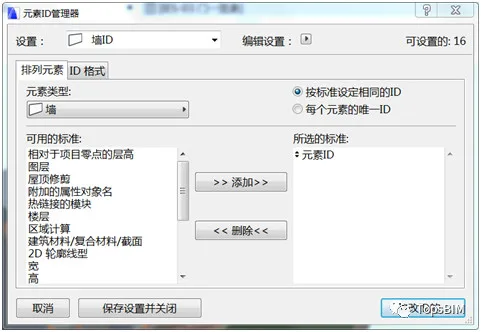
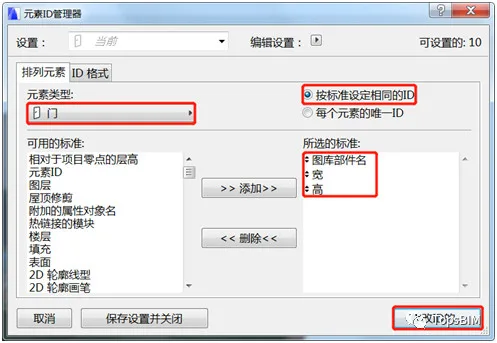
2. In the Element ID Manager window, select the element type, add filtering criteria, and enable the option to assign the same ID based on the criteria. The filtering setup is demonstrated in the image below. Then click “Modify ID”.
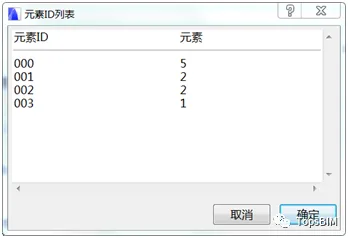
3. A dialog box will appear displaying the updated element ID list, confirming the modification results. Click OK to close the Element ID Manager.
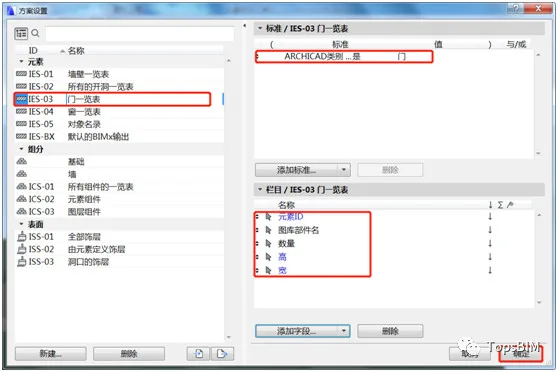
4. Open “Document List Scheme Settings” from the menu to enter the scheme settings window. Select the door list, configure the settings using the add and delete buttons, then click “OK”.
5. Double-click the door list in the browser to open the newly created list. Check the “Merge Unified Items” option at the top left, as shown below.
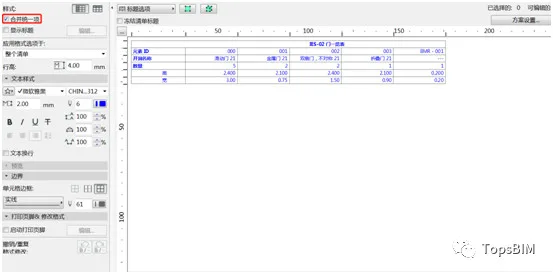
6. Click within the “Element ID” column to modify IDs according to your company or personal requirements. Once modified, the changes will automatically update the corresponding elements in the project, as shown below.
Tip: Before creating doors and windows, you can disable “Assign new element IDs to each new element” under Options > Work Environment > Work Environment > More Options. This allows you to skip the first step of the second method and directly modify element IDs through the list.


Must log in before commenting!
Sign Up