This article is originally from the official account: B Academic Circle.
Glass curtain walls are lightweight and decorative exterior walls commonly used in modern large-scale and high-rise buildings. Although their structures may appear complex, you can quickly create them using the Curtain Wall tool in ARCHICAD. Want to design a curtain wall with unique and advanced features? Let me guide you step-by-step on how to create a distinctive curtain wall.
1. Creating a Custom Curtain Wall Main Panel
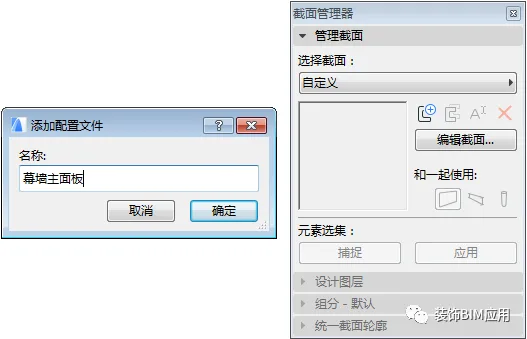
① Begin by drawing custom sections for the curtain wall’s main panel using the Section Manager (navigate to Options > Element Properties > Section Manager).

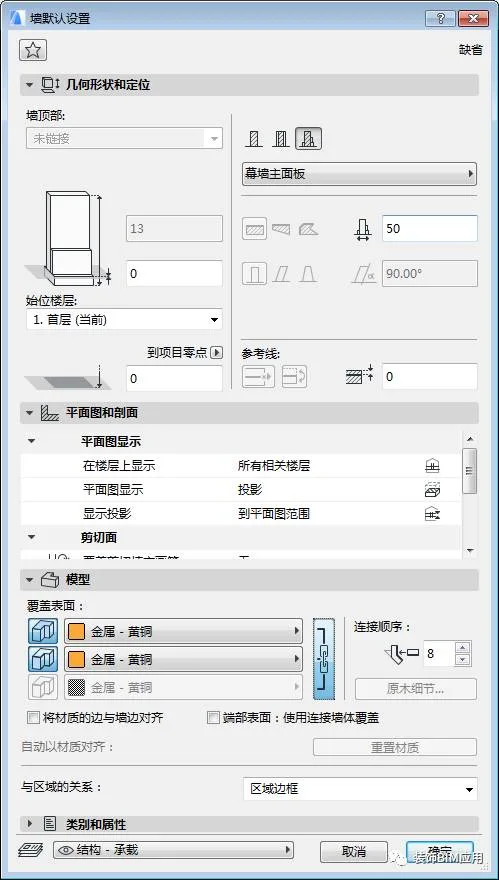
② Use the ‘Wall’ tool to create the main panel of the curtain wall.
③ Switch to the 3D view to inspect your model by pressing the F5 shortcut key.
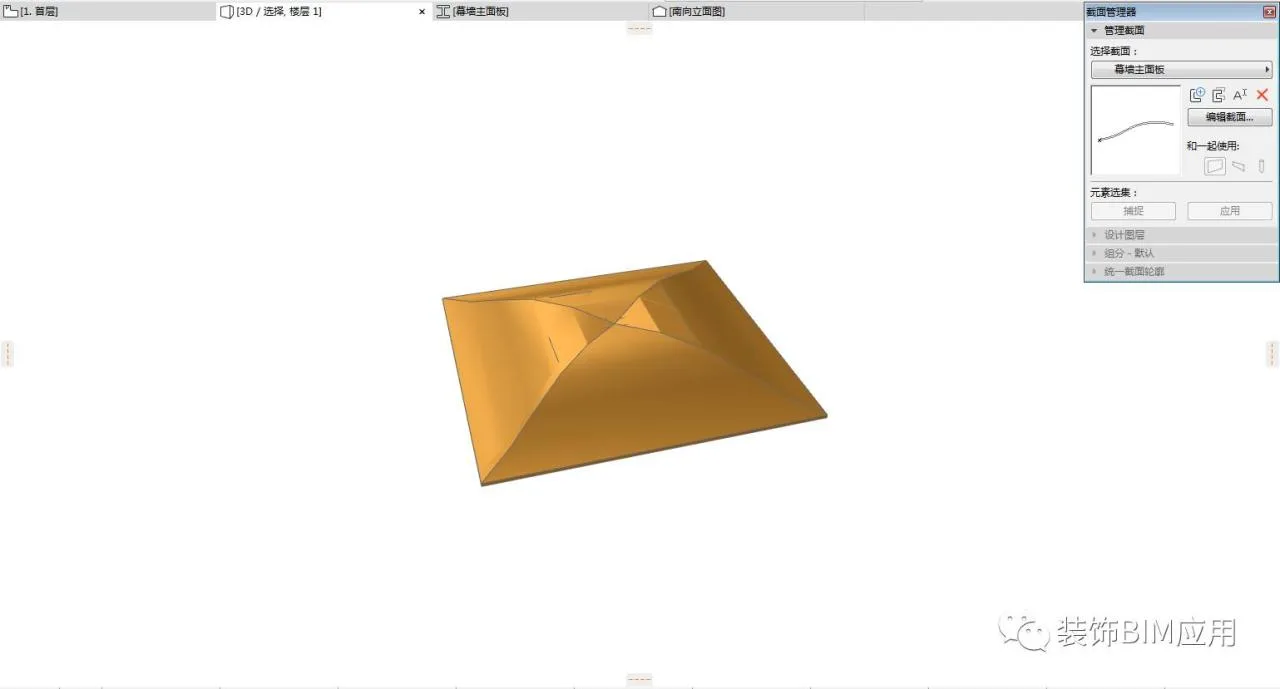
④ Select the main panel of the curtain wall and save it as a main panel object: go to File > Gallery and Objects > Save Selection as > Curtain Wall Panel.
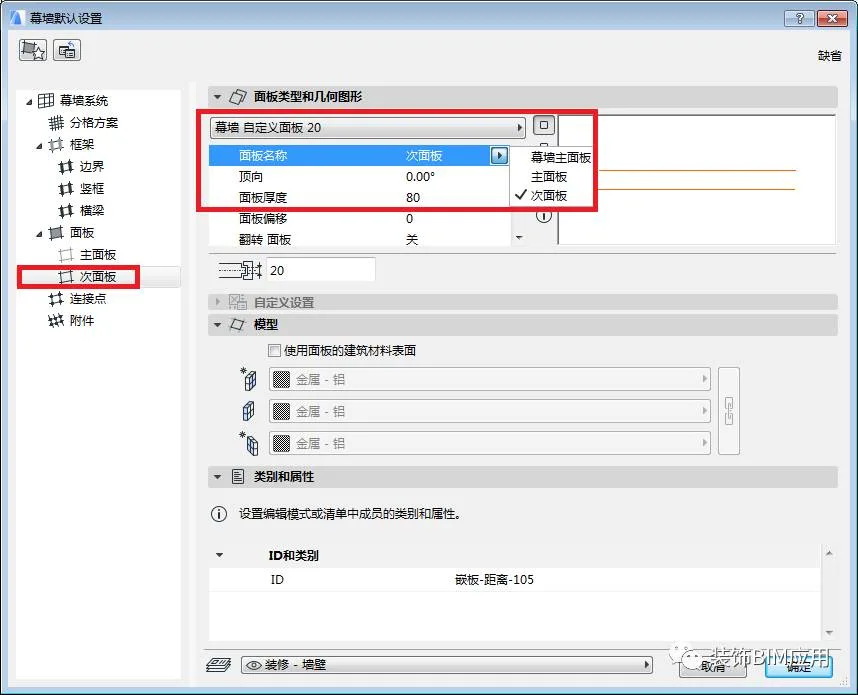
2. Creating a Curtain Wall Sub Panel
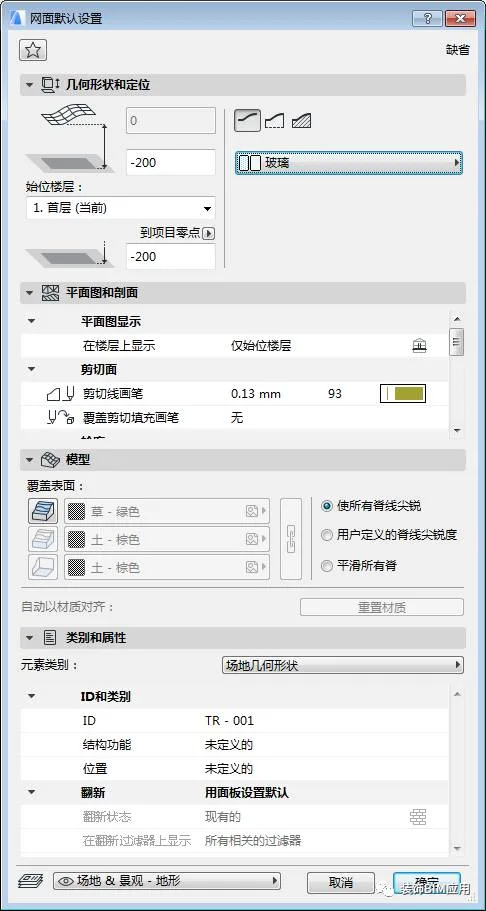
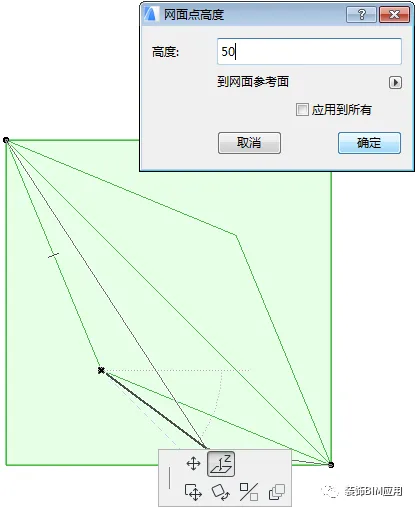
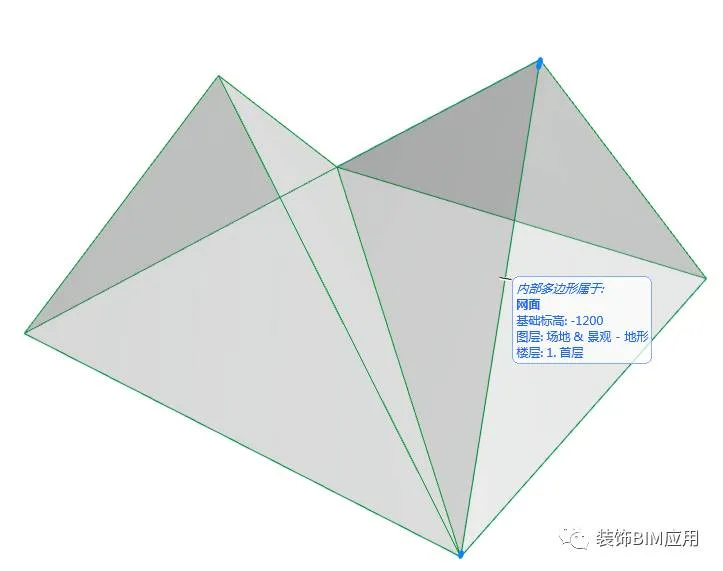
① Create an irregular mesh by activating the Mesh tool. Select the mesh, press the spacebar to pick contour lines, and then adjust the points along these contours to raise them.
② Switch to 3D view (shortcut key F5) to check the mesh model.
③ Select the curtain wall sub panel and save it as a sub panel object via File > Gallery and Objects > Save Selection As > Curtain Wall Panel.
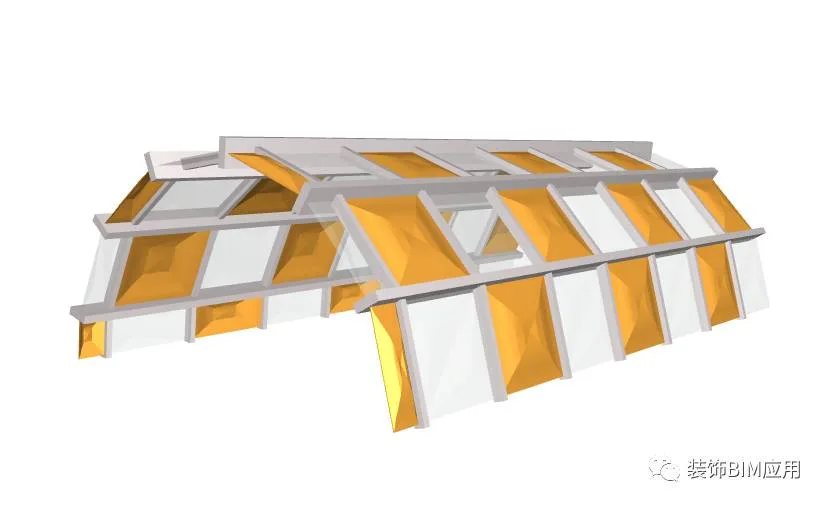
3. Creating the Curtain Wall
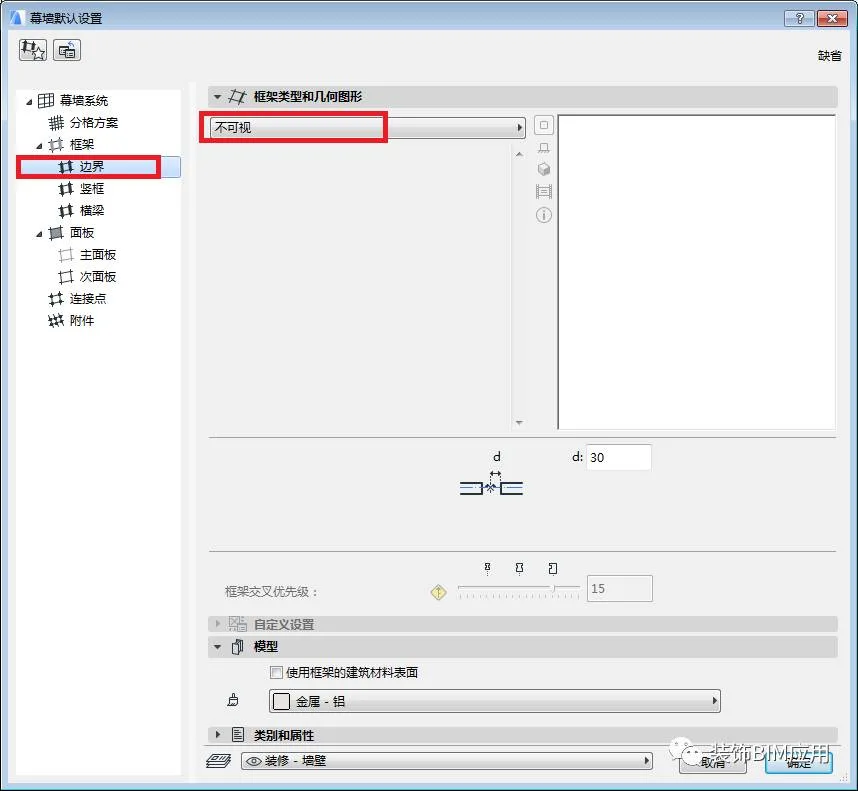
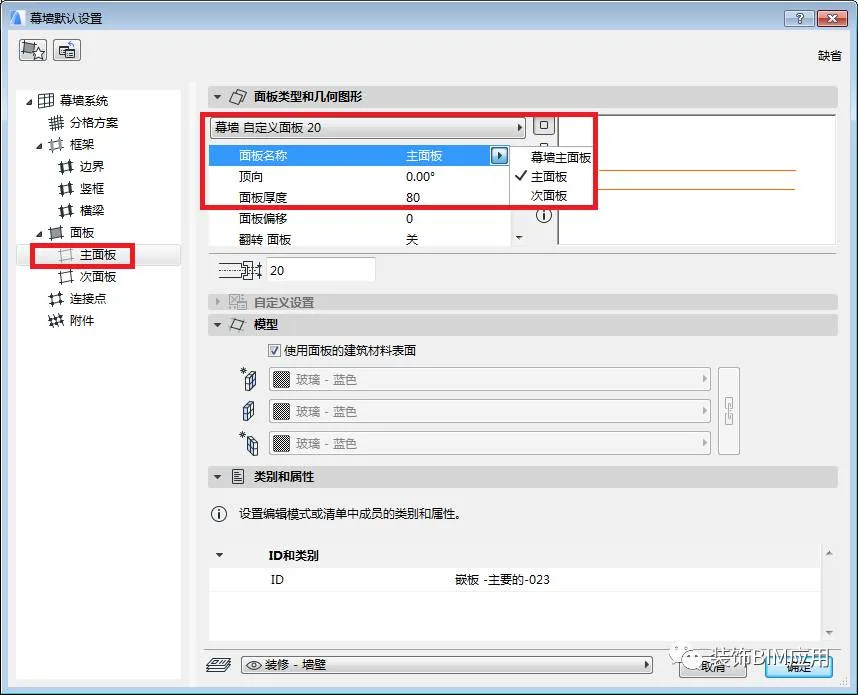
① Select the ‘Curtain Wall’ tool and configure its settings.

② Use the ‘Curtain Wall’ tool’s geometric methods, such as curve radius and axis, to draw the curtain wall.


Must log in before commenting!
Sign Up