This article is from the official account: FLBIM.
After importing a CAD base map into ARCHICAD, you can adjust its borders and manage the drawing layers to streamline your modeling process. Below, we’ll walk through the specific steps, illustrated in the images provided.
Step 1: Import External Drawings
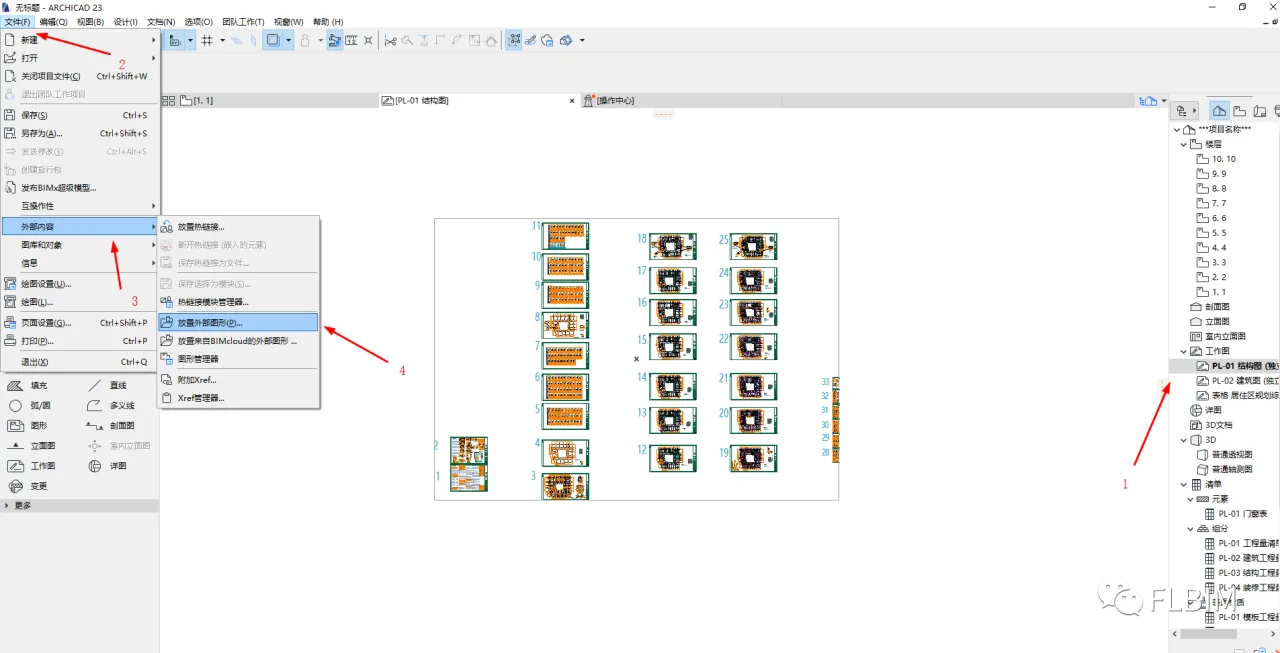
Follow these steps to import your CAD base map:
- Create new structural and architectural drawings.
- Open the File tab.
- Select “External Content.”
- Choose “External Graphic” and locate the CAD base image you want to import.
Step 2: Adjust the Drawing Borders
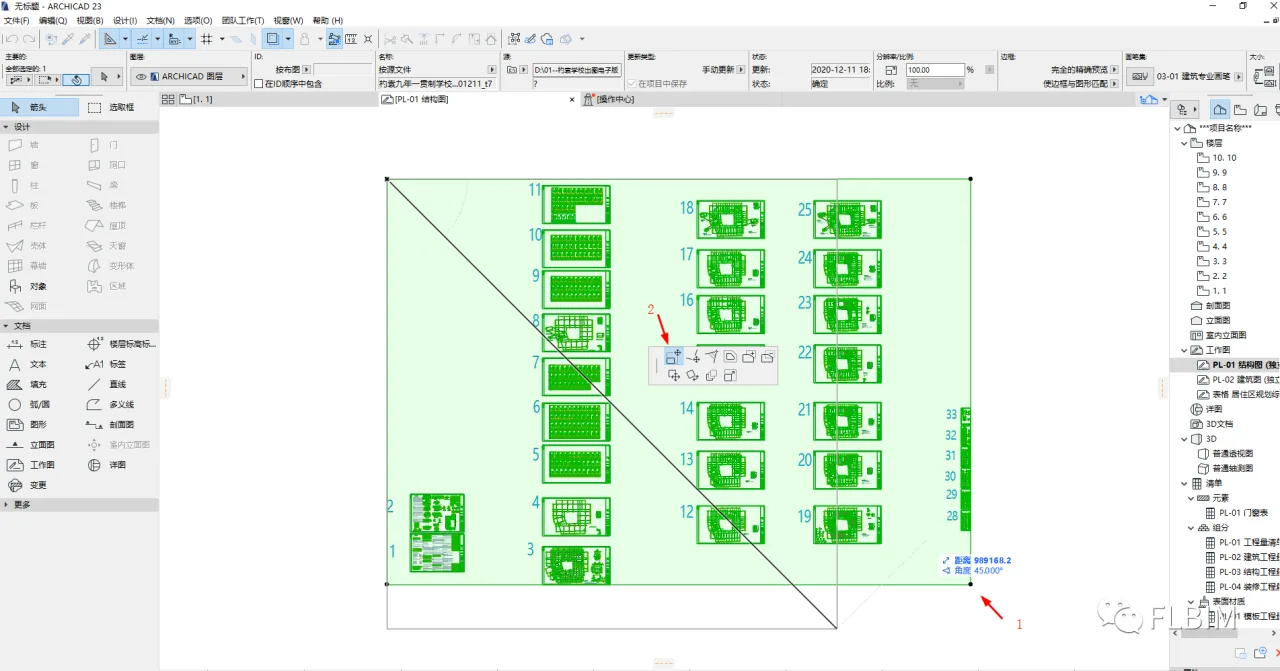
To focus on the relevant area of your drawing:
- Select the drawing, then click on any of the four small black dots around its edges.
- A small adjustment box will appear. Drag the handles indicated by the arrow to crop the drawing to the area you want to see.
This allows you to display only the floor plan you need, improving modeling efficiency and reducing computer lag.
Step 3: Manage CAD Drawing Layers
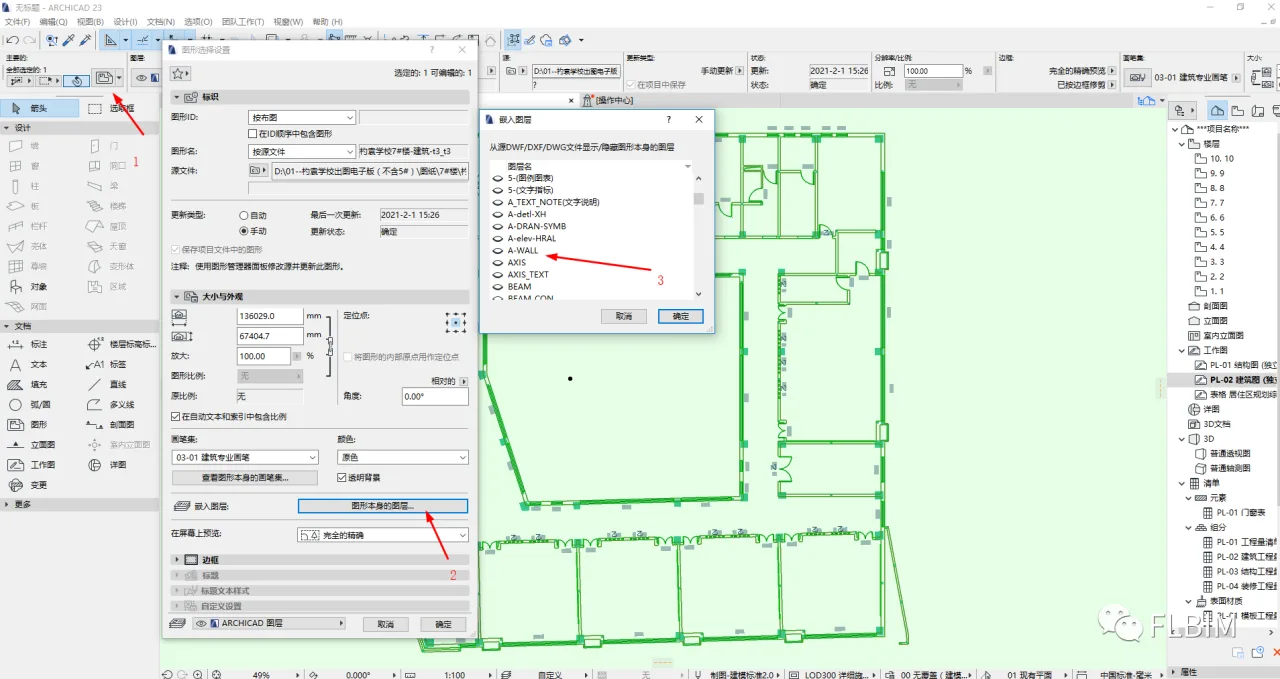
For example, when working with masonry walls:
- Select the drawing and open the Properties dialog box.
- Choose the layer corresponding to the graphic.
- Keep the layers needed for drawing masonry walls active, and turn off any unnecessary layers.
Apply the same process to other elements to keep your CAD base map clear and concise, which enhances modeling efficiency.
Conclusion: Properly managing imported CAD base maps and their layers in ARCHICAD significantly boosts modeling efficiency.


Must log in before commenting!
Sign Up