This article is from the official account: BIM Center of Guangdong Heavy Industry Institute.
Today’s lesson is the second part of our previous tutorial on graphic overlay combinations.
Today’s Tip: Graphic Overlay Combination
Default shortcut key: None (you can set it yourself).
To locate the graphic overlay combination command, click the bottom menu and select Graphic Overlay Combination.
As explained before, we made the walls transparent. Similarly, doors and roofs can also be set to transparent without removing the walls.
We differentiate the transparent doors from other objects by criteria such as layer, size, and material.
(For example, in the video demo, the door to be made transparent has a unique size, making it easy to distinguish.)
Next, click the Graphic Overlay Combination command in the bottom menu bar.
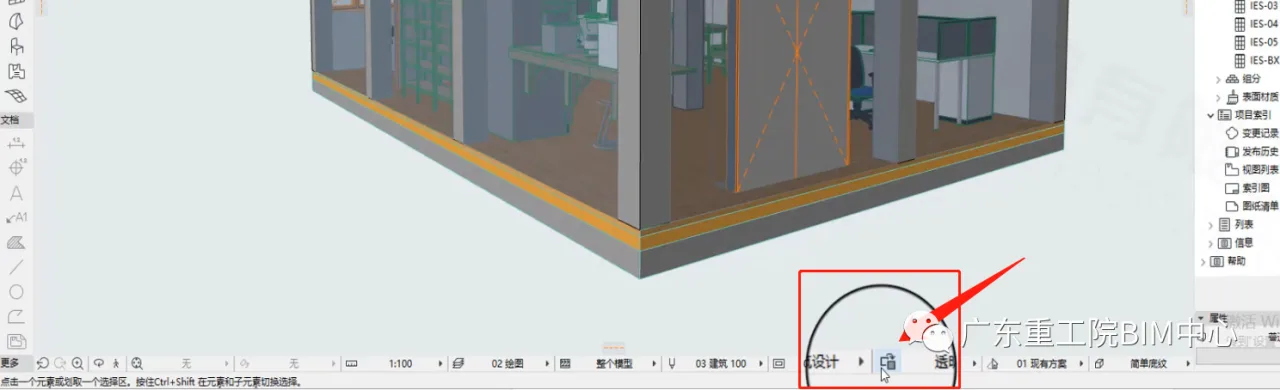
(The graphic overlay combination command is highlighted in the image above.)
Find the combination set and add new rules to it. (For example, in the video, click “Add” and select “Condition Door.”)
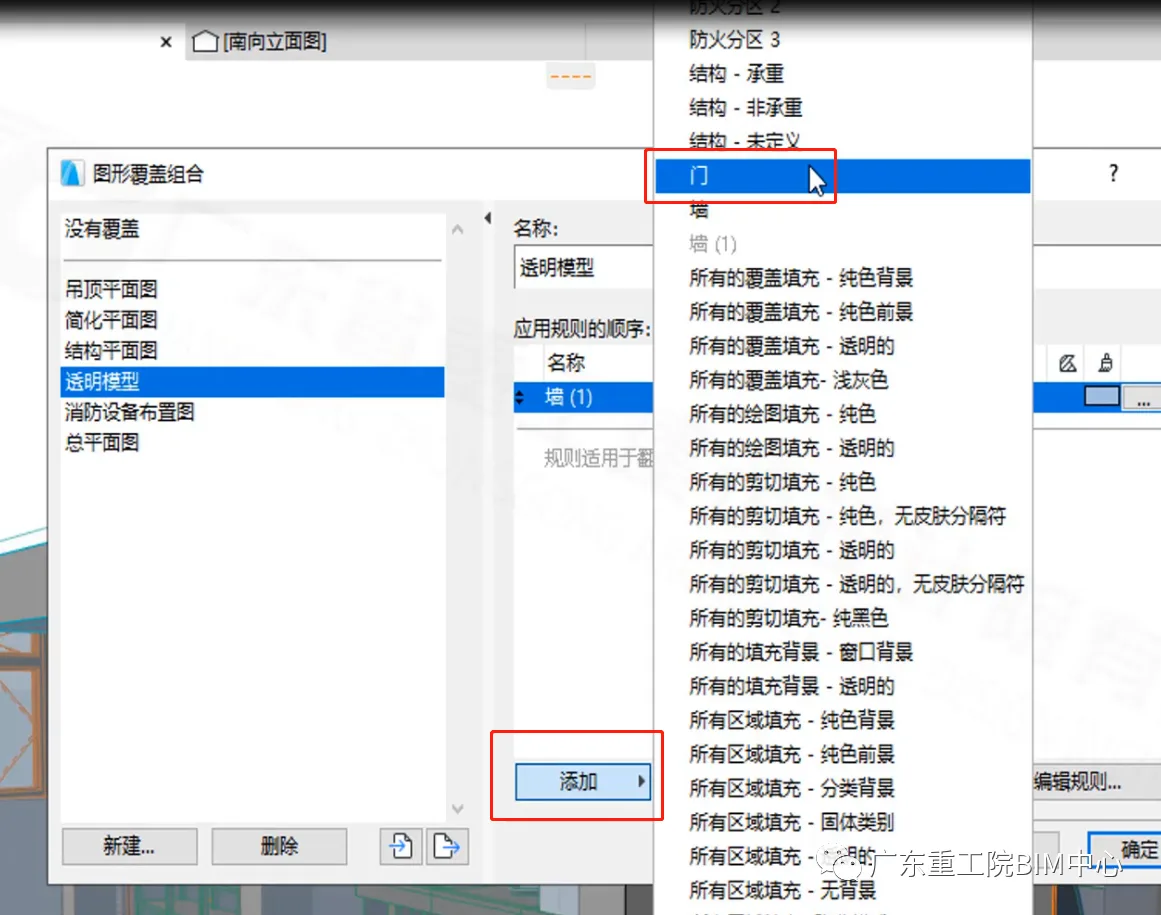
(The graphic overlay combination dialog box is shown in the image above.)
Select the “door” rule and add conditions. (For example, in the video, click “Add,” then choose conditions for height and width. Enter the transparent door’s dimensions: height 2100 mm, width 1500 mm.)
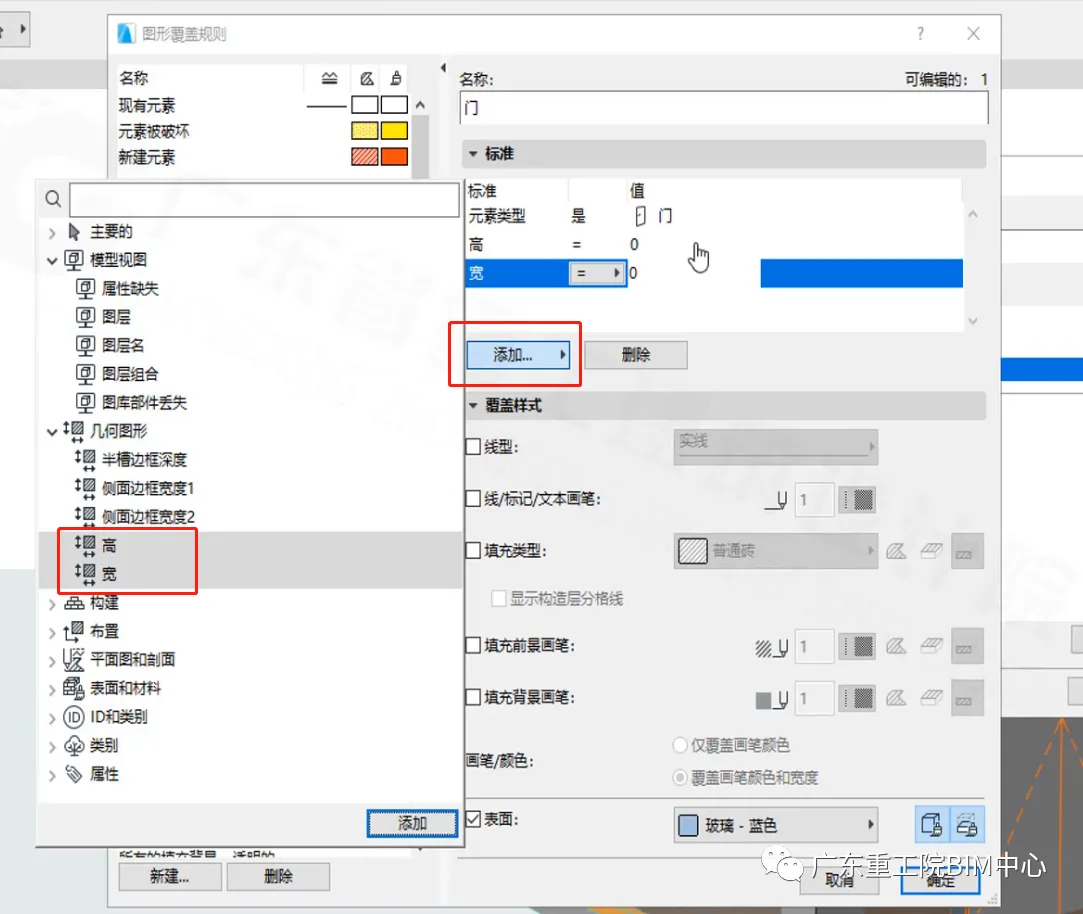
(The dialog box for graphic overlay rules is displayed in the image above.)
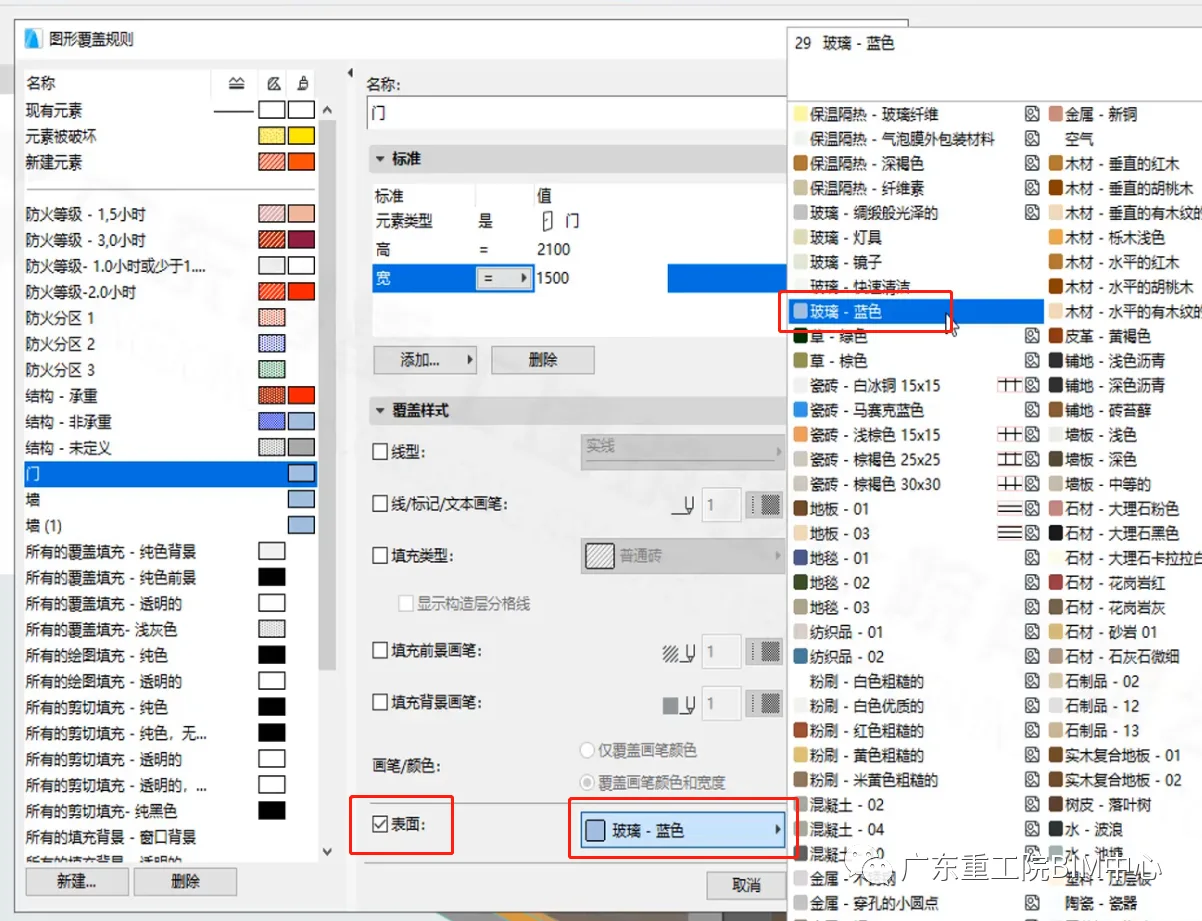
(The surface color picker in the graphic overlay rule dialog box is shown above.)
Click on the surface color and select the desired color.
(For example, to make a door transparent, choose a transparent color.)
Finally, click OK to complete the process!


Must log in before commenting!
Sign Up