Source: BIM Center of Guangdong Heavy Industry Institute
Today’s Tip: How to Create Terrain Using Contour Lines
Default Shortcut Key: None
The mesh tool can be found on the far left vertical menu bar of the interface under Design > Mesh Tool.
Start by opening ARCHICAD and either importing a topographic map or drawing one using polylines. Next, locate the mesh tool, double-click it, select “Solid Model” from the mesh tool panel, and click OK.
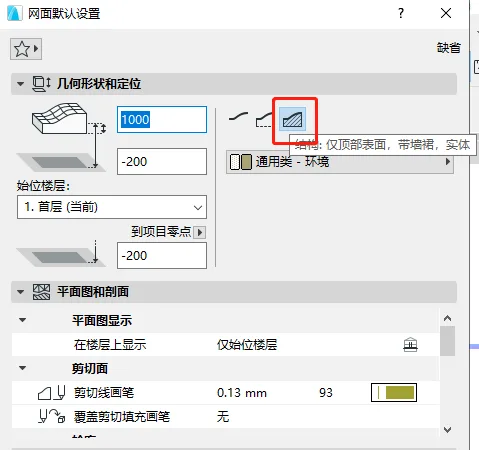
(The location of the “Solid Model” option is shown in the image above.)
Hold down the spacebar to activate the Magic Wand tool. Click on the outermost contour line of the map to create a mesh. Select this mesh, then click the mesh tool again, hold the spacebar, and click on the next contour line.
In the pop-up “New Mesh Point” panel, choose “Add New Point” and from the drop-down menu select “Adjust According to User Defined Ridge Line.” Click OK. Repeat this process for all other contour lines. (For detailed steps, refer to the video tutorial.)
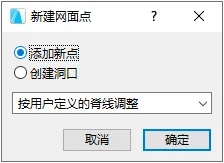
(The “New Mesh Point” panel is shown above.)
After adding mesh points along all contour lines, select the mesh and click on any small black dot along the outermost contour line. In the pop-up panel, choose “Raise Mesh Points,” enter the corresponding height for that contour line, and select “Apply to All.” Click OK. (Refer to the video for detailed instructions.)
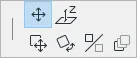
(The location of the “Raise Mesh Points” option is illustrated above.)
Repeat this procedure for all remaining contour lines. Once all contour lines have been assigned their correct elevations, you will have constructed the terrain.
Select the terrain and open the mesh settings panel. Choose “Smooth All Ridges” to refine and smooth out the terrain surface for a more natural appearance.
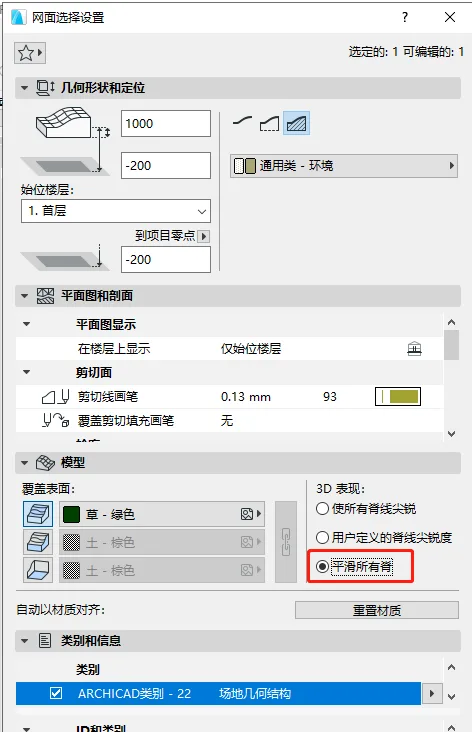
(The “Smooth All Ridges” option is shown in the image above.)


Must log in before commenting!
Sign Up