This article is written by Yun Guixia Yin, the author behind the WeChat official account cgbridge.
We often come across stunning scenes created by others and want to analyze their lighting setups by accessing their source files, but might not know where to start. This article offers a step-by-step approach to learning lighting techniques in VRay by breaking down and studying other artists’ lighting.
The first step in working with a scene is to verify whether gamma correction is enabled, and to clearly understand if the original author used gamma lighting on or off.
After opening the scene, create a small test render using low-quality settings to quickly check for any immediate issues.
Here is a preliminary render to evaluate the effect:

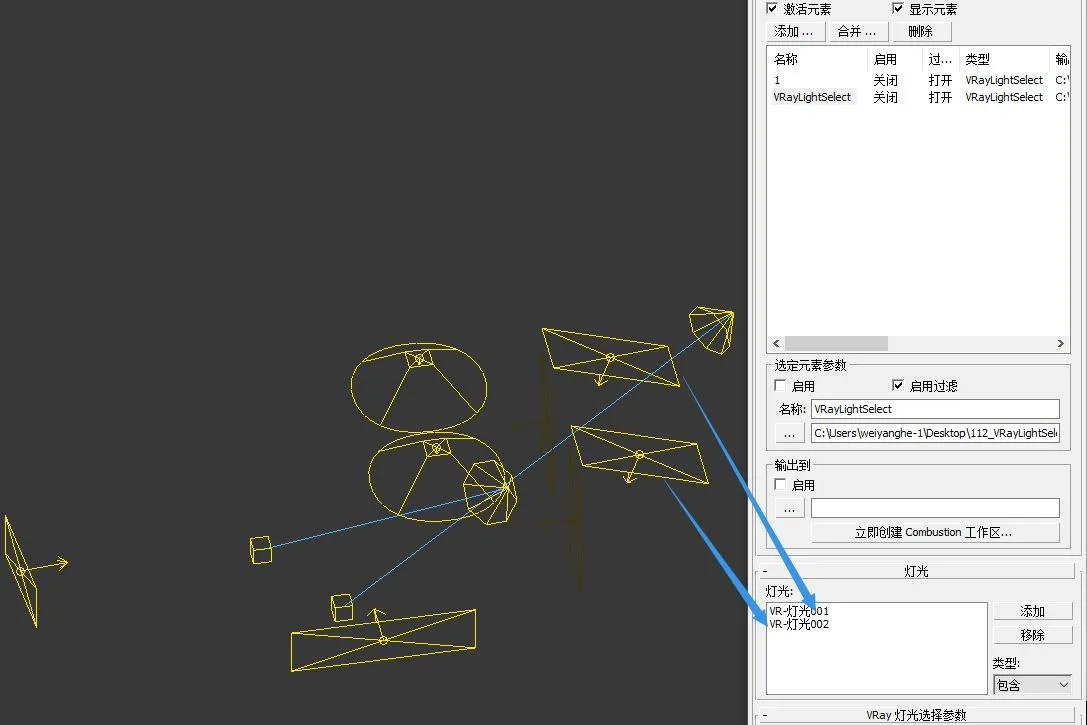
Aside from some noise in the image, there are no major issues. Next, select all lights and isolate them to identify exactly which lights are present, as shown below:
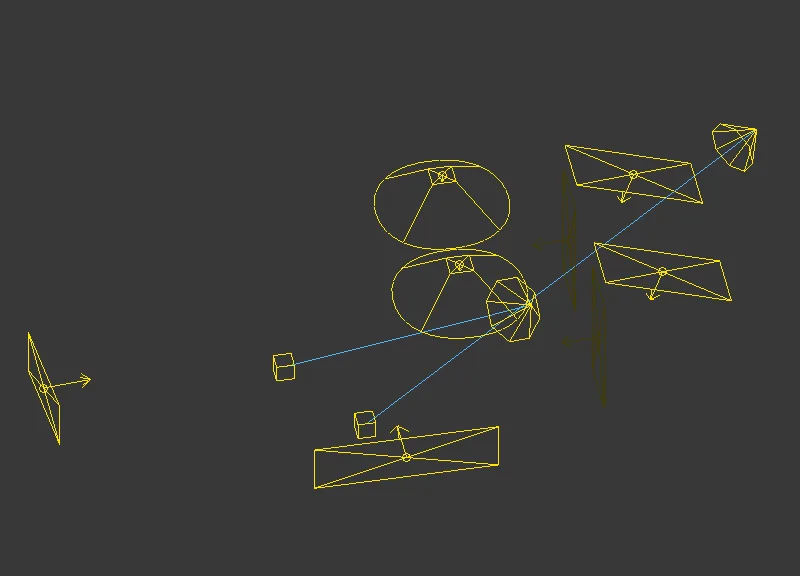
This gives an initial clear overview of the lighting setup. Now, let’s move on to the key step: how to break down the lighting components.
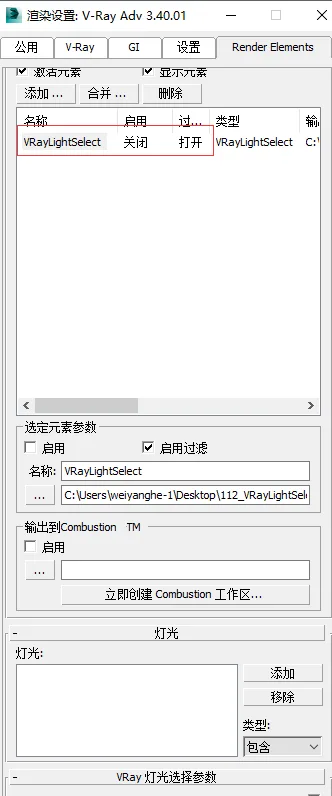
Begin by adding VRayLight render elements to the scene.
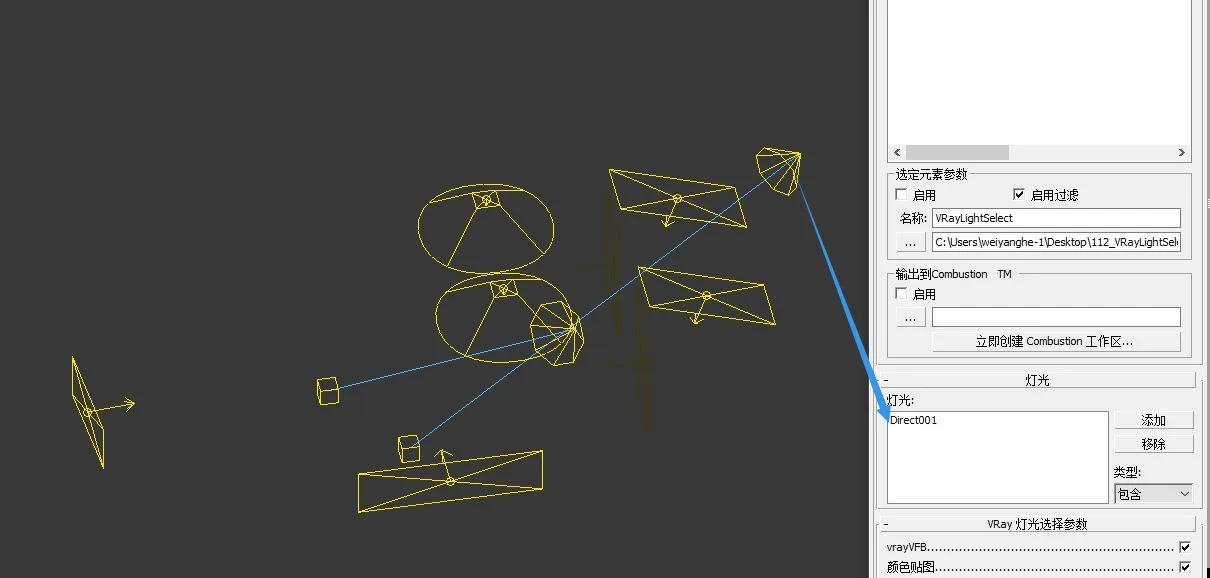
Then, add the various lights shown in the light list below. You can group lights with similar functions together.
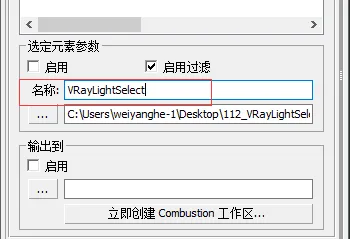
After assigning these lights to a VRayLight element, add another VRayLight render element for the next group. To avoid confusion, rename the previously created light elements accordingly.
Click again to add the selected lights to the respective VRayLight list, as illustrated below:
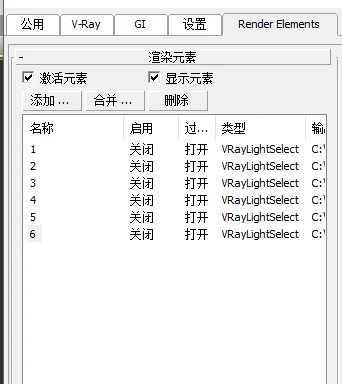
Continue grouping and categorizing the lights in batches, assigning them to different VRayLight channels. In this example, the lights have been divided into six groups, but you can subdivide further if desired.
Next, add render elements for direct lighting, indirect lighting, reflections, refractions, and highlights from the entire scene.
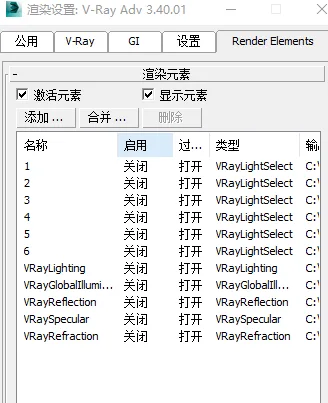
When rendering the full scene with these elements, the final image remains unchanged visually, but you gain access to multiple channel maps.
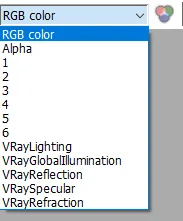
Save these channel maps separately, then import them into Photoshop for overlaying with color filter layers for further analysis. Due to the complexity and number of layers involved, we won’t detail this process here. The key conclusions are:
All VRayLight overlays = direct illumination + highlights;
Direct illumination + indirect illumination + reflections + refractions + highlights = final image;
By substitution, we can also conclude:
VRayLight + indirect illumination + reflections + refractions = final image.
If you’re skeptical, feel free to test this yourself.
Why go through all this? The value lies in breaking down the direct lighting components in one go, which helps you quickly and clearly understand other artists’ lighting techniques at their core. In fact, about 80% of lighting comprehension comes from understanding direct lighting. Once you grasp the direct lighting layer objectively and rationally, you essentially understand lighting as a whole.


Must log in before commenting!
Sign Up