This article is contributed by Yun Guixia Yin, author of the WeChat official account cgbridge.
How to Quickly Create a Simple White Background for Product Rendering
When rendering a product, it’s important to consider how lighting affects not only the product itself but also the background. Using the method below, you can isolate the lighting impact on the product while controlling the background separately.
Step-by-step process:
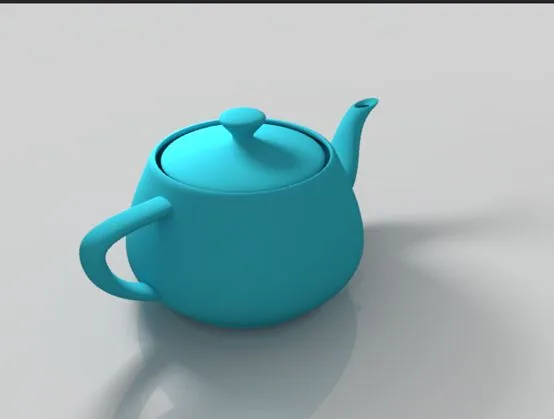
a. Apply a simple VRay material to the ground that provides a subtle reflection.
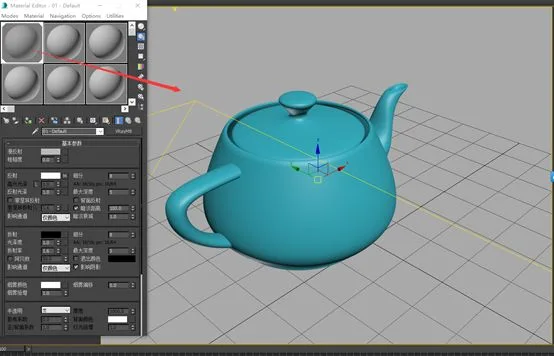
b. Observe the rendering result with arbitrary lighting under normal conditions.
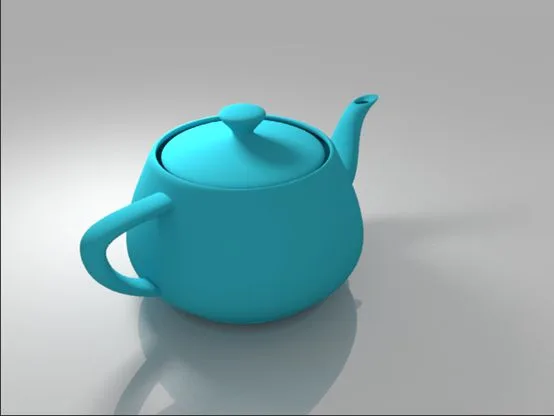
Notice that the background lighting is uneven, with noticeable variations in brightness and shadow.
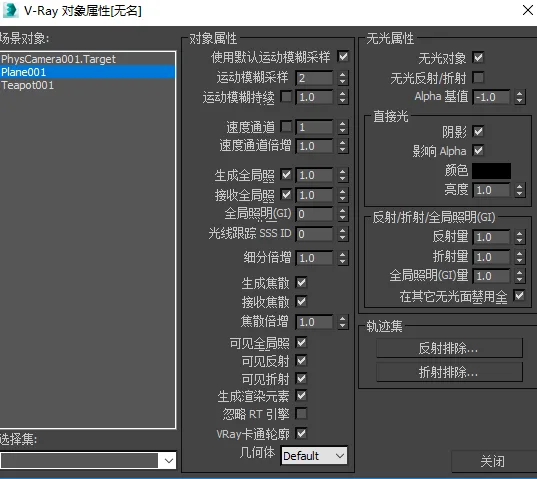
c. Right-click on the ground object, open the VRay attributes, and enable the following settings:
- Check “Unlit objects”
- Set alpha base value to -1
- Enable “Shadows affect alpha”
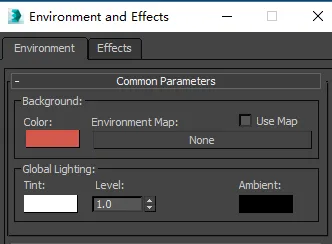
Next, open 3ds Max’s environment panel and set the background color to a light gray.
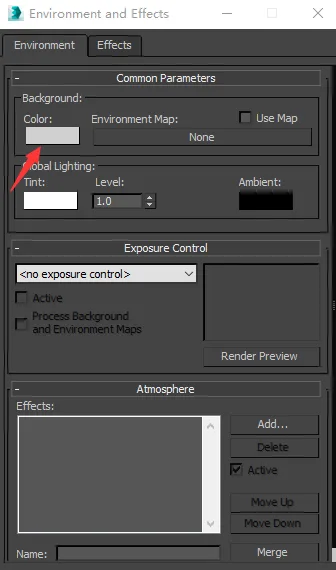
Then, in the VRay panel’s environment settings, adjust the global lighting environment intensity and render the scene to see the results.
As you can see, even without changing the lighting setup, the background lighting is now uniform. The background color is solely controlled by the environment panel and does not affect the Global Illumination (GI), which remains governed by the VRay environment panel.
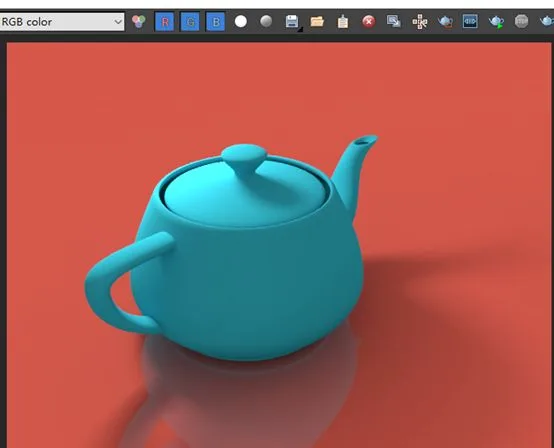
If you want, try changing the Max environment background color to red and observe the effect.
The rendered outcome is shown below:
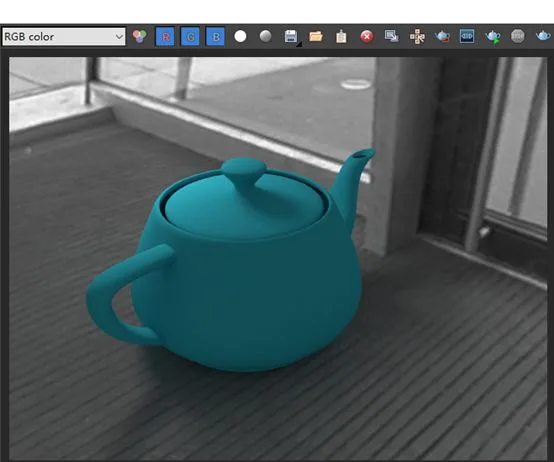
Finally, let’s explore realistic integration by applying an HDRI texture to the Max environment.
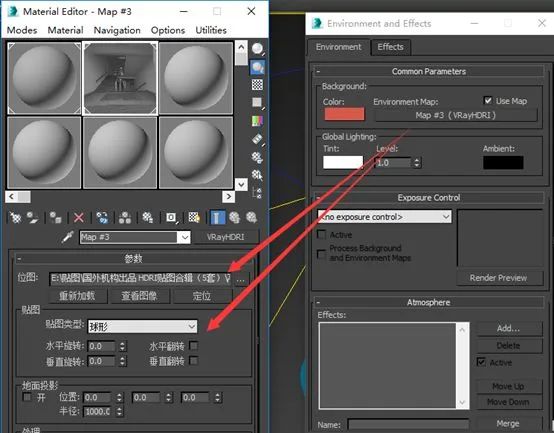
Adjust the light intensity and global lighting environment to ensure the teapot receives lighting consistent with the environment. Also, tweak the ground reflection intensity accordingly. The rendered result is shown below:


Must log in before commenting!
Sign Up