Revit is one of the most widely used BIM software, but its installation can be challenging due to its large size and the varying hardware and software environments on different computers. Installation failures are especially common on systems being set up for the first time. Below is a summary of common issues encountered during Revit installation and their solutions, which we hope will be helpful.
01. Installation Interruptions Due to Network Disconnection or Slow Speeds
Issue: Revit requires the Visual C++ runtime libraries and multiple versions of the .NET framework, which are not fully included in most Windows 10 systems. During installation, Revit downloads and installs these components from the internet. If the network connection is unstable or slow, this process may lag or fail.
Result: Installation may be delayed or fail altogether. In the event of failure, Revit usually indicates which runtime library failed to install.
02. Previous Installation Not Completely Uninstalled
Solution: It is crucial to fully uninstall any previous versions of Revit before attempting a new installation. For detailed instructions, refer to the tutorial titled “Autodesk Software Uninstalling Tutorial”.
Use the official Autodesk Uninstall Tool to completely remove Revit and all related components, then proceed with the fresh installation.
03. Installation Path Issues
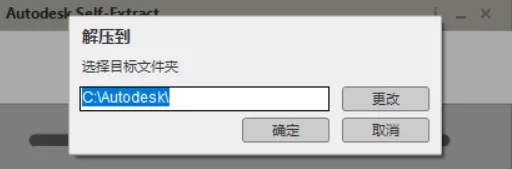
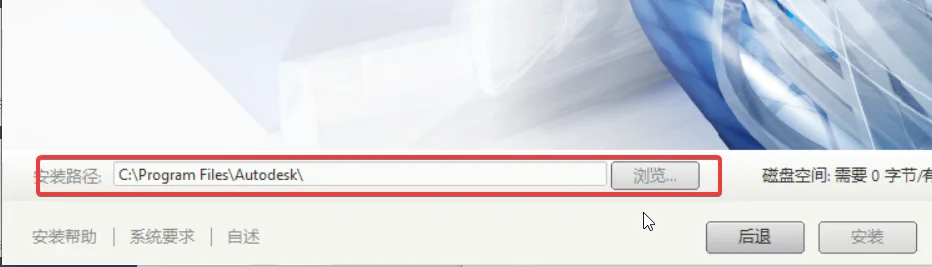
Autodesk installation packages typically require a two-step decompression process before installation. It is recommended to extract the installation files to a folder separate from the intended Revit installation directory.
The folder path for both the extracted files and the final installation should:
- Be as short as possible
- Contain no Chinese characters or special symbols
These precautions help avoid installation errors related to file path issues.
04. Operating System Compatibility
Windows 7:
Ensure that the system is Windows 7 with Service Pack 1 (SP1). Without SP1, Revit cannot be installed. Additionally, 32-bit Windows 7 systems only support Revit 2014 and earlier versions; versions 15, 16, and 17 are not compatible.
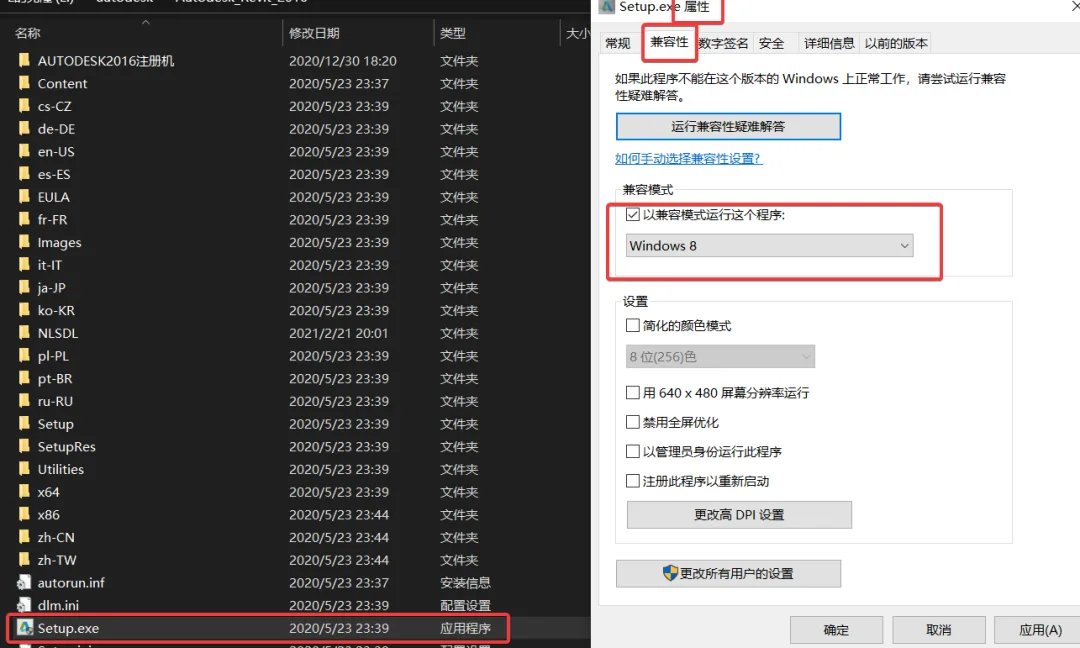
Windows 8:
If installation fails, adjust compatibility settings by right-clicking the setup file, selecting Properties, then navigating to the Compatibility tab and applying appropriate settings.
Example:
Windows 10:
Revit generally installs successfully on Windows 10 unless there are mismatched or missing system components required by the software.
05. Software Crashes After Activation
Problem: After completing installation, registration, and activation, Revit crashes when launched.
Cause: This usually indicates unsuccessful registration. To resolve this, you must delete the existing registration data and reactivate the software.
Steps to Fix:
- Open My Computer and navigate to the C: drive. Enable the View > Hidden Items option.
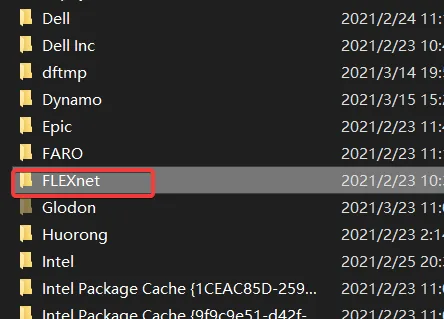
- Open the ProgramData folder on the C: drive.
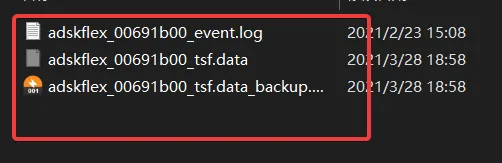
- Locate the folder shown below, open it, and delete all three files inside.
- When re-registering, ensure the registration code is entered correctly without extra spaces or invalid characters. After successful registration, Revit should operate normally.

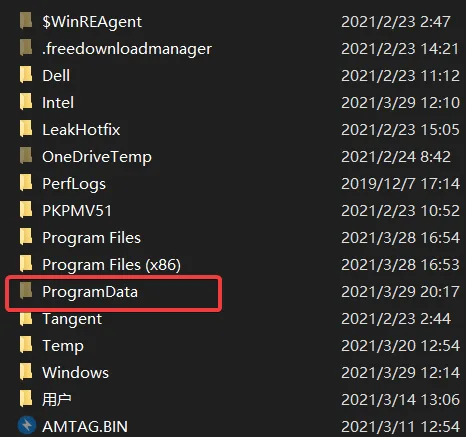
Delete these three files:
Summary
The above are some of the most common issues encountered during Revit installation. It is important to follow the installation steps carefully and avoid uninstalling Revit using standard Windows tools such as Control Panel or Device Manager. Instead, always use specialized uninstall tools to remove Autodesk software.
If installation problems persist, consider reinstalling the operating system after backing up all important data.


Must log in before commenting!
Sign Up