The CAD Block Add/Remove Graphics Plugin is a command plugin designed for editing CAD blocks. It enables you to easily add or remove graphics within blocks using the block editing (BEDIT) or reference editing (REFEDIT) commands available in newer versions of CAD software.
How to Use
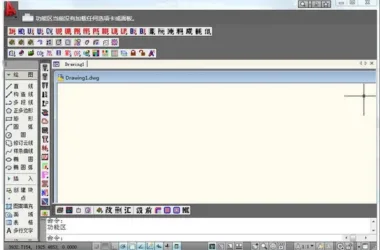
1. Launch CAD and enter AP to load the downloaded LSP program named AddObjectisToBlockV1-1.lsp.
2. Once loaded successfully, type add2block and press Enter.
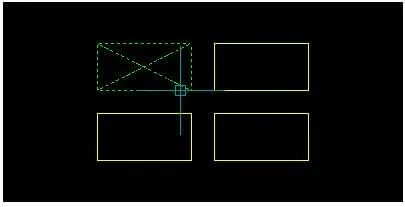
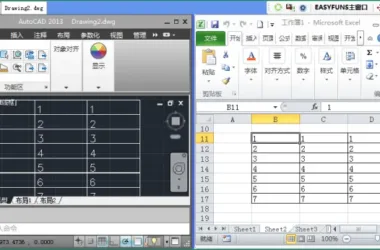
The command line will prompt you to select objects. Choose the objects you want to add to the block. Below is a simple example illustrating the effect.
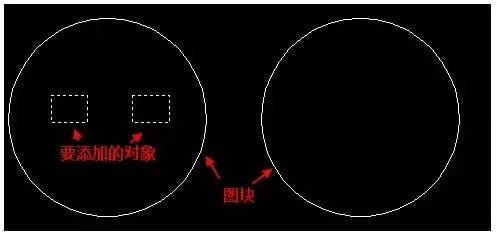
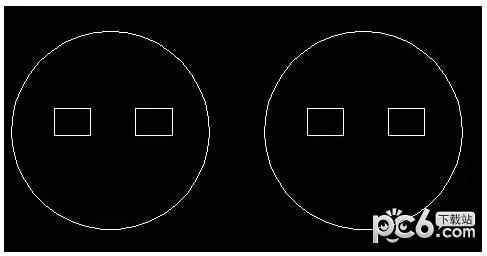
In the image above, the circles represent two blocks with the same name. When you add a shape to one block, the reference in the other block with the same name updates automatically.
3. After selecting the graphics to add, press Enter.
The command line will then prompt: Select Block to Add Object to:
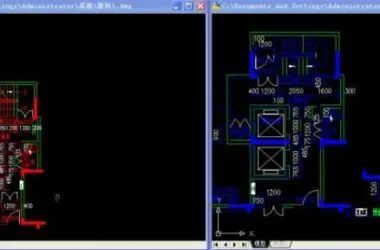
4. Select the block on the left. The chosen shape will be added to the block, as shown below.
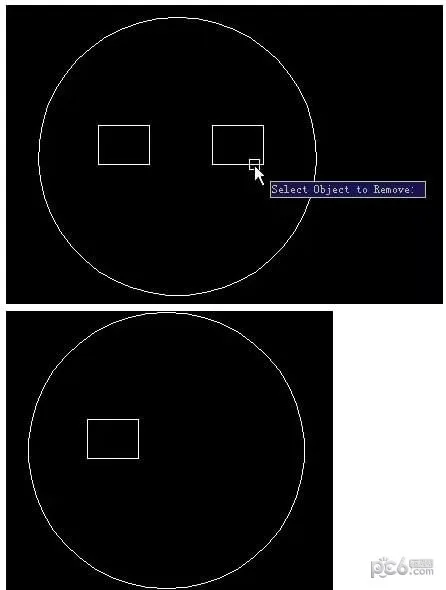
Removing graphics from a block is even simpler. Enter the remove command and press Enter. The software will prompt: Select Object to Remove:
Click directly on the graphic within the block that you want to delete. The selected graphic will disappear, as shown below.
The command will keep prompting you to select objects to remove, allowing multiple deletions in one session.
Note: There is a minor issue with this plugin. If you undo an add or remove operation, the image does not update immediately. You must enter RE to refresh and see the effect of the undo. When undoing actions related to this plugin, remember to undo once, then enter RE and press Enter to refresh. Avoid repeatedly undoing because the changes may not appear without a refresh.
If you find this plugin useful but think the commands are too long, you can customize the LSP program yourself. Open it in Notepad, search for add2block and remove, and change them to shorter, easier-to-remember commands like a2b and rm.


Must log in before commenting!
Sign Up