Revit undergoes significant updates every two years, which requires supporting multiple versions during development. However, creating a separate project for each version can be inconvenient since much of the code overlaps. Managing changes across versions can quickly become a headache if updates to an earlier version are not synchronized with later ones. Ideally, multiple versions should share the same classes, with differences resolved through preprocessor directives. This article focuses on how to share classes across versions; for details on preprocessor directives, please refer to other resources.
Here are the detailed steps to set up a multi-version framework:
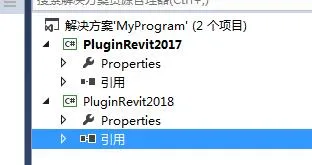
1. Start by creating an empty solution, then add two projects as shown below:
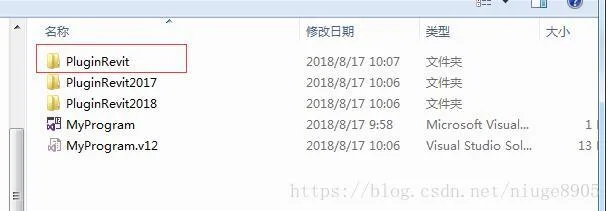
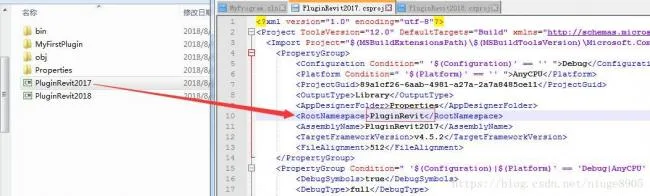
Next, open the project folder and copy the .csproj files from both projects.
3. Then, remove the two projects from the solution.

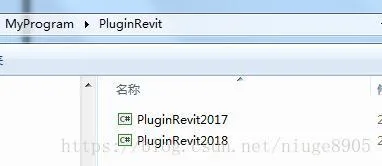
4. Load the two .csproj files (for versions 17 and 18) into the existing solution by adding them back.
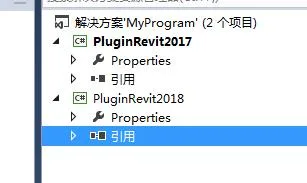
Next, open the csproj files for versions 17 and 18 and ensure that the project names (highlighted in red below) are consistent. This completes the multi-version environment setup. Let’s test the results.
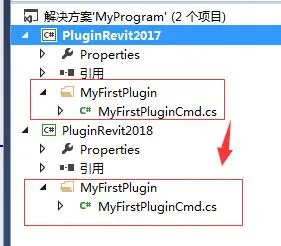
6. Create a new folder and class in version 17, then copy them to version 18 using Ctrl+C and Ctrl+V. This way, both projects will share the same class files, significantly simplifying multi-version development. It’s recommended to adjust the output path for the build binaries accordingly. With version control systems like SVN, a small team can efficiently develop across multiple versions with half the effort. When working with different APIs across versions, use preprocessor directives to handle these differences.
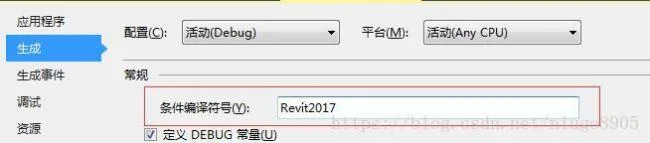
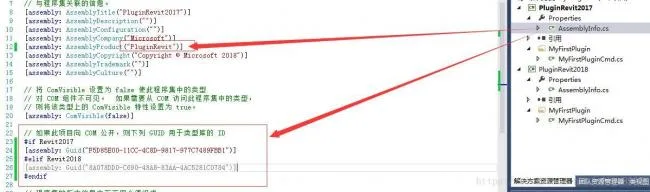
7. Add preprocessor directives in your code and remember to update the AssemblyInfo.cs file accordingly.
Resources location:


Must log in before commenting!
Sign Up