How can you modify the connection reorganization in SolidWorks? Below are the step-by-step instructions.
Software: SolidWorks 2015
1. First, open SolidWorks and prepare the image you want to work on.
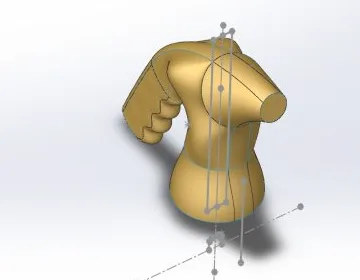
2. Next, click on the Stitched Surface option located in the Surface toolbar.

3. Then, expand the Surface Bodies section in the Feature Manager design tree.
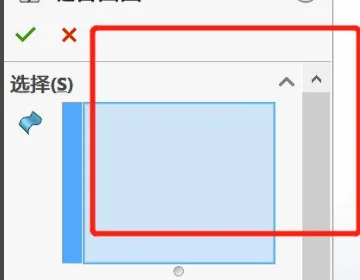
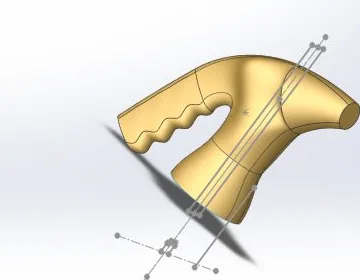
4. Finally, select all the surface entities you want to stitch together within the folder. Then, connect and reassemble them as shown in the image below to complete the process.

xuebim
Follow the latest BIM developments in the architecture industry, explore innovative building technologies, and discover cutting-edge industry insights.
← Scan with WeChat


Must log in before commenting!
Sign Up