The idea of improving SolidWorks display performance is a constant concern for every SolidWorks enthusiast. Do you think simply enabling RealView is enough? If so, you might be missing out on the full potential of this powerful feature.
Take a look at the comparison images below. Do you notice any issues in your model similar to those shown here? Notice the small golden spheres are all displayed with jagged edges.
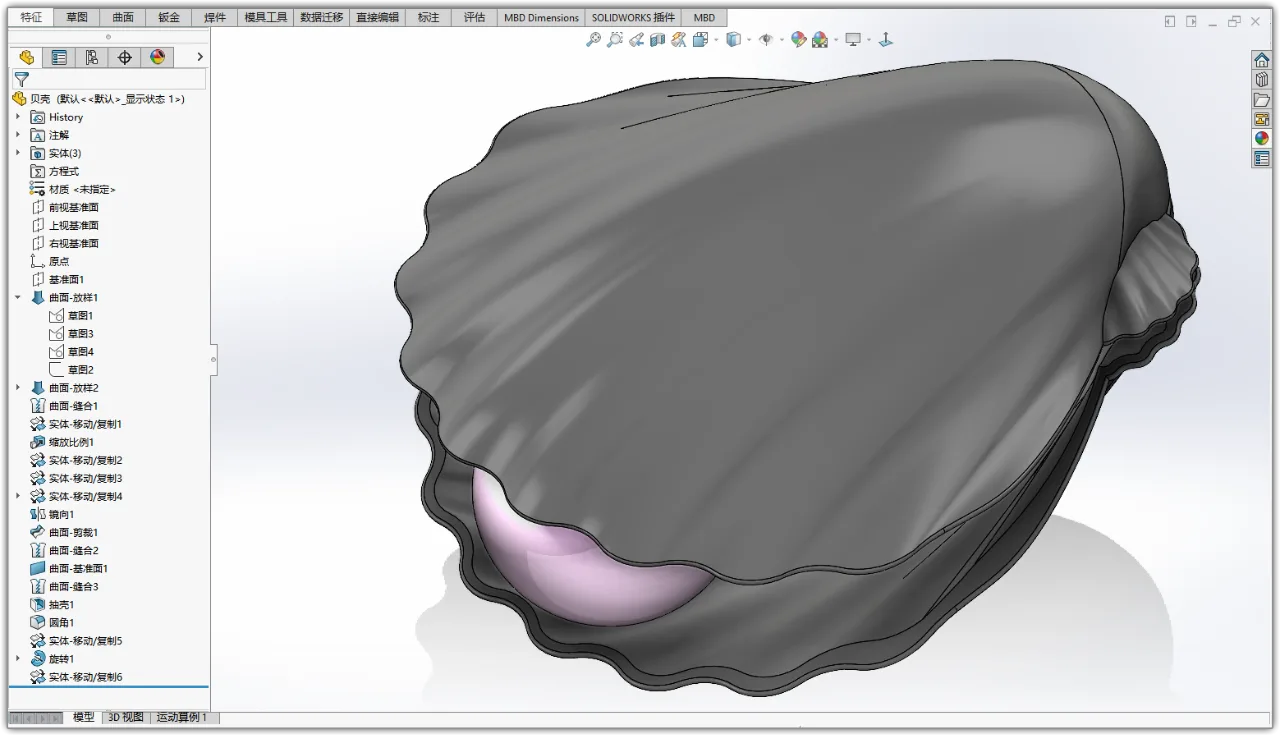
When frame lines are displayed, jagged edges become very noticeable along the lines.
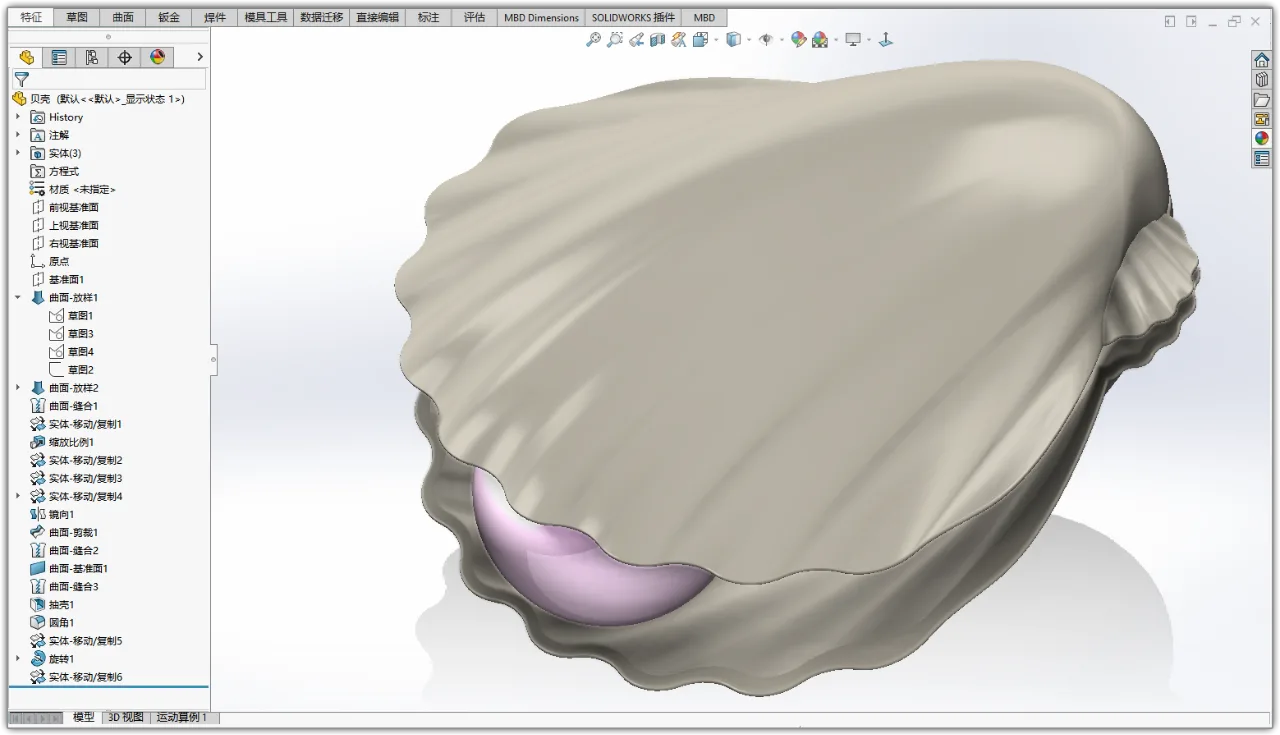
After optimization, the lines become smooth and much cleaner.
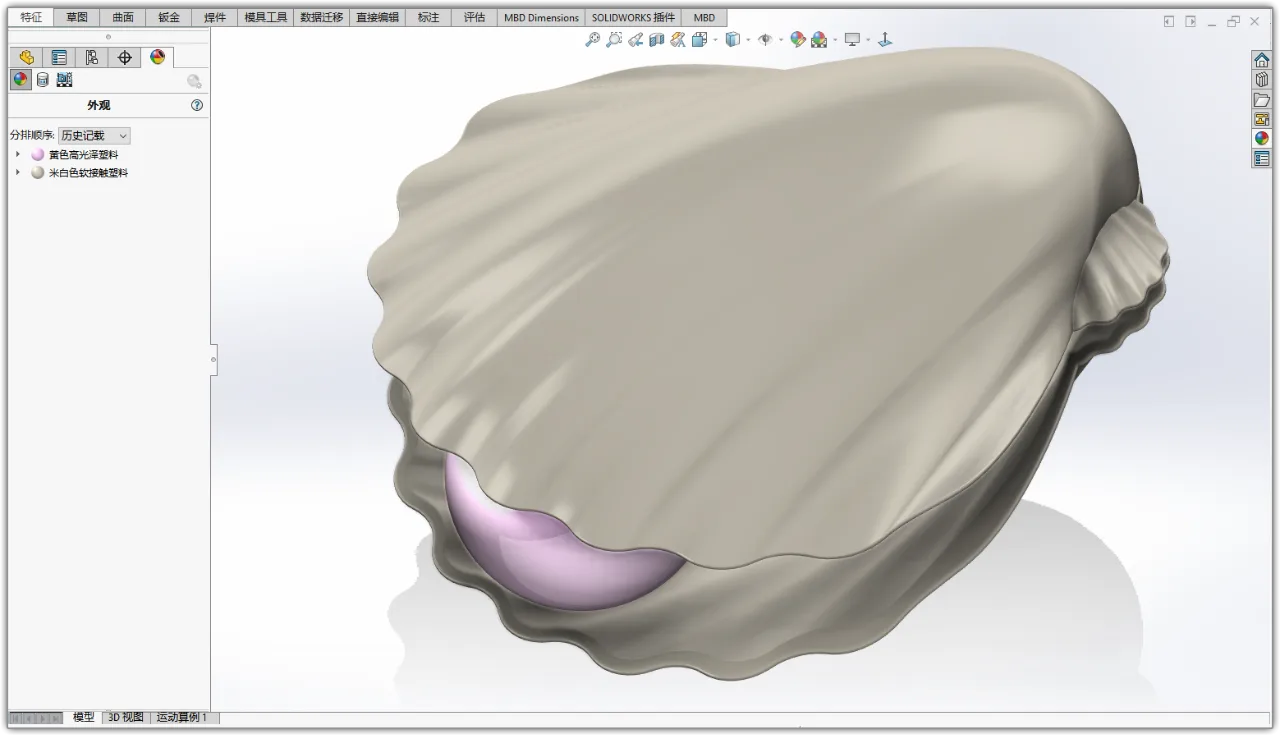
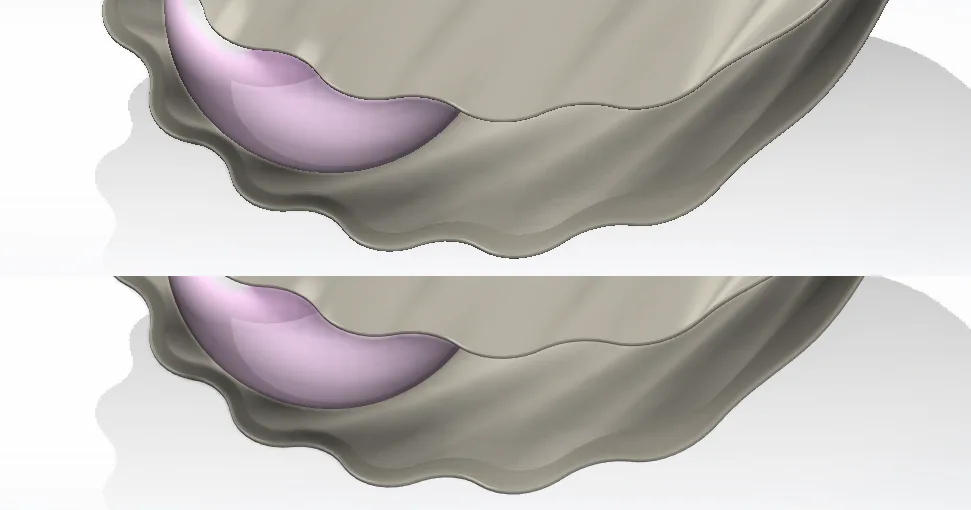
Even when frame lines are turned off, jagged edges are still clearly visible.
Jagged edges can be frustrating. Often, online tips don’t yield satisfactory results, and it seems impossible to match the image quality of other software, no matter how much you tweak the settings. This happens because the method you’re using is incorrect.
While adding suitable appearances, applying good lighting, and adjusting image quality settings in the document properties are helpful, none of these truly achieve effective anti-aliasing.
The correct method is as follows:
For the ‘Shaded’ (Coloring) view mode, set the option to ‘Full Screen Anti-Aliasing’.
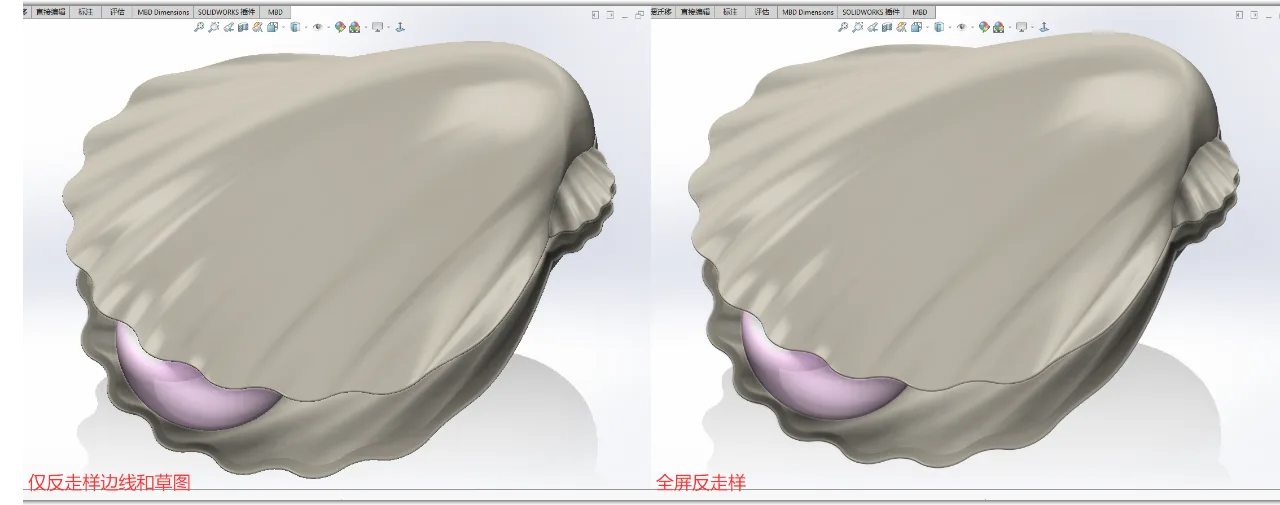
Here is a detailed comparison.
For the ‘Shaded with Edges’ (Coloring with Edges) view mode, select ‘Anti-Aliasing Edges/Sketches Only’.
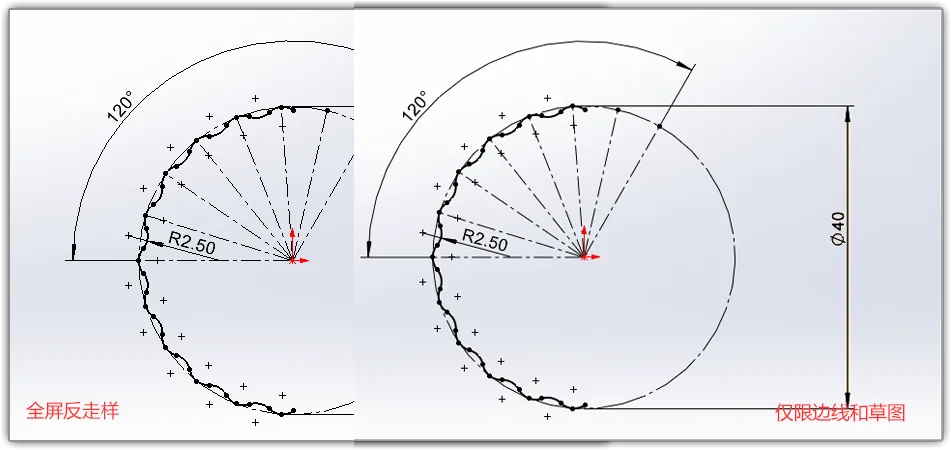
Comparing these two images, it’s clear that applying ‘Anti-Aliasing Edges/Sketches Only’ produces smoother and more refined lines and sketches.
When frame lines are disabled, setting ‘Full Screen Anti-Aliasing’ effectively eliminates jagged edges, giving the model edges a delicate and realistic look.
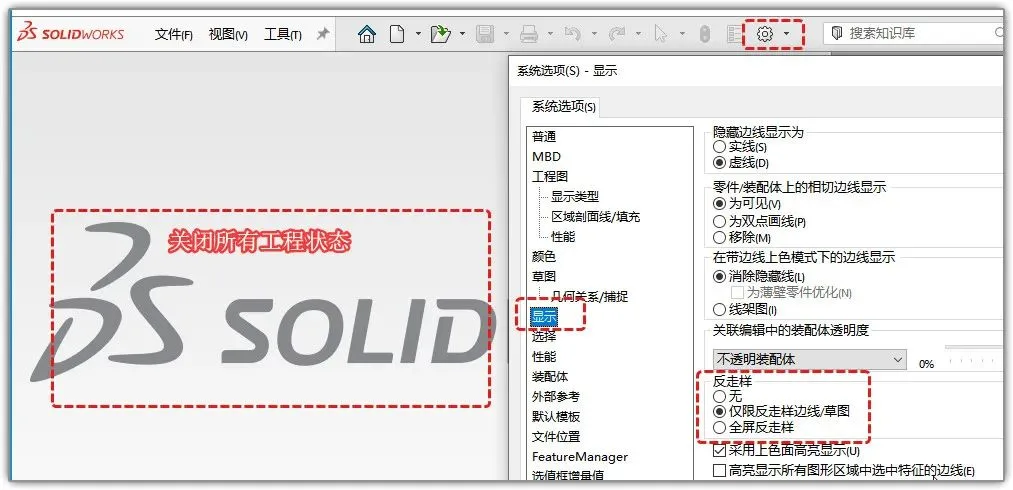
Now that you understand the difference between ‘Anti-Aliasing Edges/Sketches Only’ and ‘Full Screen Anti-Aliasing’, here’s how you can configure these settings:
First, close all open projects and documents. Then navigate to Settings > Display. In the ‘Anti-Aliasing’ section, check the appropriate options as shown below.


Must log in before commenting!
Sign Up